
I got a great new toy to play with for Christmas and I've been using it nearly everyday to test it and to try it out.
WARNING: When you see how easy and cool it is, you might want one.
Kohl's (my favorite store) sells this Baby Cakes Cake Pop Maker and right now it's about $25. I think some other stores (Bed, Bath, and Beyond) may also carry it.
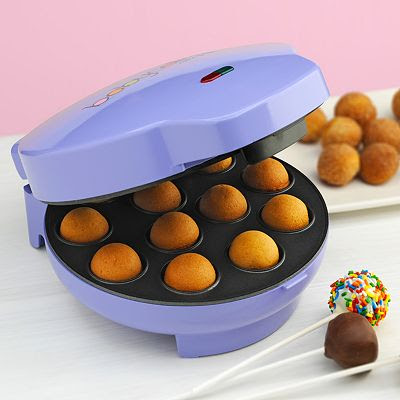 It cooks cake batter (made from scratch-which I prefer-or from a mix) into 12 round balls in about 4 minutes! I know some people really like the cake balls with cooked cake mixed with frosting (and I'll eat those too-I like any sweets!), but these are so much easier and cleaner (and WAY more sanitary than someone's hands in your food. Eww...)
So far I've made the recipe for chocolate cake balls from the instruction book it came with (substituting hot cocoa for the coffee and I even made the next two batches with just hot water).
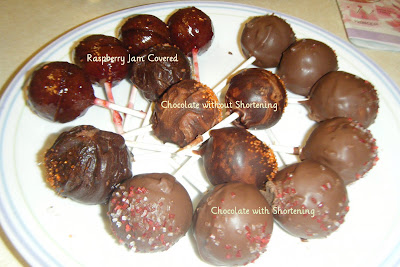
I was trying out some different coatings with these and didn't have any candy melts, so I made some up. The ones with shortening (I remembered the next time I went to make cookies that the ones I labeled as 'with shortening' are actually chocolate chips with a little shortening) worked the best, but they all tasted delicious! I covered some fresh out of the cooker in powdered sugar (put the sugar in a brown paper bag, add 4-6 cake balls, and shake) and they were great too.
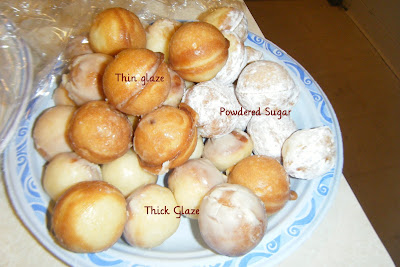
 I made donut holes next with a recipe I found here. The middle part that sticks out is there because I put a little too much batter in the cooker. It looks like a planet.
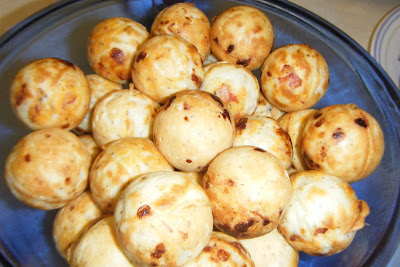
 And I found a recipe for pizza balls here. The only thing I changed in this recipe was doubling the pepperoni and not adding sausage. We dipped these in pizza sauce and that was dinner!
 This blog gave me great tips on how to use the machine and a few tricks. I bought some chocolate candy melts at the store and tried them out. I cut the cake pop sticks that came with the machine in half because I knew they were mostly staying at home. The machine also comes with a plastic tray that the cooked cake balls can cool in and keep their shape and the stick fits into a hole at the bottom too.
 I'm getting better and better (I think) and I think they will be a HUGE hit at our bake sale (that I'm in charge of) at the school carnival this spring!
 I made donut holes next with a recipe I found here. The middle part that sticks out is there because I put a little too much batter in the cooker. It looks like a planet.
 And I found a recipe for pizza balls here. The only thing I changed in this recipe was doubling the pepperoni and not adding sausage. We dipped these in pizza sauce and that was dinner!
 This blog gave me great tips on how to use the machine and a few tricks. I bought some chocolate candy melts at the store and tried them out. I cut the cake pop sticks that came with the machine in half because I knew they were mostly staying at home. The machine also comes with a plastic tray that the cooked cake balls can cool in and keep their shape and the stick fits into a hole at the bottom too.
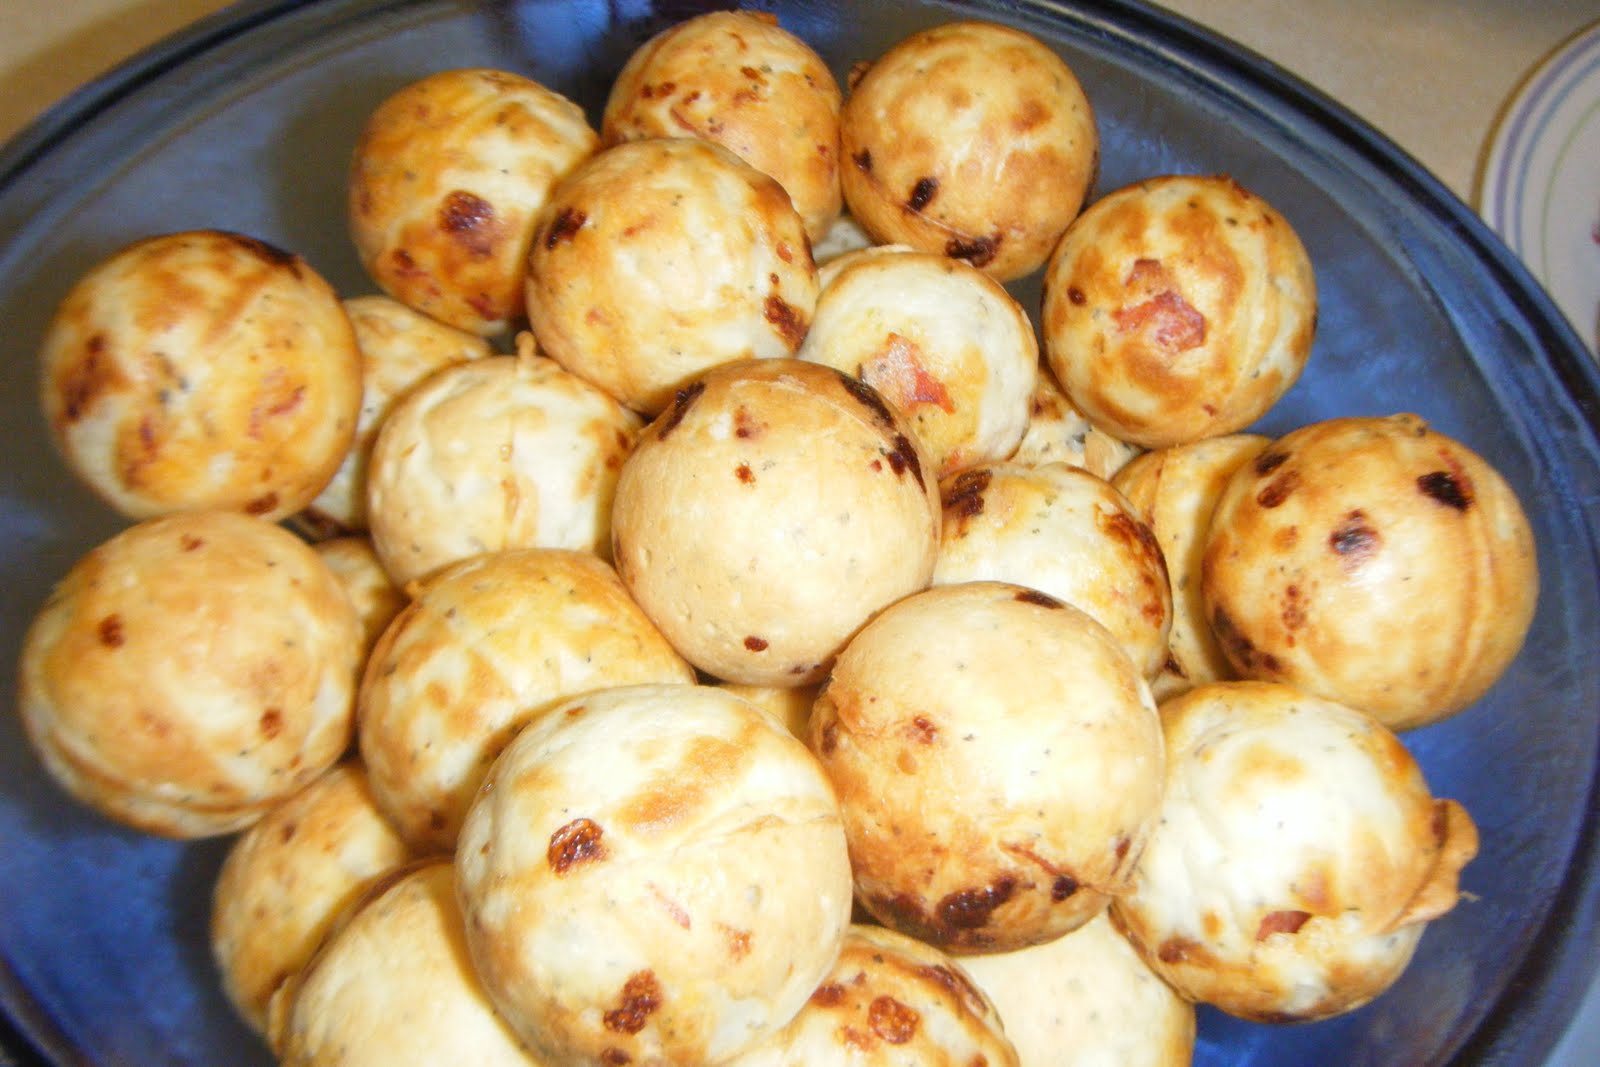 I'm getting better and better (I think) and I think they will be a HUGE hit at our bake sale (that I'm in charge of) at the school carnival this spring!
Most of the recipes I tested made between 3-4 dozen cake balls, which means at 4 minutes to bake a dozen, you are done baking them in about 15 minutes.
I think the ones I covered with powdered sugar this last time without sticks took me 20 minutes, including the time it took to mix the batter, bake the cake balls, shake the powdered sugar on while the next batch was cooking, and to put the plastic wrap on top before taking them to our friend's house to share. They might have even still been warm!
*I decided that I needed to have this fun toy because the health inspector told us last year that we needed to wrap each cupcake individually to sell them the next time we had a bake sale. The cupcakes were in large boxes or plates that were covered.
I was trying to think of how I could package cupcakes without the frosting being a giant disaster and thought cake pops would be much easier (cover with a plastic bag and twist tie) to package and sell. Some people put decorated cupcakes into cups to package or on a plate, but it still seems messy, especially with the hundreds of cupcakes we had to sell last year.
*I decided that I needed to have this fun toy because the health inspector told us last year that we needed to wrap each cupcake individually to sell them the next time we had a bake sale. The cupcakes were in large boxes or plates that were covered.
I was trying to think of how I could package cupcakes without the frosting being a giant disaster and thought cake pops would be much easier (cover with a plastic bag and twist tie) to package and sell. Some people put decorated cupcakes into cups to package or on a plate, but it still seems messy, especially with the hundreds of cupcakes we had to sell last year.


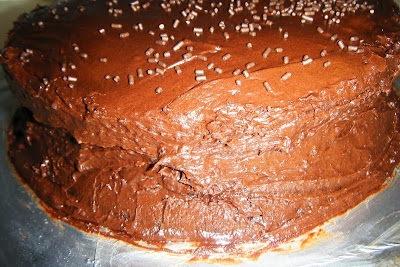 If I had the patience to wait for it to cool before frosting it, it would have turned out ever better, but it tasted super good, and no one was complaining about looks either. I loved the frosting recipe. It was easy and way better than canned chocolate frosting (even though I do like chocolate canned frosting, just not vanilla. Eww.) It would probably do better with actual cake pans instead of pie pans too.
 I think raspberry jam would be a yummy filling in this too. I added chocolate sprinkles on top and then covered the whole cake with my largest bowl to protect it from hungry eyes and fingers (ie: kids). I did end up taking half of the cake home and ate all the rest in a few days. I love desserts! Obviously. Look at the majority of my recipes...
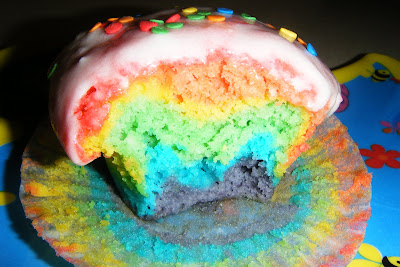 I saw them a while ago on
  I made Red, Yellow, Orange, Green, Blue, and Violet (Purple). ROY-G-BIV. I left out Indigo. I think it's kind of made up anyway. I used gel food coloring. I think you know how to make orange, green, and purple without help, but if you don't, leave a comment and I'll help you out. =)
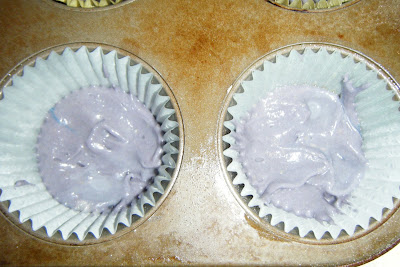 I also spray my liners so the cupcake comes out easily.It's kind of time consuming, but these cupcakes are so fun and delicious, it's worth it.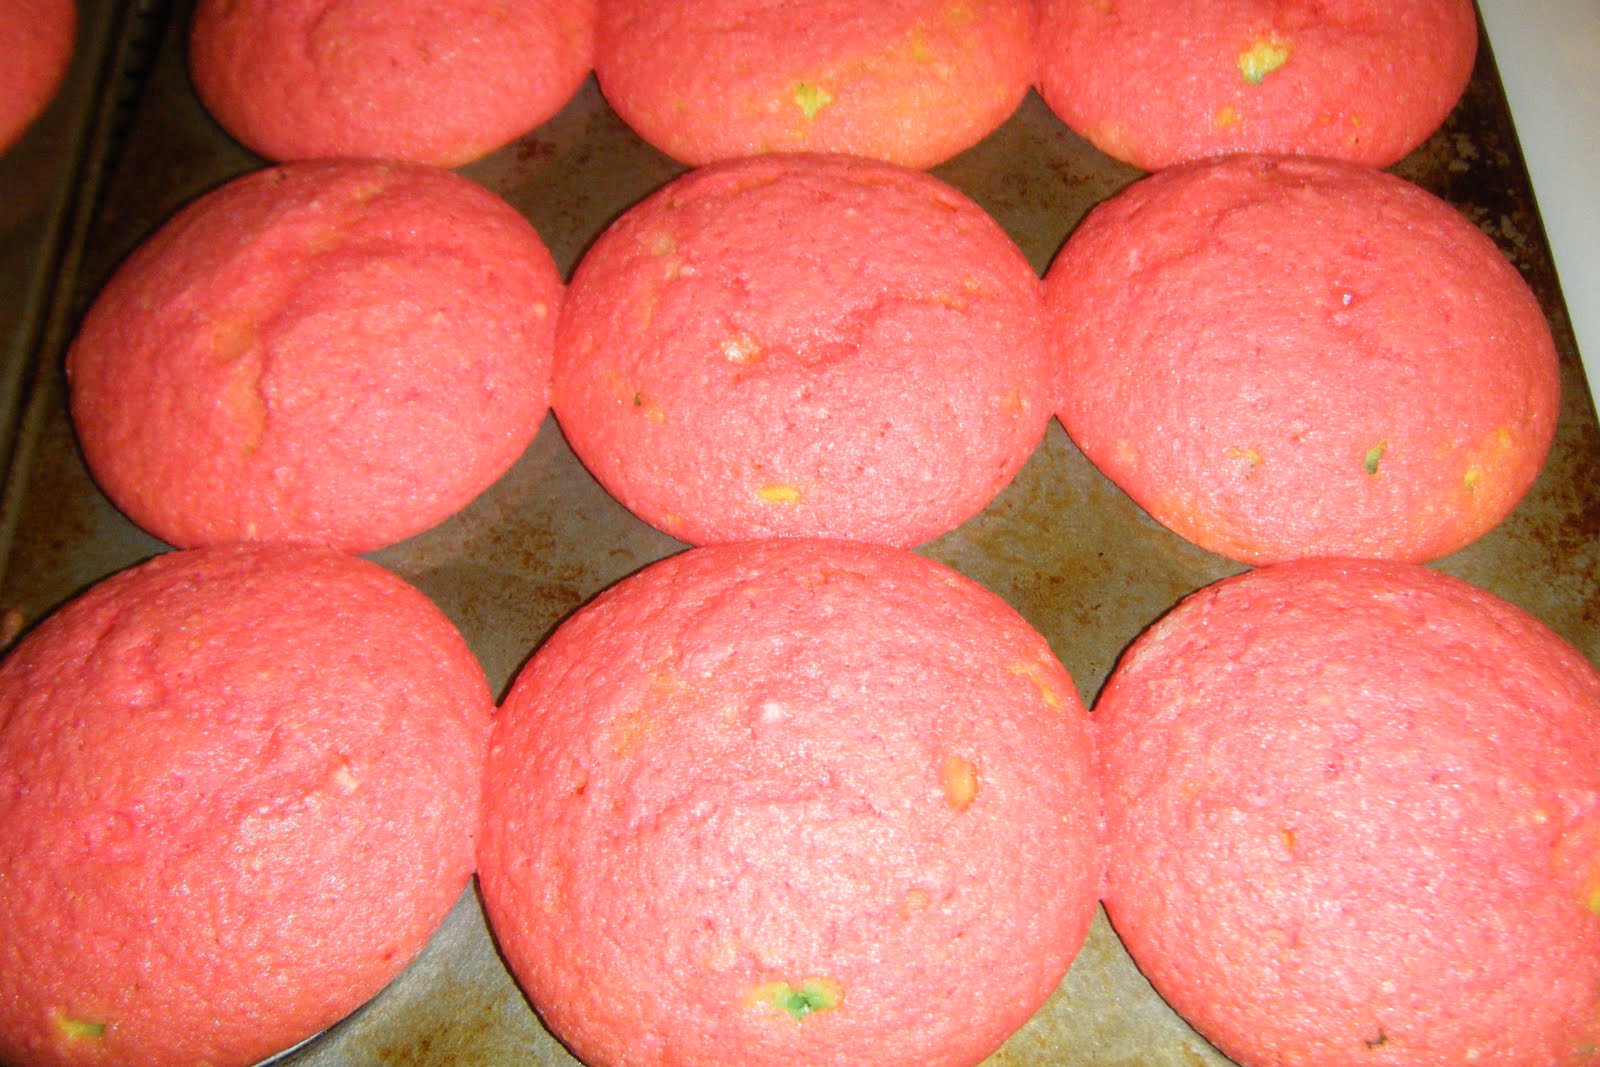


 They still ate the frosting first, but they all finished the whole cake part too. That's saying a lot for kids. Most just eat the frosting.


