Showing posts with label Dessert. Show all posts

Wednesday, May 16, 2012

Chocolate Covered PB Cookies

You simply cannot go wrong with chocolate and peanut butter (unless of course your kid is allergic and there are no clues that there is PB in something.... I always warn!)
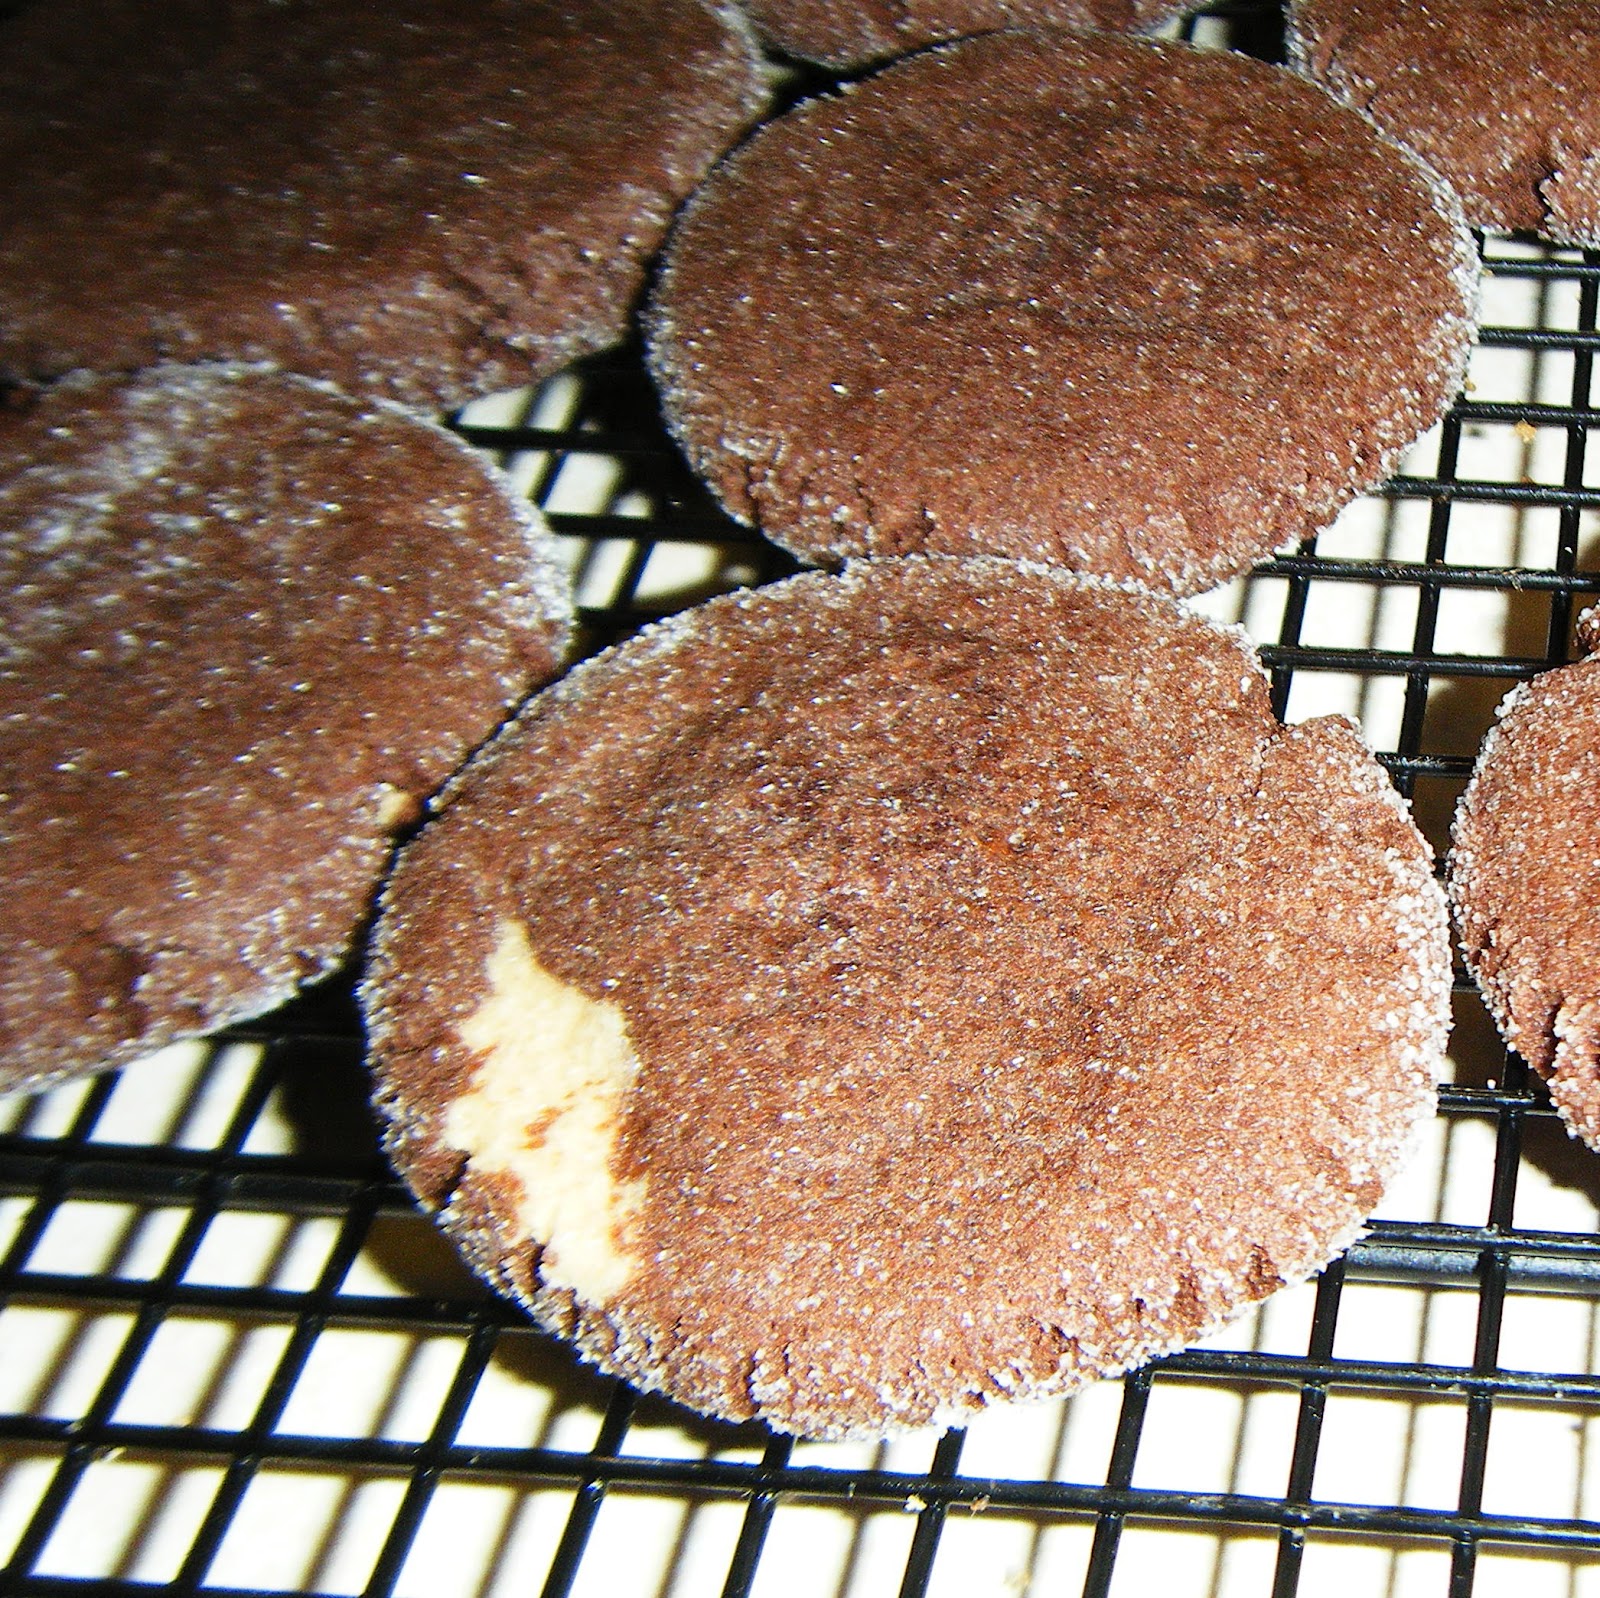
Here the cookie just looks like a chocolate cookie rolled in sugar.  Not so.  Once you bite in, there is a lovely peanut butter surprise.
 Here's how to do it.  Recipe came from here.  I made a few small changes.

Ingredients:

For the Chocolate dough-
1/2 cup Granulated Sugar
1/2 cup Brown Sugar
1/2 cup Margarine (her recipe said butter, but margarine did great too!)
1/4 cup Creamy Peanut Butter
1 teaspoon Vanilla
1 egg

1/2 teaspoon Baking Soda
1/4 teaspoon Salt
1/2 cup Baking Cocoa
1 1/2 cups Flour


+
For the PB dough-
3/4 cup Creamy Peanut Butter
3/4 cup Powdered Sugar
+
Extra granulated Sugar to roll dough balls in.

Instructions:
-Preheat oven to 325ยบ F or 350 (my oven is too hot, so I use 325.)
-Recipes always say to mix the dry ingredients together, but I hardly ever do that.  I just add the salt and baking soda first and then the chocolate and then the flour last.  It all works out.
-Make chocolate dough first. In a mixer (or large bowl) beat together sugars, butter and 1/4 cup of peanut butter until light and fluffy. Add the vanilla and egg, beating to combine. Now add the baking soda and salt to the wet dough.  Now add the cocoa. Mix well before adding the flour. Stir to combine, blending well. Set aside.
-Make PB dough now. In another bowl, mix together powdered sugar and peanut butter until smooth. I used a fork and then my hands to make it really stick together.
-Make PB dough into small teaspoon size balls.  You could put them all on a plate or extra cookie sheet or just a piece of wax paper. This will save some time later.
-Now to assemble: Pull off a heaping tablespoon of cookie dough and flatten with your hands.
Take the peanut butter dough ball  and place it in the center of the chocolate dough.

Wrap the chocolate dough around the peanut butter center, pressing to seal.

 Roll the cookie into a ball and roll the cookie in the sugar.
-Place cookies on the prepared baking sheet 2 inches apart. Using the bottom of a glass, flatten each cookie to about a 1/2 inch thickness.
-Bake in preheated oven for 7 to 9 minutes. Let stand on the baking sheet for 2 minutes, then remove to a wire rack.
Some cookies are less surprises than others, but they are all still delicious!
The irony of taking a picture of a cookie above bowls of fruit is not lost on me. =)


Thursday, March 22, 2012

German Chocolate Oatmeal

Pinterest is so good at sharing healthy food and exercise ideas right next to treats that are full of way too much stuff that's delicious, but not super good FOR you.  
I keep seeing pictures of this and this and so many others while I'm starting to count calories and am weaning myself from so much sugar and treats.  I'd look for more yummy treats, but I can't eat any more food tonight, so I'd better stop!
Here was my solution to this problem.  I tried this recipe for microwave blueberry oatmeal (like cake in a cup, but healthy) and had to make it over a little.  I added some coconut and chocolate chips.  It was so good and filling because of the oatmeal.  
I'd like to say that this was just as good as the other treats that I'd still love to eat, but wouldn't be able to control myself, but it's not.  It IS good, but it was probably 'just enough' sugar when I'm still accustomed to too much sugar.

Here's what I did:

Put these ingredients right into a mug:
1/4 cup Quick Oats 
1 Egg 
1 Tablespoon Chocolate Chips
1 Tablespoon Coconut
1 teaspoon Honey (or brown sugar)
1 Tablespoon Milk

Microwave that for two minutes and it's done.  


I tried a recipe with Hershey's Chocolate syrup just after this one, but it didn't work out quite like I hoped.  I might revisit that idea another time.  Maybe Chocolate syrup instead of chocolate chips and in place of the honey and milk???

Sunday, January 1, 2012

Cake Pops

I know, I know. I've been missing for a little while (okay, a long while)...BUT, I'm back.

I got a great new toy to play with for Christmas and I've been using it nearly everyday to test it and to try it out.

WARNING: When you see how easy and cool it is, you might want one.
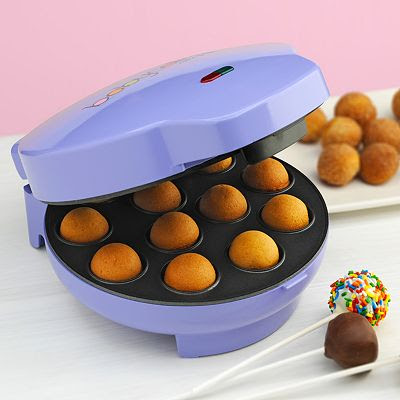
Kohl's (my favorite store) sells this Baby Cakes Cake Pop Maker and right now it's about $25. I think some other stores (Bed, Bath, and Beyond) may also carry it.It cooks cake batter (made from scratch-which I prefer-or from a mix) into 12 round balls in about 4 minutes! I know some people really like the cake balls with cooked cake mixed with frosting (and I'll eat those too-I like any sweets!), but these are so much easier and cleaner (and WAY more sanitary than someone's hands in your food. Eww...)

I have tried several different kinds of cake pops over this last week and every one of them have turned out great!
So far I've made the recipe for chocolate cake balls from the instruction book it came with (substituting hot cocoa for the coffee and I even made the next two batches with just hot water).
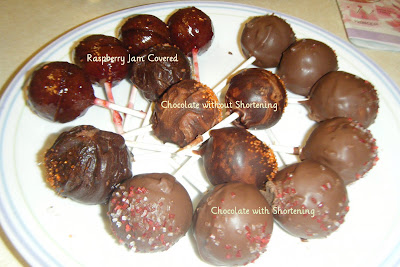
I was trying out some different coatings with these and didn't have any candy melts, so I made some up. The ones with shortening (I remembered the next time I went to make cookies that the ones I labeled as 'with shortening' are actually chocolate chips with a little shortening) worked the best, but they all tasted delicious! I covered some fresh out of the cooker in powdered sugar (put the sugar in a brown paper bag, add 4-6 cake balls, and shake) and they were great too.
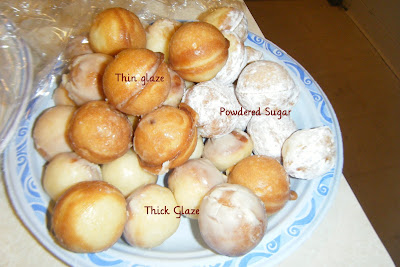
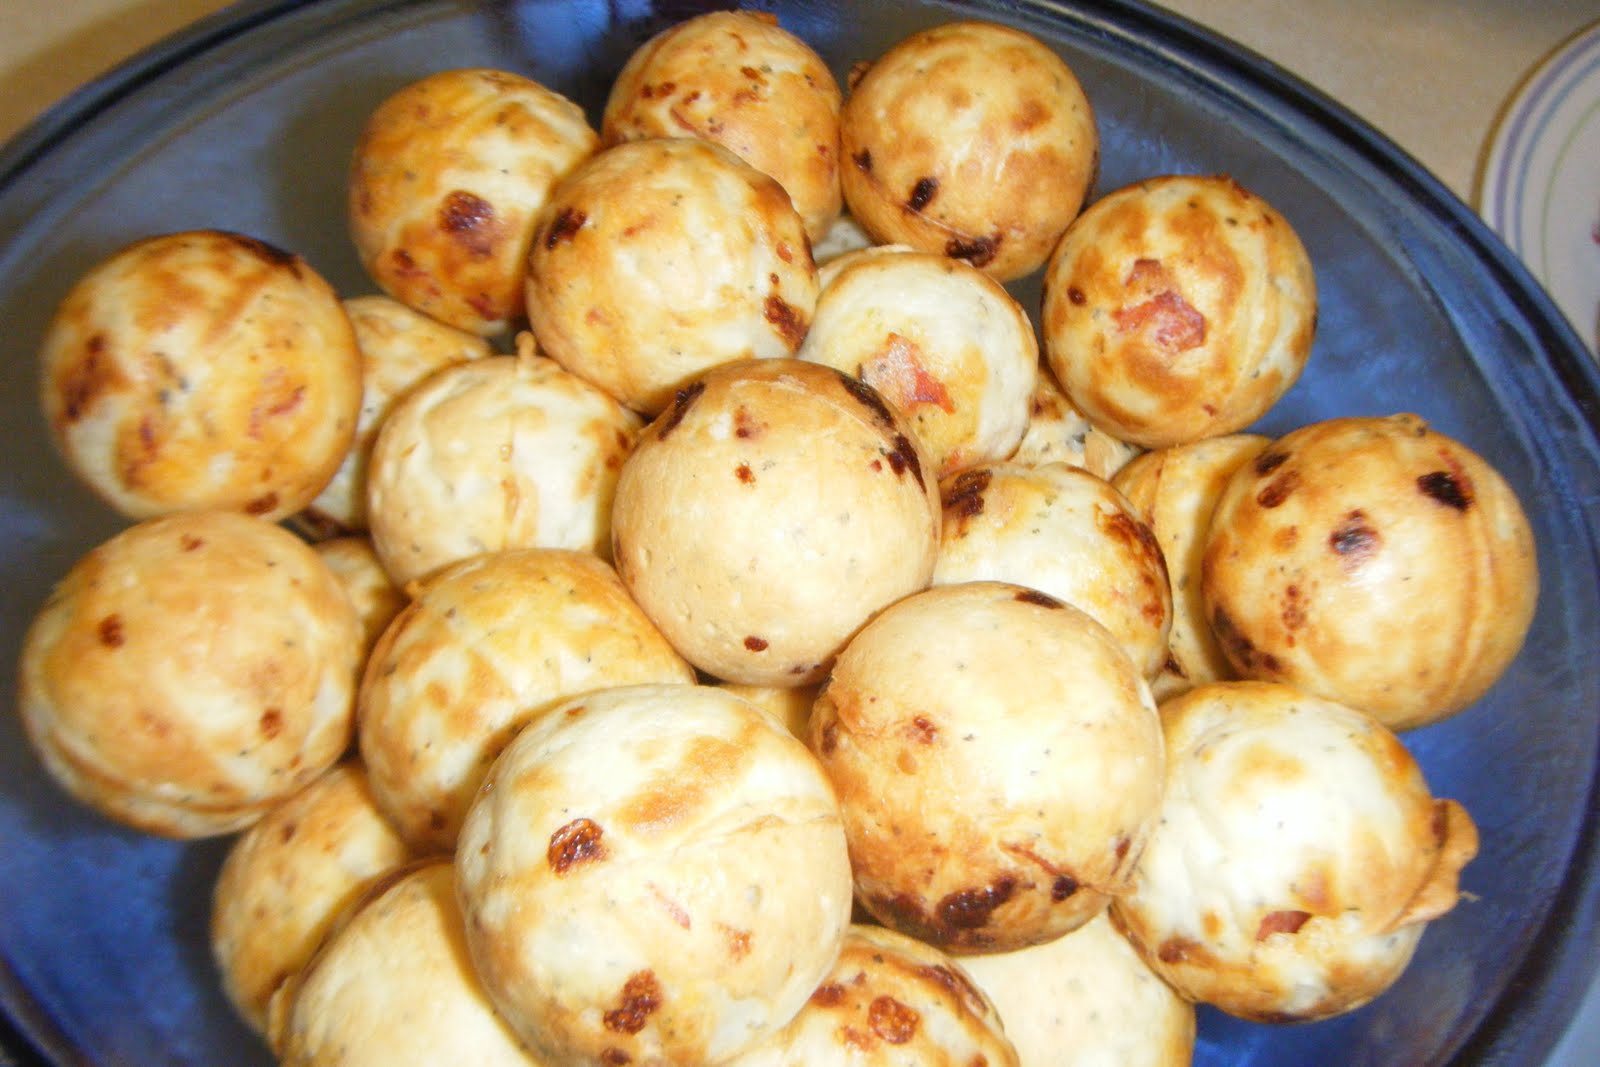
I made donut holes next with a recipe I found here. The middle part that sticks out is there because I put a little too much batter in the cooker. It looks like a planet.And I found a recipe for pizza balls here. The only thing I changed in this recipe was doubling the pepperoni and not adding sausage. We dipped these in pizza sauce and that was dinner!This blog gave me great tips on how to use the machine and a few tricks. I bought some chocolate candy melts at the store and tried them out. I cut the cake pop sticks that came with the machine in half because I knew they were mostly staying at home. The machine also comes with a plastic tray that the cooked cake balls can cool in and keep their shape and the stick fits into a hole at the bottom too.I'm getting better and better (I think) and I think they will be a HUGE hit at our bake sale (that I'm in charge of) at the school carnival this spring!

Most of the recipes I tested made between 3-4 dozen cake balls, which means at 4 minutes to bake a dozen, you are done baking them in about 15 minutes.
I think the ones I covered with powdered sugar this last time without sticks took me 20 minutes, including the time it took to mix the batter, bake the cake balls, shake the powdered sugar on while the next batch was cooking, and to put the plastic wrap on top before taking them to our friend's house to share. They might have even still been warm!

*I decided that I needed to have this fun toy because the health inspector told us last year that we needed to wrap each cupcake individually to sell them the next time we had a bake sale. The cupcakes were in large boxes or plates that were covered.

I was trying to think of how I could package cupcakes without the frosting being a giant disaster and thought cake pops would be much easier (cover with a plastic bag and twist tie) to package and sell. Some people put decorated cupcakes into cups to package or on a plate, but it still seems messy, especially with the hundreds of cupcakes we had to sell last year.

Friday, June 24, 2011

Super Good Chocolate Cake

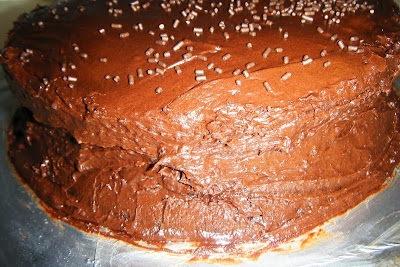
I made an awesome chocolate cake that I've been wanting to try for a few months. I finally had the opportunity (ie: other people to eat the cake with me instead of me eating all of it) and it turned out great!If I had the patience to wait for it to cool before frosting it, it would have turned out ever better, but it tasted super good, and no one was complaining about looks either. I loved the frosting recipe. It was easy and way better than canned chocolate frosting (even though I do like chocolate canned frosting, just not vanilla. Eww.) It would probably do better with actual cake pans instead of pie pans too.
The recipe came from the Hershey website, so it had to be a keeper, right?! It really is!

Cake Batter Ingredients:
2 cups Sugar
1 3/4 cups Flour
3/4 cup Baking Cocoa
1 1/2 teaspoons Baking Powder
1 1/2 teaspoons Baking Soda
1 teaspoon Salt
2 Eggs
1 cup Milk
1/2 cup Vegetable Oil
2 teaspoons Vanilla Extract
1 cup Boiling Water (I just heat water in the microwave for 2-3 minutes)

"PERFECTLY CHOCOLATE" CHOCOLATE FROSTING:
1/2 cup (1 stick) Butter or Margarine (melted)
2/3 cup Baking Cocoa
3 cups Powdered Sugar
1/3 cup Milk
1 teaspoon Vanilla Extract

Instructions:
Mix dry ingredients for cake together well before adding eggs, milk, vegetable oil, and vanilla. Mix well for a few minutes (I use my kitchen Aid with the wire whisk). Add boiling water and mix slowly (so you don't burn yourself). The batter will be thin, but don't worry! Pour batter into greased pans (I don't bother flouring) and bake at 350 degrees for the time needed for the pan size listed below.
Makes: One 9x13 pan (35-40 minutes), Two 9 inch pans (30-35 minutes), 24 cupcakes (20-25 minutes), or One Bundt cake pan (50-55 minutes). You know it's done when you jiggle it a little and it doesn't jiggle back or when you put a toothpick in and it comes out clean. If it seems to be getting brown around the edges, but not done in the middle, turn the oven down to 325 degrees and cover the cake with tin foil checking it every five minutes.
While the cake bakes, make your frosting. Melt the butter. Mix in the cocoa. Then add the powdered sugar and milk in little bits (1 cup powdered sugar-mix-1/3 cup milk-mix-repeat until you have used all that the recipe calls for). I used my small hand mixer for this because it's supposed to make two cups of frosting and my big mixer is a little overkill for that.
I still don't understand how you put in 4 1/2 cups of ingredents and end up with two cups of frosting....It must be all those taste tests... Frost when your cake is cool and your frosting won't just melt into the cake like mine. I think raspberry jam would be a yummy filling in this too. I added chocolate sprinkles on top and then covered the whole cake with my largest bowl to protect it from hungry eyes and fingers (ie: kids). I did end up taking half of the cake home and ate all the rest in a few days. I love desserts! Obviously. Look at the majority of my recipes...

Tuesday, June 14, 2011

Rainbow Cupcakes

Maybe you've heard of these. I saw them a while ago on Our Best Bites and decided that they would be perfect for a party I was hosting for House Party with Expo Washable Markers. It was a fun party with all their new washable markers and House Party sent me 15 sets of markers and dry erase boards to give away to people who came to my party. It was fun. Anyway, these cupcakes were delicious.
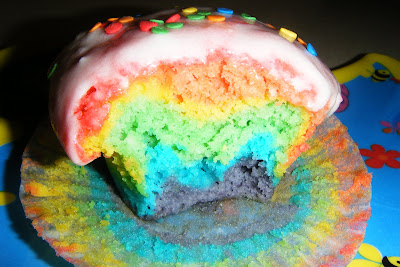
I used a from-scratch recipe for the cake mix because I didn't have any white cake mixes and I wanted to try this recipe. I ended up making the yellow cake mix since I used the yolk of the eggs and it didn't matter because I was dying the layers in the cupcake anyway.

For the cake batter I doubled the amounts below to make 24 cupcakes and then looked at the recipe again and realized that the recipe below was already doubled, so I guess I used twice as much batter as I should have. This recipe should still make 24 cupcakes, but they won't be as overfilled as mine were.

Cake Batter Ingredients (or you could use cake mix-whatever makes 24 cupcakes):
2 1/3 cups all-purpose flour
1 tablespoon baking powder
3/4 teaspoon salt
1 1/2 cups white sugar
1/2 cup shortening
2 eggs
1 cup milk
1 teaspoon vanilla extract

I mixed the dry ingredients in my mixer and then added the shortening. I mixed it in until it was all crumbly and then added the eggs and milk and vanilla and kept mixing until it was all uniform and didn't have any big clumps.

I liked this recipe. It was simple and I knew for sure that I wasn't adding any ingredients that my friend's kids would be allergic to.

After it was all mixed, I pulled out six of our big cereal bowls and added 1/2 cup of batter to each bowl so I would have the same amount of each color. I made Red, Yellow, Orange, Green, Blue, and Violet (Purple). ROY-G-BIV. I left out Indigo. I think it's kind of made up anyway. I used gel food coloring. I think you know how to make orange, green, and purple without help, but if you don't, leave a comment and I'll help you out. =)

I wanted red on top of the cupcake, so I started with purple on the bottom and worked my way up. I used too much batter at the beginning and by the time I got to red, the batter was just about to the top of the muffin liner. I recommend about a Tablespoon of each color.

ONE GREAT TIP: TO SPREAD COLOR TO EDGE OF LINER, GET A CUP OF WARM WATER AND DIP A FINGER IN IT AND THEN SPREAD BATTER OUT TO THE EDGE. REDIP YOUR FINGER WITH EACH CUPCAKE AND EACH LAYER. I also spray my liners so the cupcake comes out easily.It's kind of time consuming, but these cupcakes are so fun and delicious, it's worth it.
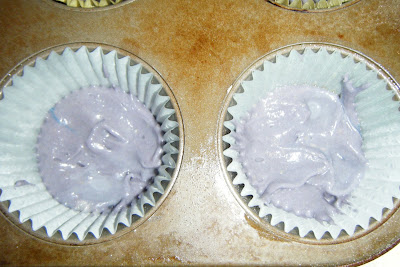
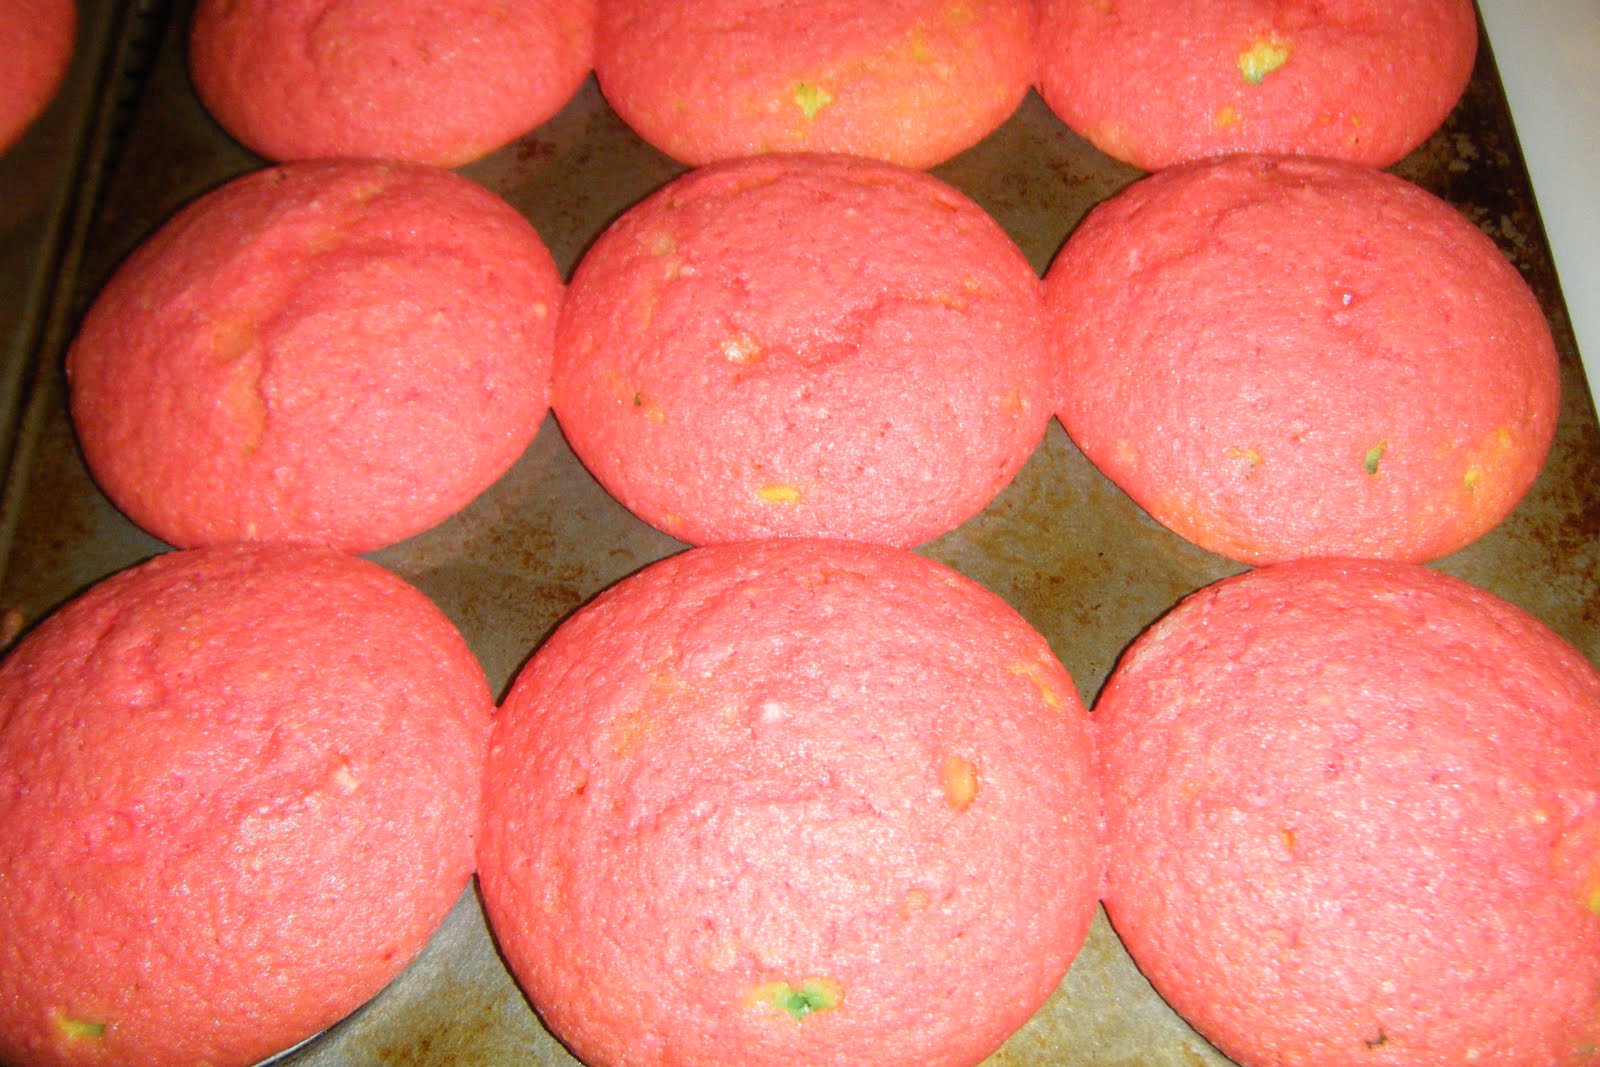
See? I filled them way too full. The muffins grew into each other and the tops were trying to fall off when I took them out of the muffin pan. I think both orange and red were over the tops of the muffin liner. Still---delicious, moist, not too crumbly, and devoured.
See the pretty layers?
I was going to make some thick frosting, but decided against it when I saw how huge these were and remembered that it would be mostly kids eating them anyway and that I only had half a bag of powdered sugar! Opps. I dipped them when they were still warm too and lost a few muffin tops before I finally started frosting them. I kind of like the glazed taste.

The frosting/glaze was 1/2 cup butter, 4 1/2 cups powdered sugar, with 1/4 cup milk.
Like I said, they were delicious and they were devoured and they didn't leave crumbs all over or stain any kids.
This little guy liked his. They still ate the frosting first, but they all finished the whole cake part too. That's saying a lot for kids. Most just eat the frosting.
I made it in my bundt cake pan this week as well. It turned out great, but it had to cook for about 40 minutes to be done in the middle. When the edges were turning brown at about 20 minutes, I turned the oven down to 300 degrees to finish it off.

Here is what it looked like. I only used four colors instead of six this time too. I could probably do a double batch of batter (or two cake mixes) in my pan.
Still delicious. =)

Wednesday, June 1, 2011

Peanut Butter Cups

Sorry it's been such a long time since I posted a new recipe. I've just been making my old standbys and quick and easy meals lately because of our new baby.
I made these peanut butter cups a few months ago with the pouch of store bought peanut butter cookie dough in my mini muffin pan and added the mini Reese's after they were cooked to the middle. One of those semi-homemade treats. They are just as good that way, but I like this recipe better and there isn't as much salt in it or preservatives, I guess.
Here is my mom's recipe for peanut butter cookies.

The Very Softest Peanut Butter Cookies
Ingredients:
1 cup Margarine
1 cup Peanut Butter
1 cup Sugar
1 cup Brown Sugar
2 Eggs
1 tsp Vanilla
2 ½ cups Flour
1 tsp Baking Powder
1 tsp Baking Soda
1 tsp Salt
Chocolate Chips, Stars, or Kisses, anything chocolate you like.

Instructions:
Mix margarine, peanut butter, and sugars. Add eggs and vanilla and mix until creamy. Add dry ingredients.
Option #1-May add chocolate chips here if desired. Don’t mix with mixer after adding chocolate chips. Shape dough into 1 inch balls. Roll in granulated sugar for this method. Place 2 inches apart on ungreased cookie sheets. Bake at 350° for 10-12 minutes.

Option #2-If using chocolate stars or kisses, add right after the cookies come out of the oven (while they are still on the cookie sheet). OR spray mini muffin tin and spoon some dough into the cup. Press it down so it fills the cup. Bake at 350° for 10-12 minutes. When you take muffin tins out, place one of these cute peanut butter cups right in the middle. Let cool and then pop them out and make some more. Store in airtight container. Makes about 60 cookies. Enjoy with a glass of milk. Cook them longer if you like they more brown. Even the ones that were nearly burnt still tasted good.
Enjoy! We sure did on Memorial Day Weekend. Andy's cousin asked me if he could trade me some brownies he made for my cookies. I'd say that means they were yummy. =)

Saturday, January 15, 2011

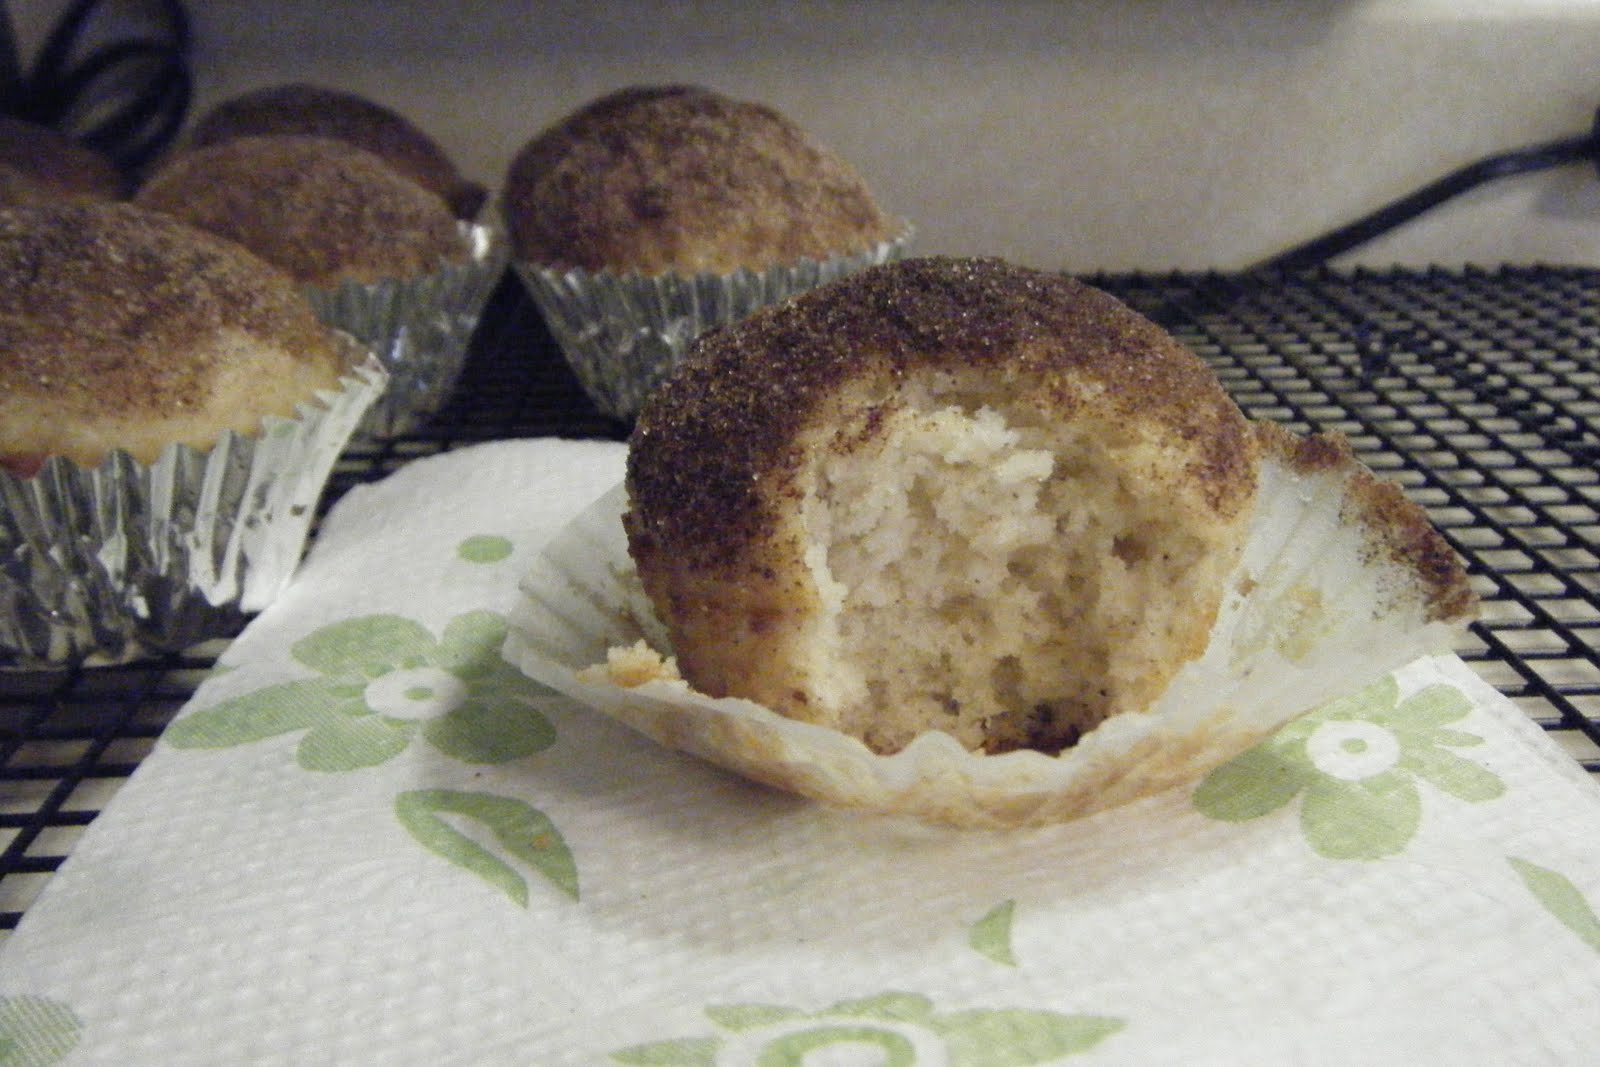
Cinnamon Doughnut Muffins

And who wouldn't want one of those???
These muffins are easy to make and delicious! They are like a cake doughnut, but more light and fluffy. Try it and you will see how good they are!
Cinnamon Doughnut Muffins
Ingredients:
1 3/4 cups all purpose flour
1 1/2 teaspoons baking powder
1/2 teaspoon salt
1/2 teaspoon ground nutmeg
1/4 teaspoon ground cinnamon
3/4 cup sugar
1/3 cup vegetable oil
1 egg
3/4 cup milk

Topping:
1/4 cup, butter melted
1/3 cup sugar
1 teaspoon ground cinnamon

Instructions:
In a large bowl mix flour, baking powder, salt, nutmeg and cinnamon. Stir to combine. Add oil, egg, and milk to dry ingredients and stir just until moistened. Fill paper lined or greased muffin cups 3/4 full and bake at 350 degrees for 20-25 minutes. They are ready when the tops are firm or you can stick a toothpick in and make sure it comes out clean. Melt butter in a small dish. Combine cinnamon and sugar in another small dish. Immediately after removing the muffins from the oven, dip the tops in the melted butter and then roll in the cinnamon/sugar mixture. Serve while warm for best taste. Makes 12 muffins.

Thursday, July 1, 2010

Easy Rice Crispy Treats

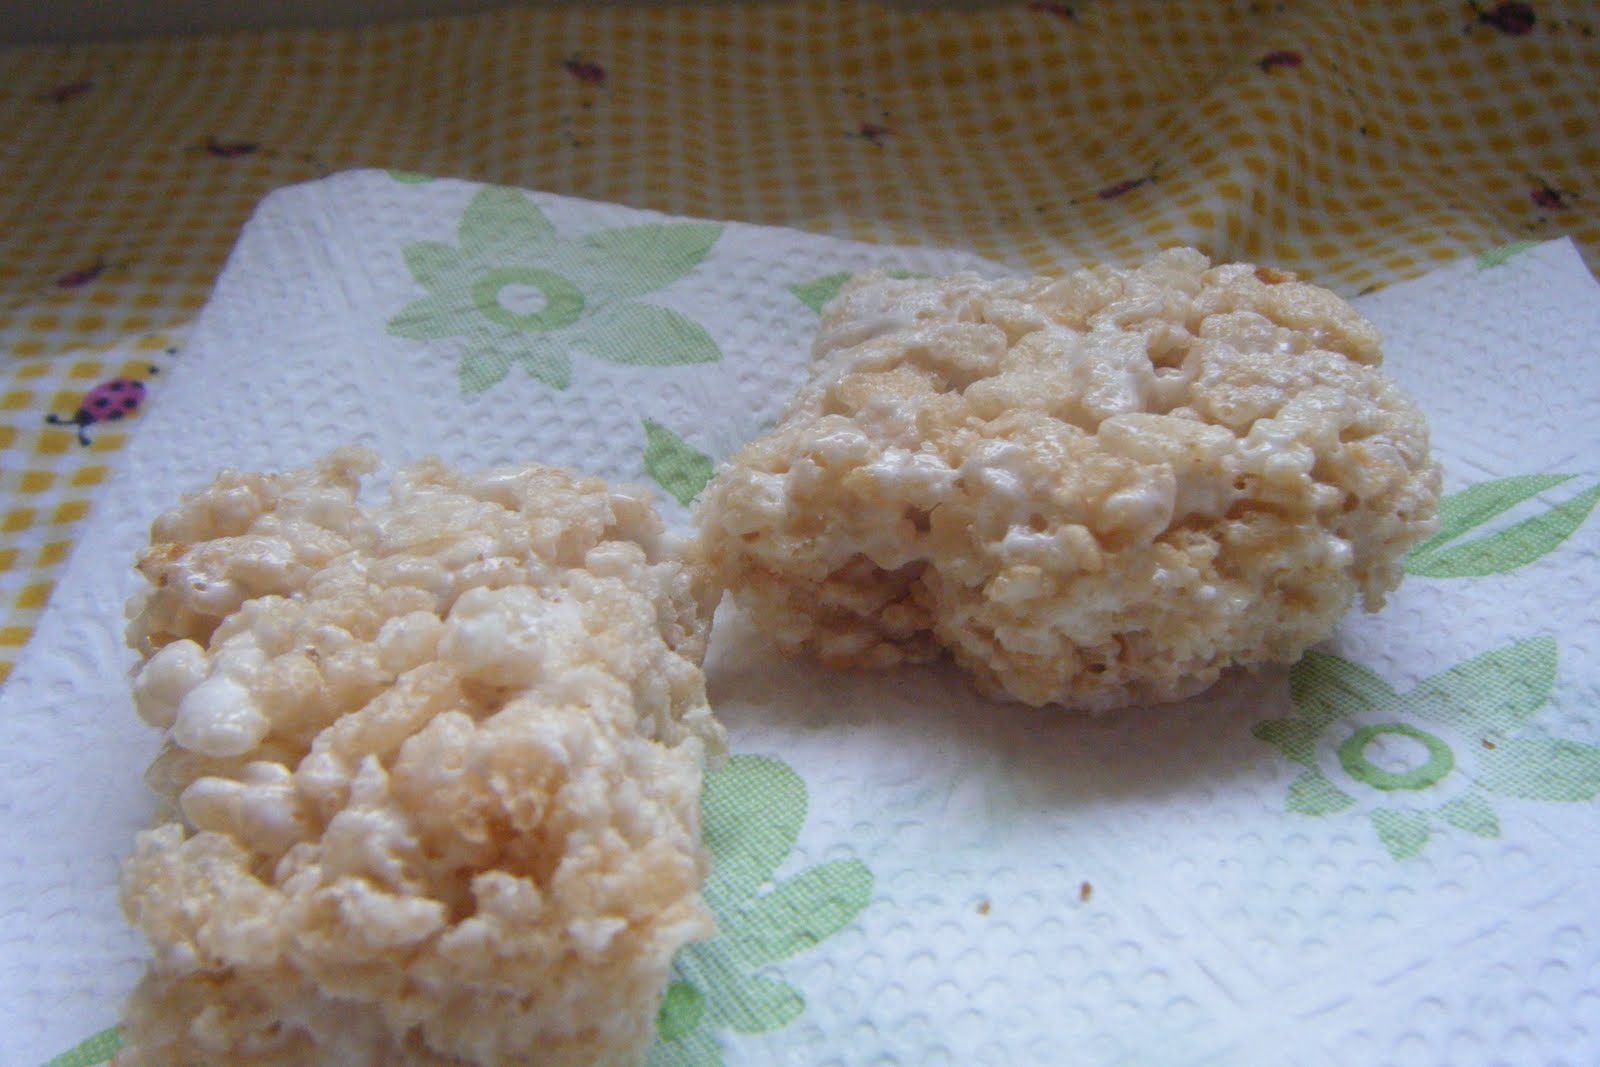
I know most of you probably have rice crispy treat making DOWN, but this is a way I do it so I don't have to use the stovetop or butter/margarine and my nephew can eat them and they are a little healthier this way. I make a large cookie sheet or jellyroll pan of this amount. If you don't want quite so many, cut the recipe in half. This picture is the last two of these treats.Ingredients:
8 cups Rice Crispy Cereal
8 cups Marshmallows
1/4 cup Vegetable Oil
1 teaspoon Vanilla

Instructions:
Measure 8 cups of cereal and put into a large bowl to mix. Place marshmallows in a glass microwavable bowl with vegetable oil and stir together to coat the marshmallows. Yesterday when I made this, I put them in the microwave on medium heat for two minutes and when I pulled the marshmallow mixture out, they were perfectly soft. I stirred them around and then added the vanilla before pouring them into the cereal and mixing. Once marshmallows and cereal are mixed, spread on greased cookie sheet with a piece of greased wax paper. I like to spread them out thin so kids can handle them easier.
Try this. See if you like it better than the stovetop way. I don't think I can go back now.

Vanilla Pudding Cookies

These cookies are soft and moist and delicious. I made them yesterday for a family get-together at the park with my siblings and parents and these two were all that were left (until snacktime, now they are gone!) Many of the cookies were enjoyed even before the park by my brother and his wife and our combined five kids. Toward the end of the time at the park, one nephew-son of a different brother-heaped these cookies on a plate to take home. I'm just saying that they are good. I didn't come up with the recipe, but I forgot to write where I got it when I printed it out. They are a lot like the Chocolate Pudding Cookies.
Ingredients:
1 Cup Softened Unsalted Butter
3/4 cup Brown Sugar
1/4 cup Granulated (Regular) Sugar
1 (3.5 ounce) box Instant Vanilla Pudding Mix-unprepared
2 Eggs
1 teaspoon Vanilla
1 teaspoon Baking Soda
2 1/4 cups Flour
Chocolate Chips (or whatever you like to add into your cookies)

Instructions:
Cream Butter and sugars together. Add dry pudding mix, eggs, and vanilla. When they are all combined well, add the baking soda and flour. Mix well. Then add chocolate chips. I used about 1 cup of mini chocolate chips and another cup or so of white chocolate chips this time. GREASE your cookie sheet and bake at 325 degrees for about 10 minutes. Makes about four dozen cookies, so double if you are feeding a large crowd. They will go quickly.

Friday, May 21, 2010

Chunky Peanut Butter Chocolate Chip Cookies

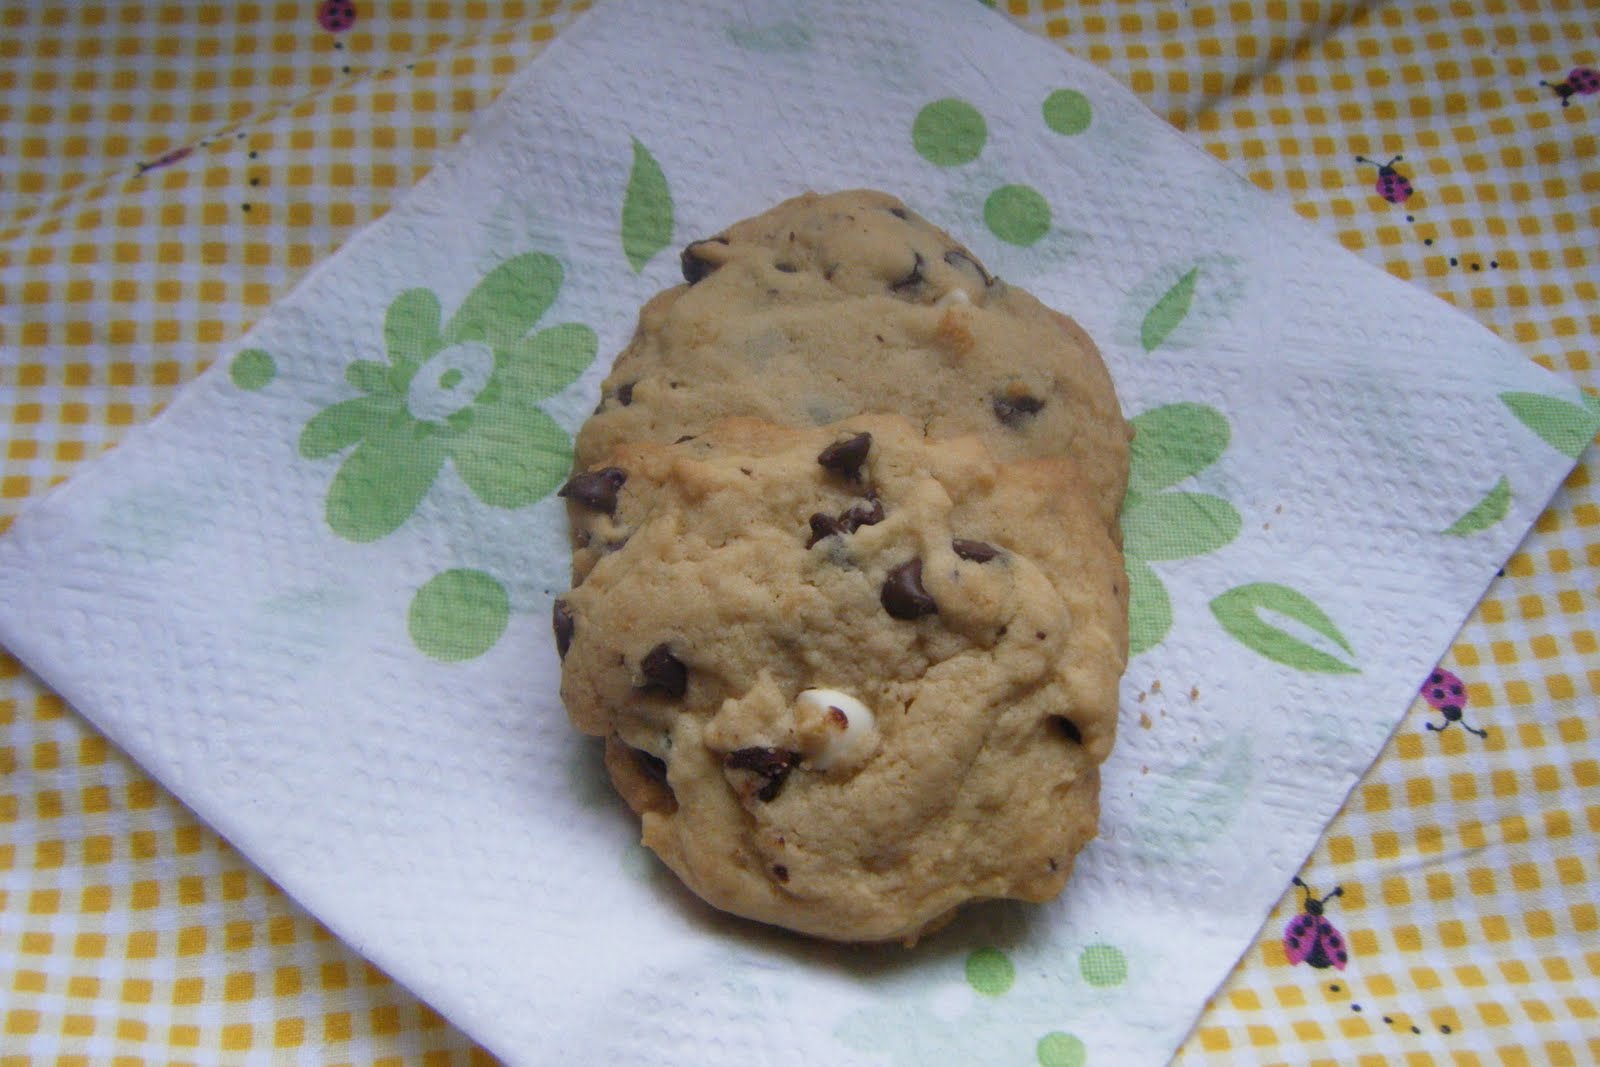
This recipe came from an Amish novel that I borrowed from my mom by Wanda Brunstetter. The cookies are delicious. They really have more chocolate chips than it appears. They are all sunken or something in this picture.Ingredients:
3/4 cup Margarine
1 cup White Sugar
1 cup Brown Sugar
1/2 cup Peanut Butter
2 Eggs
2 teaspoons Vanilla
2 1/2 cups Flour
1 teaspoon Baking Soda
1/2 teaspoon Salt
1 (8oz) Chocolate Candy Bar, Chopped

Instructions:
Preheat oven to 350 degrees. Beat margarine, sugars, and peanut butter until light and fluffy. Blend in eggs and vanilla. Add the dry ingredients and mix well. Stir in chocolate pieces. Drop rounded tablespoons of dough onto ungreased cookie sheet. Bake 10-12 minutes or until lightly browned. Let stand a few minutes before removing from cookie sheet. Makes four dozen cookies.

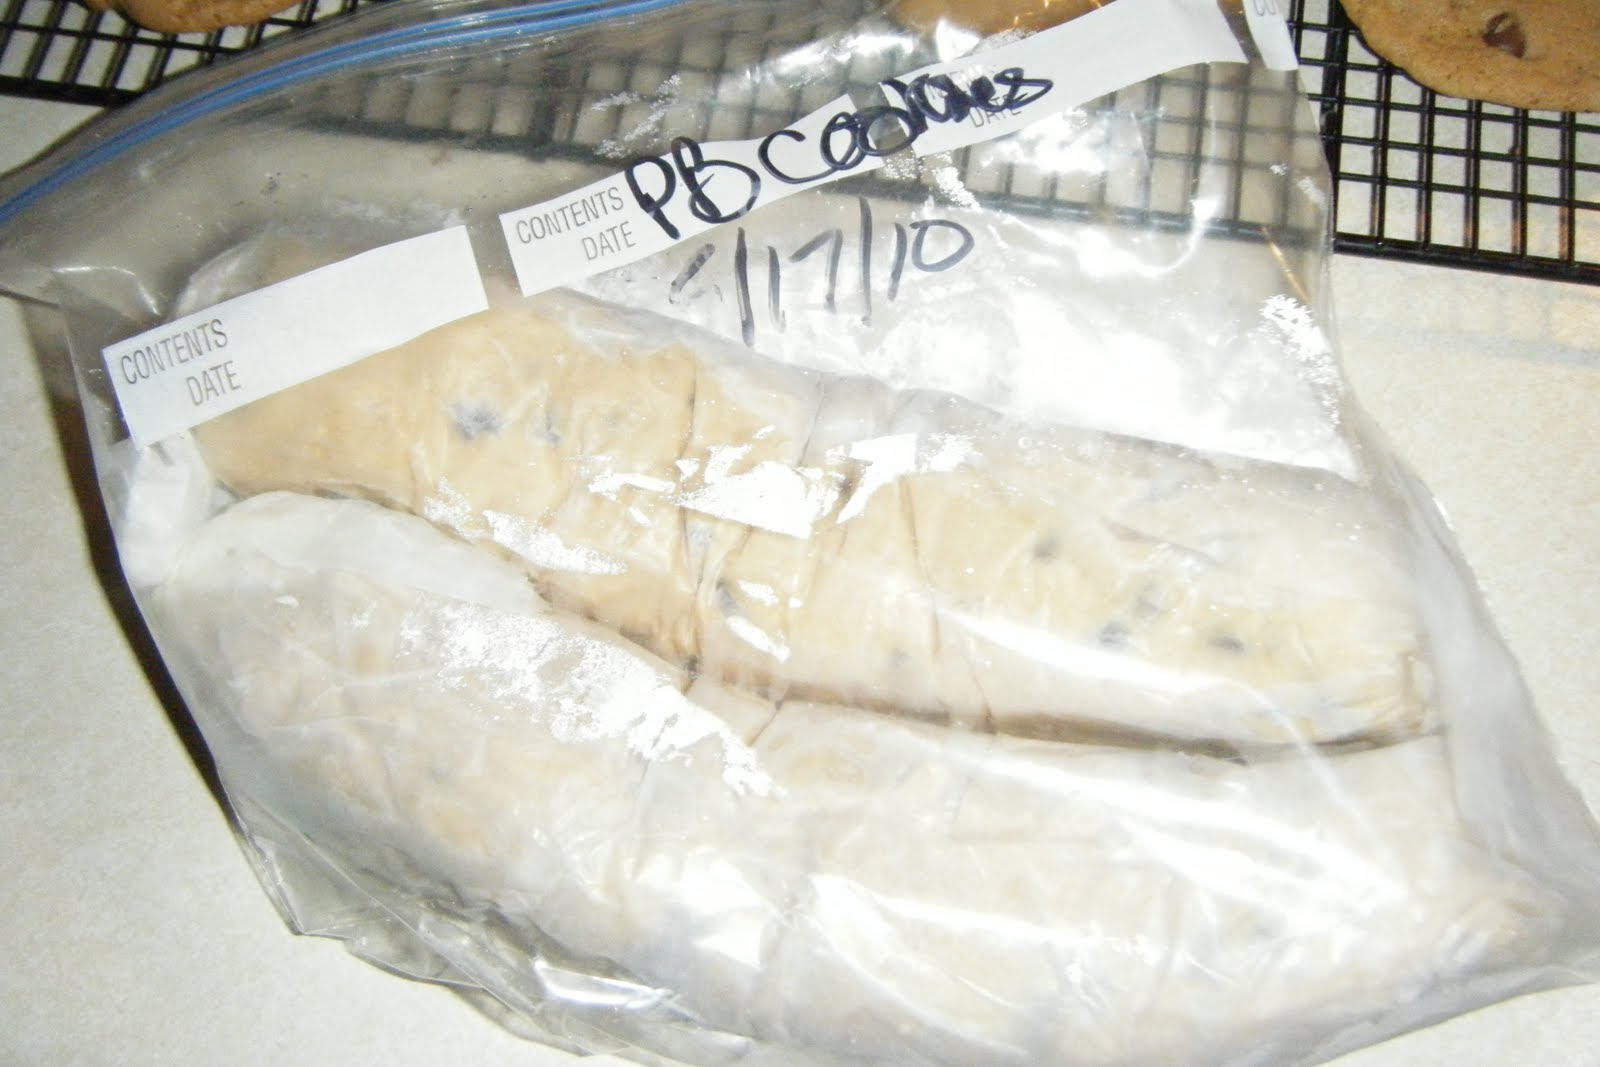
This time I doubled the batch and only baked two cookie sheets worth of cookies. I rolled the rest of the dough up in three different sections of greased wax paper and then put them in a ziplock bag. I made one of the extra batches for our game night on Wednesday and they turned out well then too.

Saturday, February 20, 2010

Microwave Poppycock for Popcorn

My mom always made this topping for popcorn when we watched movies on Sunday nights. I think it was so she didn't have to cook so many meals.
I did the same thing tonight when Andy was watching COPS with the kids. I wasn't done until after it was over, so they ate it while Andy read them their scripture story and bedtime books. The kids really enjoyed it.
My mom got this recipe from a lady she knew when she was first married. It is made in the microwave and is super easy and yummy!Poppycock for Popcorn

Ingredients:
1 ¼ cup Sugar
1 cup Butter (I used half butter and half margarine)
½ cup Corn Syrup
1 teaspoon Vanilla

Instructions:
Mix sugar, butter, and corn syrup together and microwave 8 minutes in a 4 quart glass bowl. Stir one time. Then add vanilla and microwave 5 more minutes. Pour on popped popcorn and stir. Warn impatient eaters that it is HOT. It hardens as it cools. My mom had a giant stack of plastic cups that we would use to eat popcorn.
This makes a very large size bowl of popcorn. If you have leftovers, place in a ziplock bag and eat it later.

Monday, January 18, 2010

Chocolate Chip Cookie Muffins

You know that title interested me! I found this recipe on this blog.


Ingredients:
2 cups flour
1/3 cup sugar
1/3 cup brown sugar
2 teaspoons baking powder
1/2 teaspoon salt
2/3 cup milk
1/2 cup butter (melted)
2 eggs
1 teaspoon vanilla
2 cups mini chocolate chips or regular milk chocolate chips
1/2 cup walnuts (optional)

Instructions:
Mix dry ingredients first. Then add wet ingredients. Mix well. Then add chocolate chips and nuts.
Bake at 400 for 15-20 minutes-or until toothpick comes out clean! Makes a dozen good sized muffins.

Result:
The girls and I LOVED these. Vincent had half of one too before his bath on Sunday morning. It was all gone, so I guess he liked it too. They really do taste like chocolate chip cookies, but they are a tad bit healthier in a muffin. Next time I'll have to add crasins to them. I love crasins.
Today the muffins were still delicious. I heated two up in the microwave for an afternoon snack.
The recipe made 17 muffins for me.