Sunday, January 1, 2012

Cake Pops

I know, I know. I've been missing for a little while (okay, a long while)...BUT, I'm back.

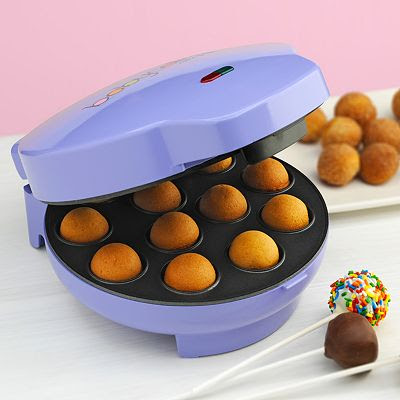
I got a great new toy to play with for Christmas and I've been using it nearly everyday to test it and to try it out.

WARNING: When you see how easy and cool it is, you might want one.
Kohl's (my favorite store) sells this Baby Cakes Cake Pop Maker and right now it's about $25. I think some other stores (Bed, Bath, and Beyond) may also carry it.It cooks cake batter (made from scratch-which I prefer-or from a mix) into 12 round balls in about 4 minutes! I know some people really like the cake balls with cooked cake mixed with frosting (and I'll eat those too-I like any sweets!), but these are so much easier and cleaner (and WAY more sanitary than someone's hands in your food. Eww...)

I have tried several different kinds of cake pops over this last week and every one of them have turned out great!
So far I've made the recipe for chocolate cake balls from the instruction book it came with (substituting hot cocoa for the coffee and I even made the next two batches with just hot water).
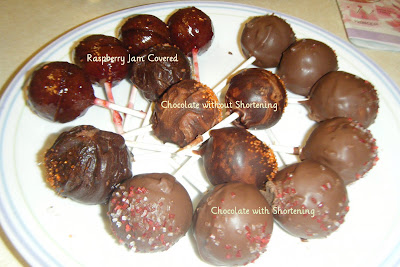
I was trying out some different coatings with these and didn't have any candy melts, so I made some up. The ones with shortening (I remembered the next time I went to make cookies that the ones I labeled as 'with shortening' are actually chocolate chips with a little shortening) worked the best, but they all tasted delicious! I covered some fresh out of the cooker in powdered sugar (put the sugar in a brown paper bag, add 4-6 cake balls, and shake) and they were great too.
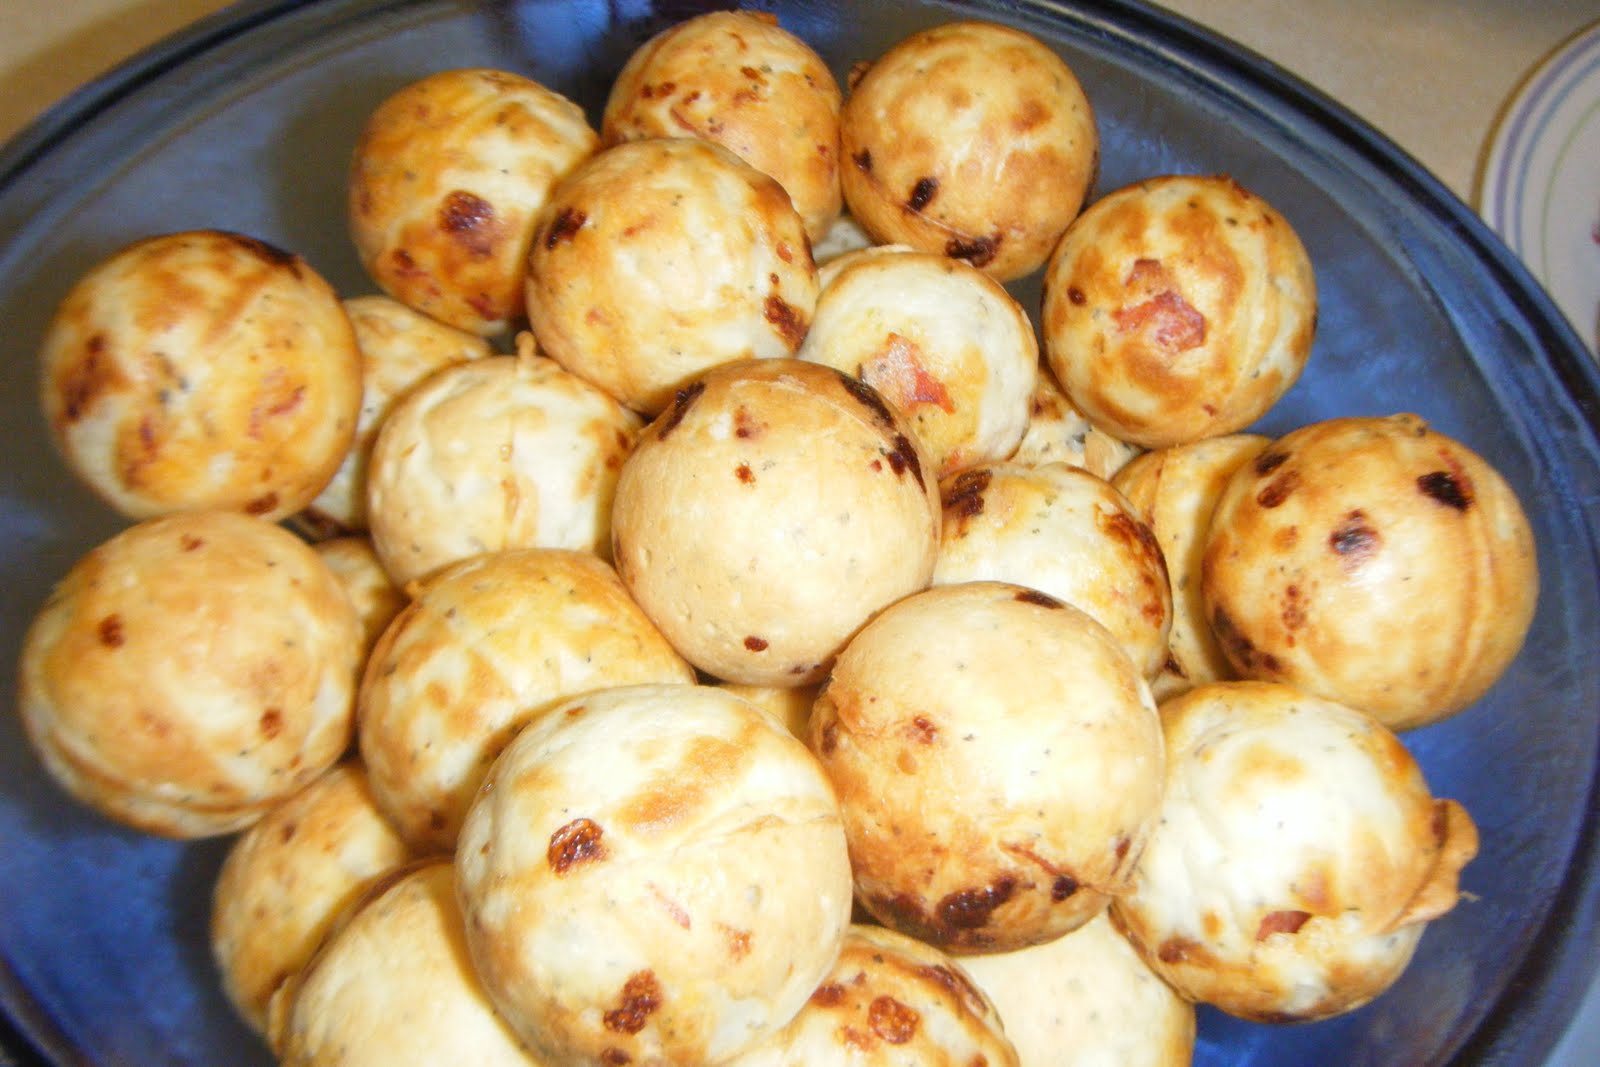
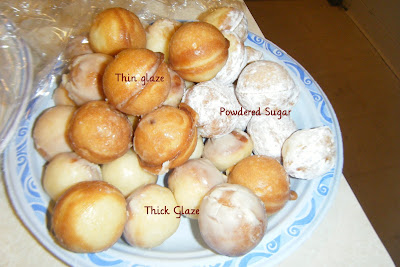
I made donut holes next with a recipe I found here. The middle part that sticks out is there because I put a little too much batter in the cooker. It looks like a planet.And I found a recipe for pizza balls here. The only thing I changed in this recipe was doubling the pepperoni and not adding sausage. We dipped these in pizza sauce and that was dinner!This blog gave me great tips on how to use the machine and a few tricks. I bought some chocolate candy melts at the store and tried them out. I cut the cake pop sticks that came with the machine in half because I knew they were mostly staying at home. The machine also comes with a plastic tray that the cooked cake balls can cool in and keep their shape and the stick fits into a hole at the bottom too.I'm getting better and better (I think) and I think they will be a HUGE hit at our bake sale (that I'm in charge of) at the school carnival this spring!
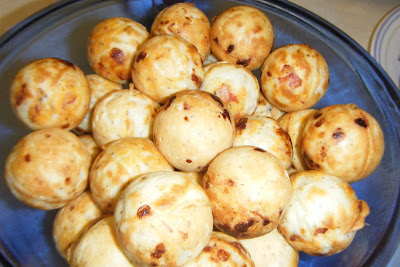
Most of the recipes I tested made between 3-4 dozen cake balls, which means at 4 minutes to bake a dozen, you are done baking them in about 15 minutes.
I think the ones I covered with powdered sugar this last time without sticks took me 20 minutes, including the time it took to mix the batter, bake the cake balls, shake the powdered sugar on while the next batch was cooking, and to put the plastic wrap on top before taking them to our friend's house to share. They might have even still been warm!

*I decided that I needed to have this fun toy because the health inspector told us last year that we needed to wrap each cupcake individually to sell them the next time we had a bake sale. The cupcakes were in large boxes or plates that were covered.

I was trying to think of how I could package cupcakes without the frosting being a giant disaster and thought cake pops would be much easier (cover with a plastic bag and twist tie) to package and sell. Some people put decorated cupcakes into cups to package or on a plate, but it still seems messy, especially with the hundreds of cupcakes we had to sell last year.

Thursday, October 27, 2011

General Tso's Chicken

I can't take credit for this recipe, but I did make it and I substituted a little, so here's what I did and it was a success. This is a recipe that is great to make because who doesn't like General Tso's Chicken, but this is even better than the stuff at buffets because you eat it as soon as it's made and it hasn't been under heat lamps. Andy said to me several weeks ago that General Tso's chicken is his favorite and that I should make it, so I found a recipe and gathered all the ingredients (it was hard to find Hoisin sauce-WINCO!) and made it for our family.
I should warn you that this meal used several bowls and pans to make. This is a little time consuming, but so worth it and you'll feel awesome knowing you can do this. And if you clean up while it fries up, you'll be ahead of the game.

The things that you might not have in your stocked kitchen are:
*Red chili (or pepper) flakes
*Chinese rice wine (or rice vinegar)
*Hoisin Sauce (I finally found this at Winco for $3. A little pricey, but I plan on making this a lot with that $3 bottle.)
*Chili paste (This is in the aisle with the other Asian food. It's red and usually has garlic with it. It's SPICY!)
*Sesame oil (also in the Asian aisle.)

You just need a little of each of these things, so if you know someone who likes to cook with them, see if you can borrow a little before you invest in them. However, if you do buy them, you can use them often.
I bought some Oyster Sauce for a trial dinner once and it was DISGUSTING (to us....we don't like seafood and I could hardly even taste it after smelling Oyster Sauce.) I gave all the sauces I bought for that meal and the recipe to my friend and borrowed back the rice vinegar and sesame oil from her to make this.

Serves 4 adults as part of a multi-course meal, 2 to 3 adults as a main entree.
It served our family with two adults and three kids (maybe 2 1/2 is more like it) for TWO MEALS! I think next time I will double the sauce that goes on the fried chicken so it would flavor the rice a little more.

Ingredients:
1 pound boneless, skinless chicken thighs (I used 3 slightly defrosted large chicken breasts), sliced into 1-inch cubes
1 1/2 cups cornstarch
1/2 teaspoon salt
1/2 teaspoon black pepper
3 cups vegetable oil for frying, plus 1 tablespoon for stir-frying
8 dried whole red chilis, or substitute 1/4 teaspoon dried red chili flakes (I used red pepper flakes)
2 cloves garlic, minced (I like the little bottle of it you can buy in the produce section for a buck and it's ready anytime.)
1 teaspoon white sesame seeds, for garnish
Scallions, green parts thinly sliced, for garnish

Marinade:
1 tablespoons soy sauce
1 tablespoon Chinese rice wine (I used rice vinegar)
2 egg whites

Sauce:
1/4 cup chicken stock, or substitute water (I used water and it was YUMMY!)
1 1/2 tablespoons tomato paste
1 tablespoon soy sauce
1 tablespoon rice vinegar
1 teaspoon hoisin sauce
1 teaspoon chili paste
1 teaspoons sesame oil
1 tablespoon sugar
1 teaspoon cornstarch

Instructions:
1. Prepare the marinade: In a large bowl, combine the soy sauce, rice wine, and egg whites (save the yolks to make fried rice with the leftover rice later). Coat the chicken in the marinade mixture and let sit for 10 minutes (or longer).

2. Prepare the sauce: In a small bowl, combine the chicken stock, tomato paste, sugar, soy sauce, rice vinegar, hoisin sauce, chili paste, sesame oil, sugar, and the 1 teaspoon of cornstarch. Stir until the sugar and cornstarch are dissolved. Set the sauce aside.

3. In a large bowl or deep plate, toss the 1 1/2 cups cornstarch with the salt and pepper. Coat the marinated chicken in the cornstarch and shake off any excess before frying.

4. Heat the 3 cups of peanut or vegetable oil in your wok (or large frying pan) until it registers 350°F on an instant-read oil thermometer (or just set the temperature to medium-high and wait a minute or two). Working in 2 or 3 batches, add the first batch of chicken cubes and fry until golden brown on the outside and cooked through, about 5-6 minutes. Remove the chicken with a slotted spoon and drain on paper towels. Repeat with the rest of the chicken.

5. Drain the oil into a heatproof container and save for discarding. Wipe the wok with a paper towel to remove any brown bits, but don’t wash. Make sure to wipe the outside edge of the pan so it doesn't cause a fire.

6. Reheat the wok or skillet over medium-high heat. Add another 1 tablespoon of oil and swirl to coat the base and sides. Add the dried chilis and garlic to the wok and stir-fry until just fragrant (such a great smell!), about 20 seconds. Pour in the sauce mixture and stir until thickened, about 1 to 2 minutes.

7. Return the chicken to the wok and stir well to coat with sauce. (Again the next time I make this, I'm doubling the sauce.) Transfer the chicken to a serving dish. Garnish with white sesame seeds and scallions. Serve with white rice and vegetables. I add the sesame seeds at the table because Andy doesn't like them and I didn't have scallions. It was still delicious and our 8 1/2 and 6 year old daughters gave it many thumbs up.
Let me know if you try this.

Monday, September 19, 2011

Chocolate Zucchini Bread

This is really more like cake than bread. It's so good! The site I got the recipe from (Sweet Pea's Kitchen) made them into muffins, but I didn't have time to fill muffin tins with Abby needing me (always!)
I doubled this recipe because I have so much zucchini to use. I'm freezing 2 gallon bags of it now. Doubling the recipe made four medium loaves.
This is the recipe without doubling.
Ingredients:
1 1/2 cups Brown Sugar
1/4 cup Melted Butter (or Margarine)
3/4 cup Vegetable Oil
3 Eggs
1 teaspoon Vanilla
1/2 cup Buttermilk (add 1 Tablespoon to regular milk and let it sit for five minutes)
2 cups Shredded Zucchini
2 cups Flour
1 cup Baking Cocoa
1/2 teaspoon Salt
2 teaspoon Baking Soda
1 teaspoon Nutmeg
1 1/2 teaspoons Cinnamon
1 cup Mini Chocolate Chips (you can put them inside or sprinkle them on top)

Instructions:
Preheat oven to 350 degrees.
Mix the sugar, butter, and oil. Beat in eggs. Mix in vanilla, buttermilk, and zucchini. Add salt, baking soda, nutmeg, and cinnamon.Then add cocoa and flour. Spray two loaf pans or 20 muffin tins with non-stick spray.
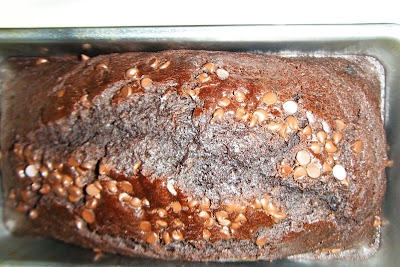
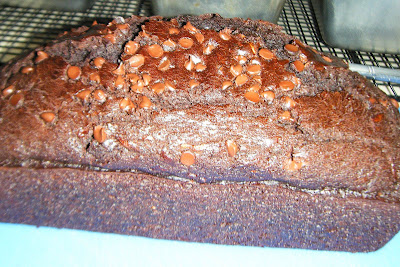
Divide batter equally among prepared loaf pans or muffin tins. Sprinkle chocolate chips on top. Bake 35-40 minutes for loaves, 20 to 24 minutes for muffins, until the middle is solid. Like the picture below: Let cool in the pan for five minutes (if you can stand it) before letting them cool on a wire rack.
NaDell Tip #1: Directions always say to mix all the dry ingredients together before mixing the wet ingredients in a different bowl. I haven't found much use in that and always just add the smallest amount of dry ingredients first (ie: salt, baking soda, spices) and the flour last. Works just fine for me....especially with a Kitchen Aid.

NaDell Tip #2: My Kitchen Aid has a shredder attachment, so in less than an hour I had eight big zucchinis all cleaned, cut, deseeded, shredded, bagged, and cleaned up. I leave the peel on and just pick out the big chunks that are occasionally are too thick to shred. I even used some of the yellow summer squash and mixed them all together. I love that attachment (they sell them at Walmart!) and use it for cheese all the time. It's well worth the investment and as a bonus, Andy likes to use it because it's a cool tool. It also comes with a slicer. There are two different sizes for each slicer or shredder. I used the larger shredder for the zucchini.
It just melted right into the bread. YUM!

Friday, September 16, 2011

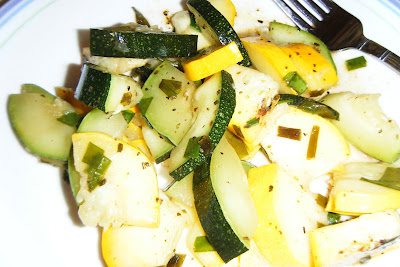
Spicy Squash Saute

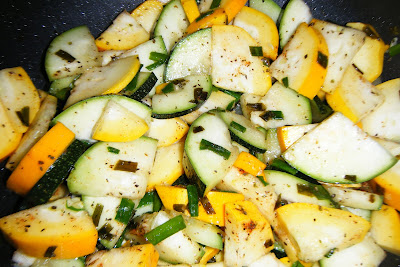
This morning I went to a friend's house who had an overabundance of squash and took some off of his hands for him. (My garden is failing miserably, but I planted late and didn't water that much, so it's really my own fault.) I was happy to help him out and I'm excited to share the way I make my zucchini and summer squash (the yellow one) recipe.I use a large, deep frying pan (it's 10 inches at the top, about 5 inches deep and has a lid-I got it at Bed, Bath, and Beyond with a coupon and it was close to $10-well worth it!)
Here's what you need:
*Zucchini
*Summer Squash*Green Onions (or real ones if you'd like and you have them)
*2 Tablespoons EVOO (Extra Virgin Olive Oil-or butter if you like it more)
*Salt and Pepper
*Garlic Powder (or real garlic if you have it)
*Red Pepper Powder
*Italian Seasoning Spice
Instructions:
Heat up the EVOO in your pan and add in the green onions (I used my kitchen scissors to cut them). Wash off the squash on the outside before slicing and quartering them. Enjoy the smell of the onions in your pan (I love that smell!) Add in the two different kinds of squash and use a spatula or spoon to cover everything with the EVOO. Add spices-however much you normally like). I added a little too much red pepper this time, but it had great flavor and I liked it, even though it made my eyes water.
Put lid on top and let it steam on low for 10 minutes or so. Just until the squash are a little tender. I waited 15 minutes because I was feeding a cute baby and getting her to sleep and they were still yummy, but a little more mushy than I like.
Eat and enjoy.
Look for a few more zucchini recipes soon. I have more to use.

Friday, August 19, 2011

Homemade Tortillas

A few weeks ago I decided to make tacos for dinner and after starting realized that I didn't have enough tortillas and instead of calling Andy to stop at the store on his way home, I decided to use a recipe my mom had that I added to my cookbook that I typed up for our family years ago and hadn't tried.
Ingredients:
4 cups Flour
1 tsp Salt
½ cup Shortening
1 cup Hot Water

Instructions:
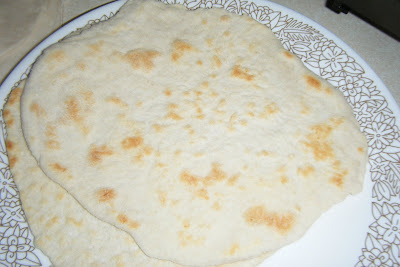
Mix all ingredients in order. Knead, roll, and cook on griddle. I could cook two or three on my big griddle at a time.
I just did this by hand because it didn't take much effort to make the dough. Here is some of the dough.
Here are some tortillas that I rolled out while waiting for the others to brown. One side browned. They take about three minutes to cook each side at the 300 degree temperature I had my griddle set on.The recipe said that it makes 36, but for me it actually made about 16 tortillas. Maybe I should have rolled them out thinner... I would just make what you plan on eating because theses didn't work well reheated. They were great for dinner though and cheap because of the ingredients. The kids loved these. Next on the list: Pitas!
Friday, June 24, 2011

Super Good Chocolate Cake

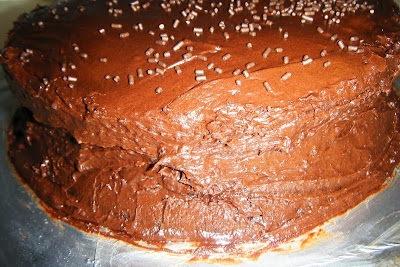
I made an awesome chocolate cake that I've been wanting to try for a few months. I finally had the opportunity (ie: other people to eat the cake with me instead of me eating all of it) and it turned out great!If I had the patience to wait for it to cool before frosting it, it would have turned out ever better, but it tasted super good, and no one was complaining about looks either. I loved the frosting recipe. It was easy and way better than canned chocolate frosting (even though I do like chocolate canned frosting, just not vanilla. Eww.) It would probably do better with actual cake pans instead of pie pans too.
The recipe came from the Hershey website, so it had to be a keeper, right?! It really is!

Cake Batter Ingredients:
2 cups Sugar
1 3/4 cups Flour
3/4 cup Baking Cocoa
1 1/2 teaspoons Baking Powder
1 1/2 teaspoons Baking Soda
1 teaspoon Salt
2 Eggs
1 cup Milk
1/2 cup Vegetable Oil
2 teaspoons Vanilla Extract
1 cup Boiling Water (I just heat water in the microwave for 2-3 minutes)

"PERFECTLY CHOCOLATE" CHOCOLATE FROSTING:
1/2 cup (1 stick) Butter or Margarine (melted)
2/3 cup Baking Cocoa
3 cups Powdered Sugar
1/3 cup Milk
1 teaspoon Vanilla Extract

Instructions:
Mix dry ingredients for cake together well before adding eggs, milk, vegetable oil, and vanilla. Mix well for a few minutes (I use my kitchen Aid with the wire whisk). Add boiling water and mix slowly (so you don't burn yourself). The batter will be thin, but don't worry! Pour batter into greased pans (I don't bother flouring) and bake at 350 degrees for the time needed for the pan size listed below.
Makes: One 9x13 pan (35-40 minutes), Two 9 inch pans (30-35 minutes), 24 cupcakes (20-25 minutes), or One Bundt cake pan (50-55 minutes). You know it's done when you jiggle it a little and it doesn't jiggle back or when you put a toothpick in and it comes out clean. If it seems to be getting brown around the edges, but not done in the middle, turn the oven down to 325 degrees and cover the cake with tin foil checking it every five minutes.
While the cake bakes, make your frosting. Melt the butter. Mix in the cocoa. Then add the powdered sugar and milk in little bits (1 cup powdered sugar-mix-1/3 cup milk-mix-repeat until you have used all that the recipe calls for). I used my small hand mixer for this because it's supposed to make two cups of frosting and my big mixer is a little overkill for that.
I still don't understand how you put in 4 1/2 cups of ingredents and end up with two cups of frosting....It must be all those taste tests... Frost when your cake is cool and your frosting won't just melt into the cake like mine. I think raspberry jam would be a yummy filling in this too. I added chocolate sprinkles on top and then covered the whole cake with my largest bowl to protect it from hungry eyes and fingers (ie: kids). I did end up taking half of the cake home and ate all the rest in a few days. I love desserts! Obviously. Look at the majority of my recipes...
Tuesday, June 14, 2011

Rainbow Cupcakes

Maybe you've heard of these. I saw them a while ago on Our Best Bites and decided that they would be perfect for a party I was hosting for House Party with Expo Washable Markers. It was a fun party with all their new washable markers and House Party sent me 15 sets of markers and dry erase boards to give away to people who came to my party. It was fun. Anyway, these cupcakes were delicious.
I used a from-scratch recipe for the cake mix because I didn't have any white cake mixes and I wanted to try this recipe. I ended up making the yellow cake mix since I used the yolk of the eggs and it didn't matter because I was dying the layers in the cupcake anyway.

For the cake batter I doubled the amounts below to make 24 cupcakes and then looked at the recipe again and realized that the recipe below was already doubled, so I guess I used twice as much batter as I should have. This recipe should still make 24 cupcakes, but they won't be as overfilled as mine were.

Cake Batter Ingredients (or you could use cake mix-whatever makes 24 cupcakes):
2 1/3 cups all-purpose flour
1 tablespoon baking powder
3/4 teaspoon salt
1 1/2 cups white sugar
1/2 cup shortening
2 eggs
1 cup milk
1 teaspoon vanilla extract

I mixed the dry ingredients in my mixer and then added the shortening. I mixed it in until it was all crumbly and then added the eggs and milk and vanilla and kept mixing until it was all uniform and didn't have any big clumps.

I liked this recipe. It was simple and I knew for sure that I wasn't adding any ingredients that my friend's kids would be allergic to.

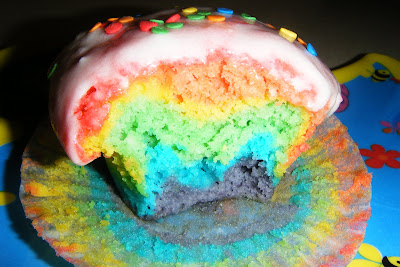
After it was all mixed, I pulled out six of our big cereal bowls and added 1/2 cup of batter to each bowl so I would have the same amount of each color. I made Red, Yellow, Orange, Green, Blue, and Violet (Purple). ROY-G-BIV. I left out Indigo. I think it's kind of made up anyway. I used gel food coloring. I think you know how to make orange, green, and purple without help, but if you don't, leave a comment and I'll help you out. =)
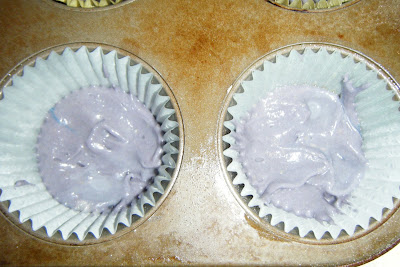
I wanted red on top of the cupcake, so I started with purple on the bottom and worked my way up. I used too much batter at the beginning and by the time I got to red, the batter was just about to the top of the muffin liner. I recommend about a Tablespoon of each color.

ONE GREAT TIP: TO SPREAD COLOR TO EDGE OF LINER, GET A CUP OF WARM WATER AND DIP A FINGER IN IT AND THEN SPREAD BATTER OUT TO THE EDGE. REDIP YOUR FINGER WITH EACH CUPCAKE AND EACH LAYER. I also spray my liners so the cupcake comes out easily.It's kind of time consuming, but these cupcakes are so fun and delicious, it's worth it.
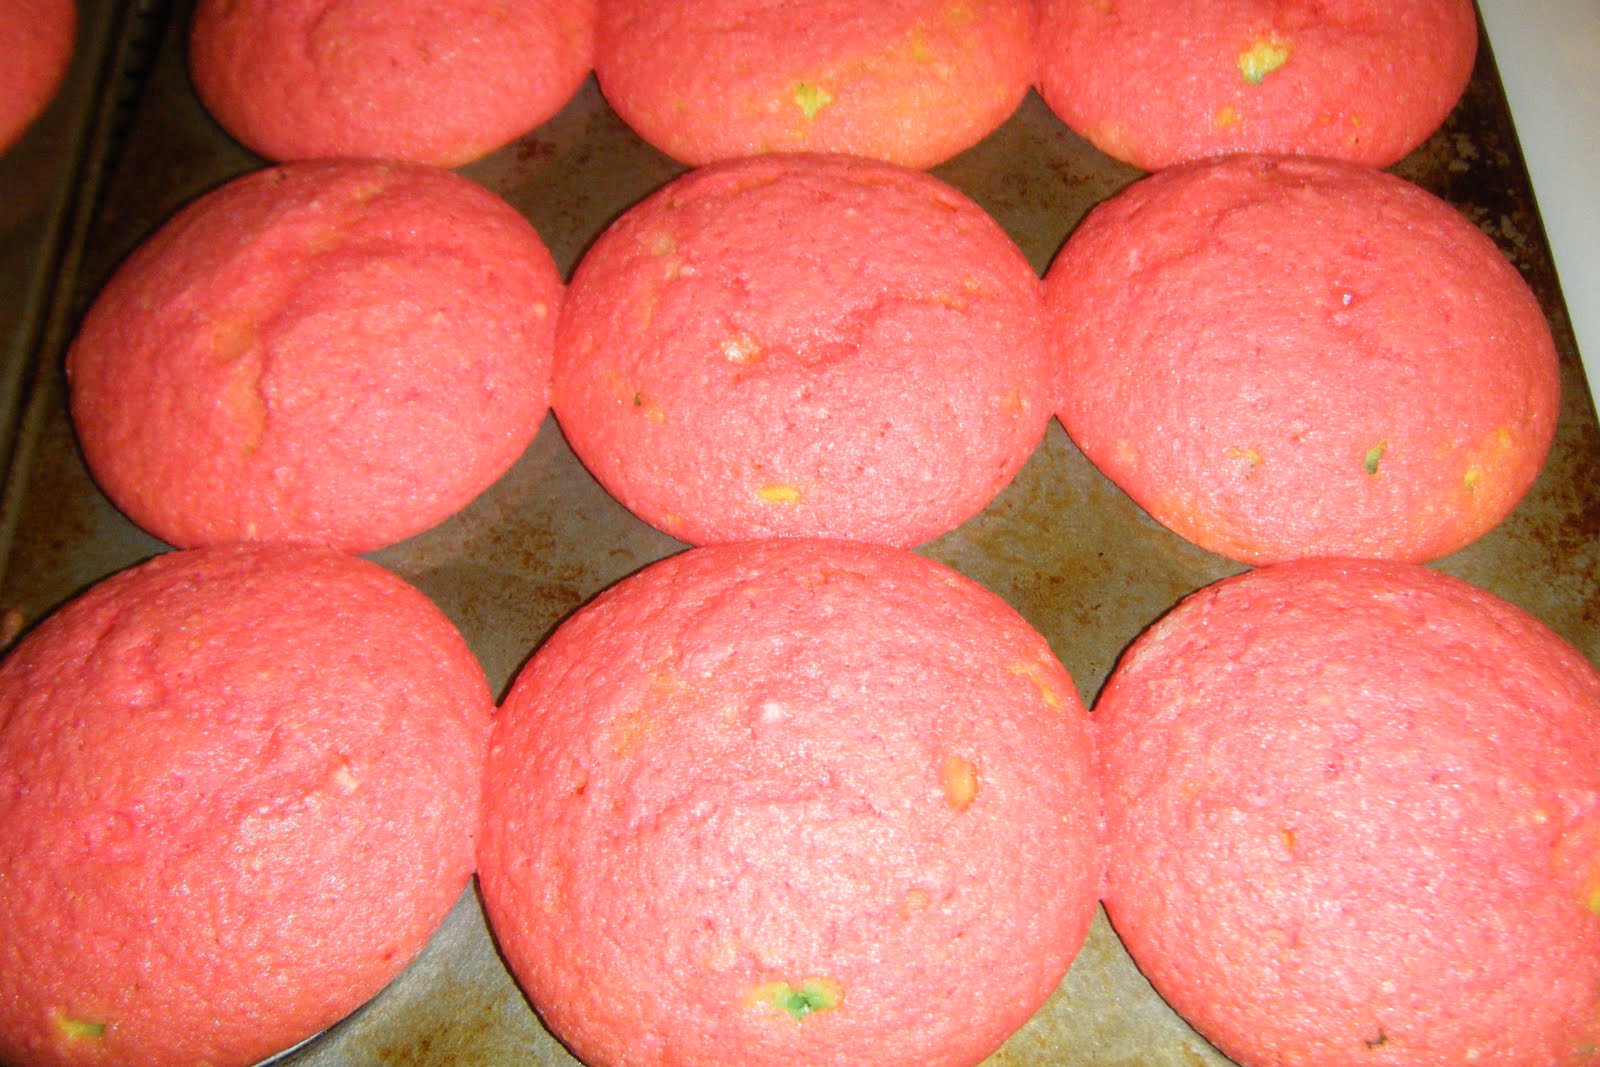
See? I filled them way too full. The muffins grew into each other and the tops were trying to fall off when I took them out of the muffin pan. I think both orange and red were over the tops of the muffin liner. Still---delicious, moist, not too crumbly, and devoured.
See the pretty layers?
I was going to make some thick frosting, but decided against it when I saw how huge these were and remembered that it would be mostly kids eating them anyway and that I only had half a bag of powdered sugar! Opps. I dipped them when they were still warm too and lost a few muffin tops before I finally started frosting them. I kind of like the glazed taste.

The frosting/glaze was 1/2 cup butter, 4 1/2 cups powdered sugar, with 1/4 cup milk.
Like I said, they were delicious and they were devoured and they didn't leave crumbs all over or stain any kids.
This little guy liked his. They still ate the frosting first, but they all finished the whole cake part too. That's saying a lot for kids. Most just eat the frosting.
I made it in my bundt cake pan this week as well. It turned out great, but it had to cook for about 40 minutes to be done in the middle. When the edges were turning brown at about 20 minutes, I turned the oven down to 300 degrees to finish it off.

Here is what it looked like. I only used four colors instead of six this time too. I could probably do a double batch of batter (or two cake mixes) in my pan.
Still delicious. =)

Wednesday, June 1, 2011

Peanut Butter Cups

Sorry it's been such a long time since I posted a new recipe. I've just been making my old standbys and quick and easy meals lately because of our new baby.
I made these peanut butter cups a few months ago with the pouch of store bought peanut butter cookie dough in my mini muffin pan and added the mini Reese's after they were cooked to the middle. One of those semi-homemade treats. They are just as good that way, but I like this recipe better and there isn't as much salt in it or preservatives, I guess.
Here is my mom's recipe for peanut butter cookies.

The Very Softest Peanut Butter Cookies
Ingredients:
1 cup Margarine
1 cup Peanut Butter
1 cup Sugar
1 cup Brown Sugar
2 Eggs
1 tsp Vanilla
2 ½ cups Flour
1 tsp Baking Powder
1 tsp Baking Soda
1 tsp Salt
Chocolate Chips, Stars, or Kisses, anything chocolate you like.

Instructions:
Mix margarine, peanut butter, and sugars. Add eggs and vanilla and mix until creamy. Add dry ingredients.
Option #1-May add chocolate chips here if desired. Don’t mix with mixer after adding chocolate chips. Shape dough into 1 inch balls. Roll in granulated sugar for this method. Place 2 inches apart on ungreased cookie sheets. Bake at 350° for 10-12 minutes.

Option #2-If using chocolate stars or kisses, add right after the cookies come out of the oven (while they are still on the cookie sheet). OR spray mini muffin tin and spoon some dough into the cup. Press it down so it fills the cup. Bake at 350° for 10-12 minutes. When you take muffin tins out, place one of these cute peanut butter cups right in the middle. Let cool and then pop them out and make some more. Store in airtight container. Makes about 60 cookies. Enjoy with a glass of milk. Cook them longer if you like they more brown. Even the ones that were nearly burnt still tasted good.
Enjoy! We sure did on Memorial Day Weekend. Andy's cousin asked me if he could trade me some brownies he made for my cookies. I'd say that means they were yummy. =)

Wednesday, March 23, 2011

Cheese Muffins

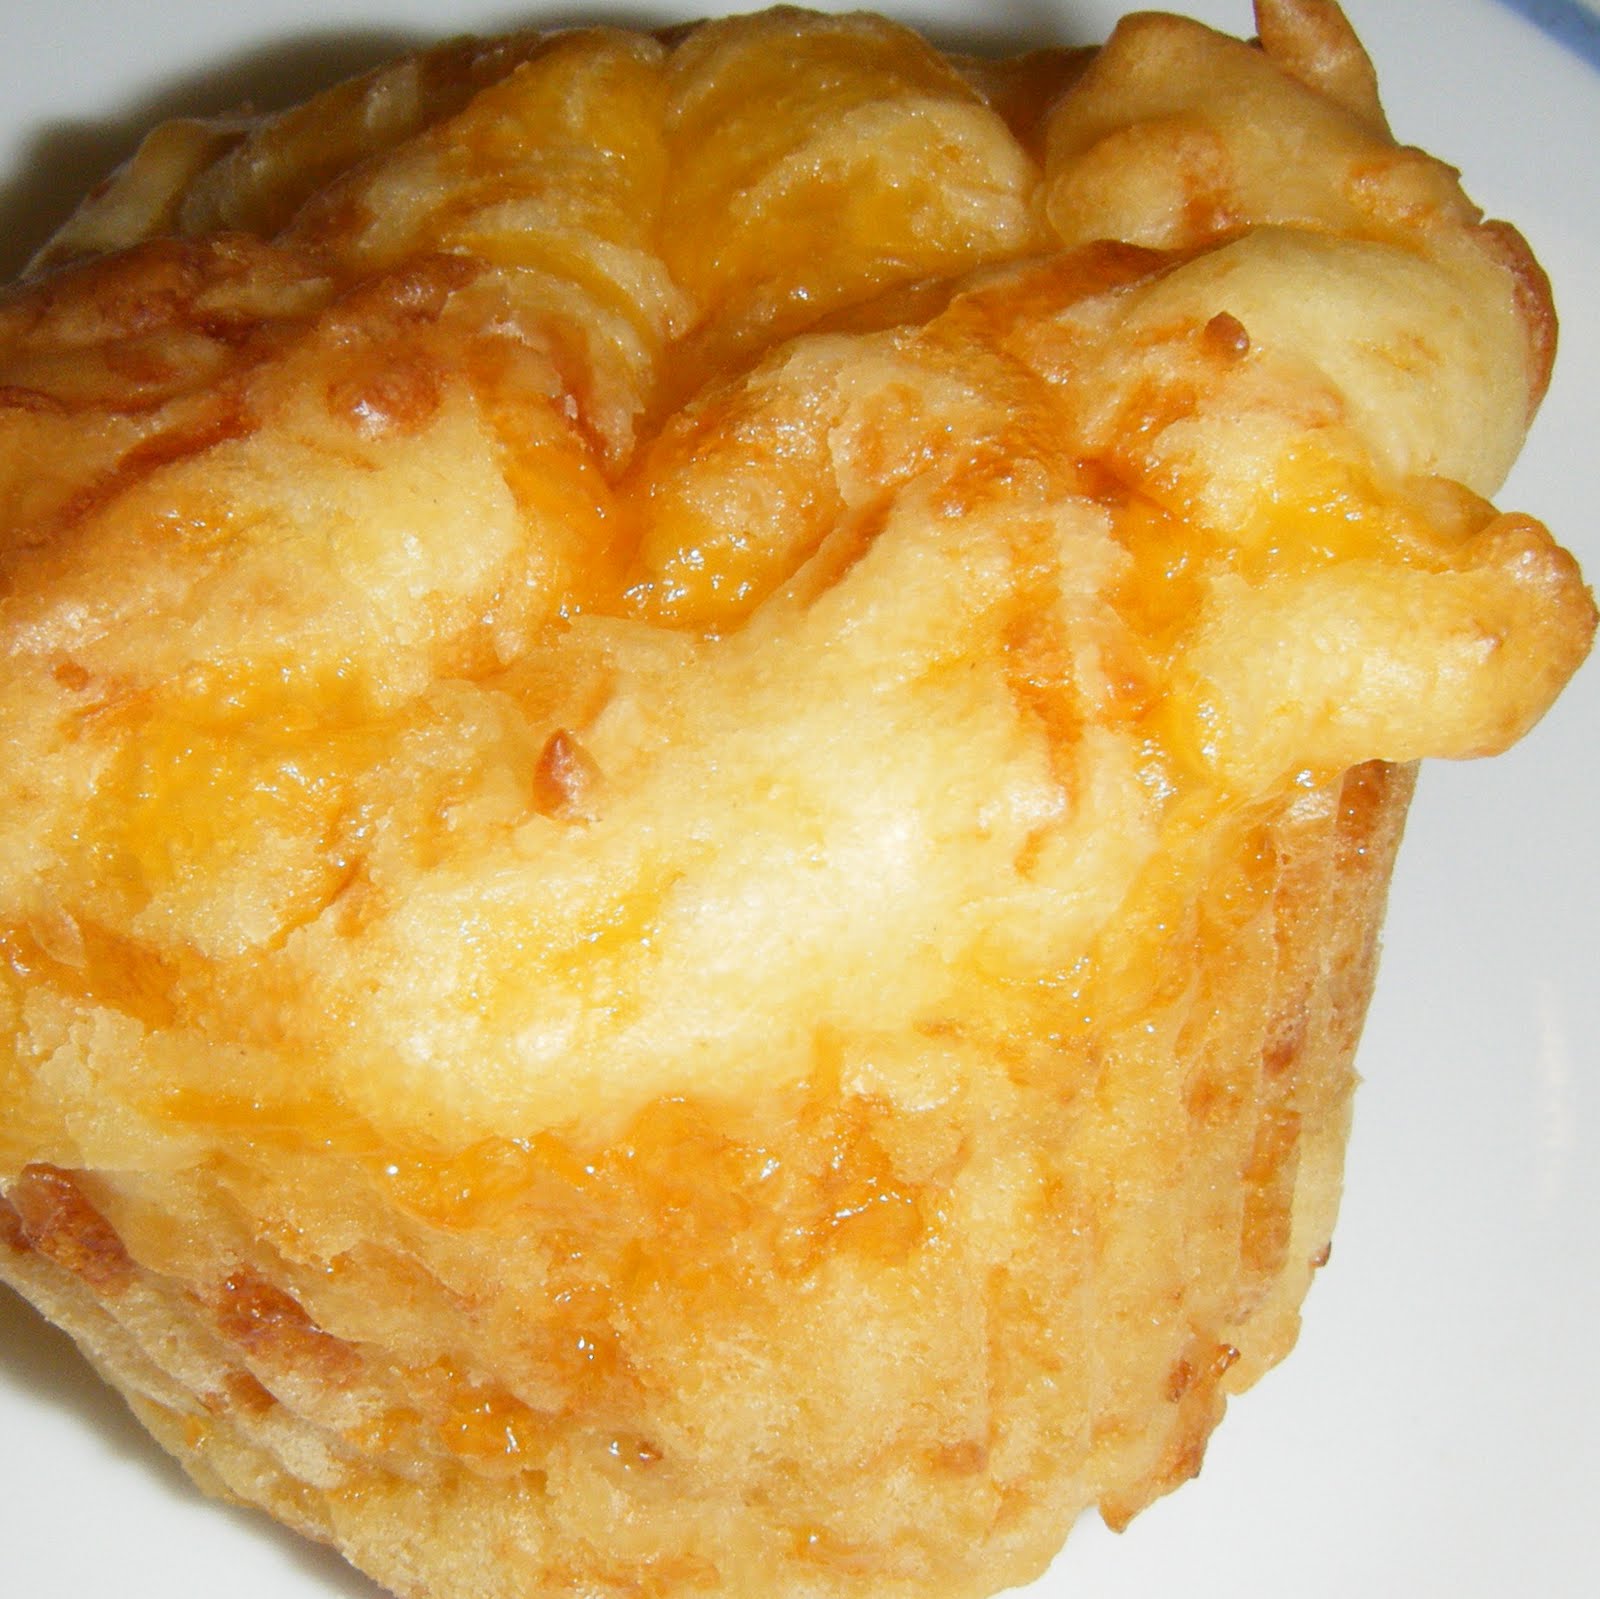
I got this recipe from Addictive Allen's and they got it from Pioneer Woman, so I really should have known that it would be SO good. They whipped up really fast. I had enough time to boil the noodles and heat up the sauce for spaghetti while they baked. I made them last night and just finished the last one (heated up) this afternoon. It only made 12, but somehow we didn't devour every one of them last night. Must have been that yummy spaghetti...

Ingredients:
1 1/2 cups Flour
1 1/2 Tablespoons Sugar
1 Tablespoon Baking Powder
1/2 teaspoon Salt
3 cups Cheese (Any kind works: colby-jack, cheddar, mozzarella, etc)
1 cup Milk
1 Egg
1/4 cup Melted Butter

Instructions:
It doesn't even matter how you put these ingredients together. Just mix and spoon into muffin tins. Yes, it is THREE cups of cheese.
(The official directions are to whisk dry ingredients, stir in cheese(s), then in a separate bowl whisk egg, milk, and melted butter before mixing them into the dry ingredients. )
I just added everything to one bowl and mixed and added the cheese last. They worked beautifully. It will seem as though there is too much cheese, but is there really such a thing as too much cheese????
Bake in greased muffin tins at 375 degrees for 20 minutes.
These muffins are airy and cheesy and delightful! They taste best when the cheese on the inside is melty enough to be a little stringy when you take a bite.
Also, the recipe says it makes 12, but I think it could easily make 15 or so.
Sorry most of my recipes are muffins. I really like them and so do my kids. =)

Saturday, January 15, 2011

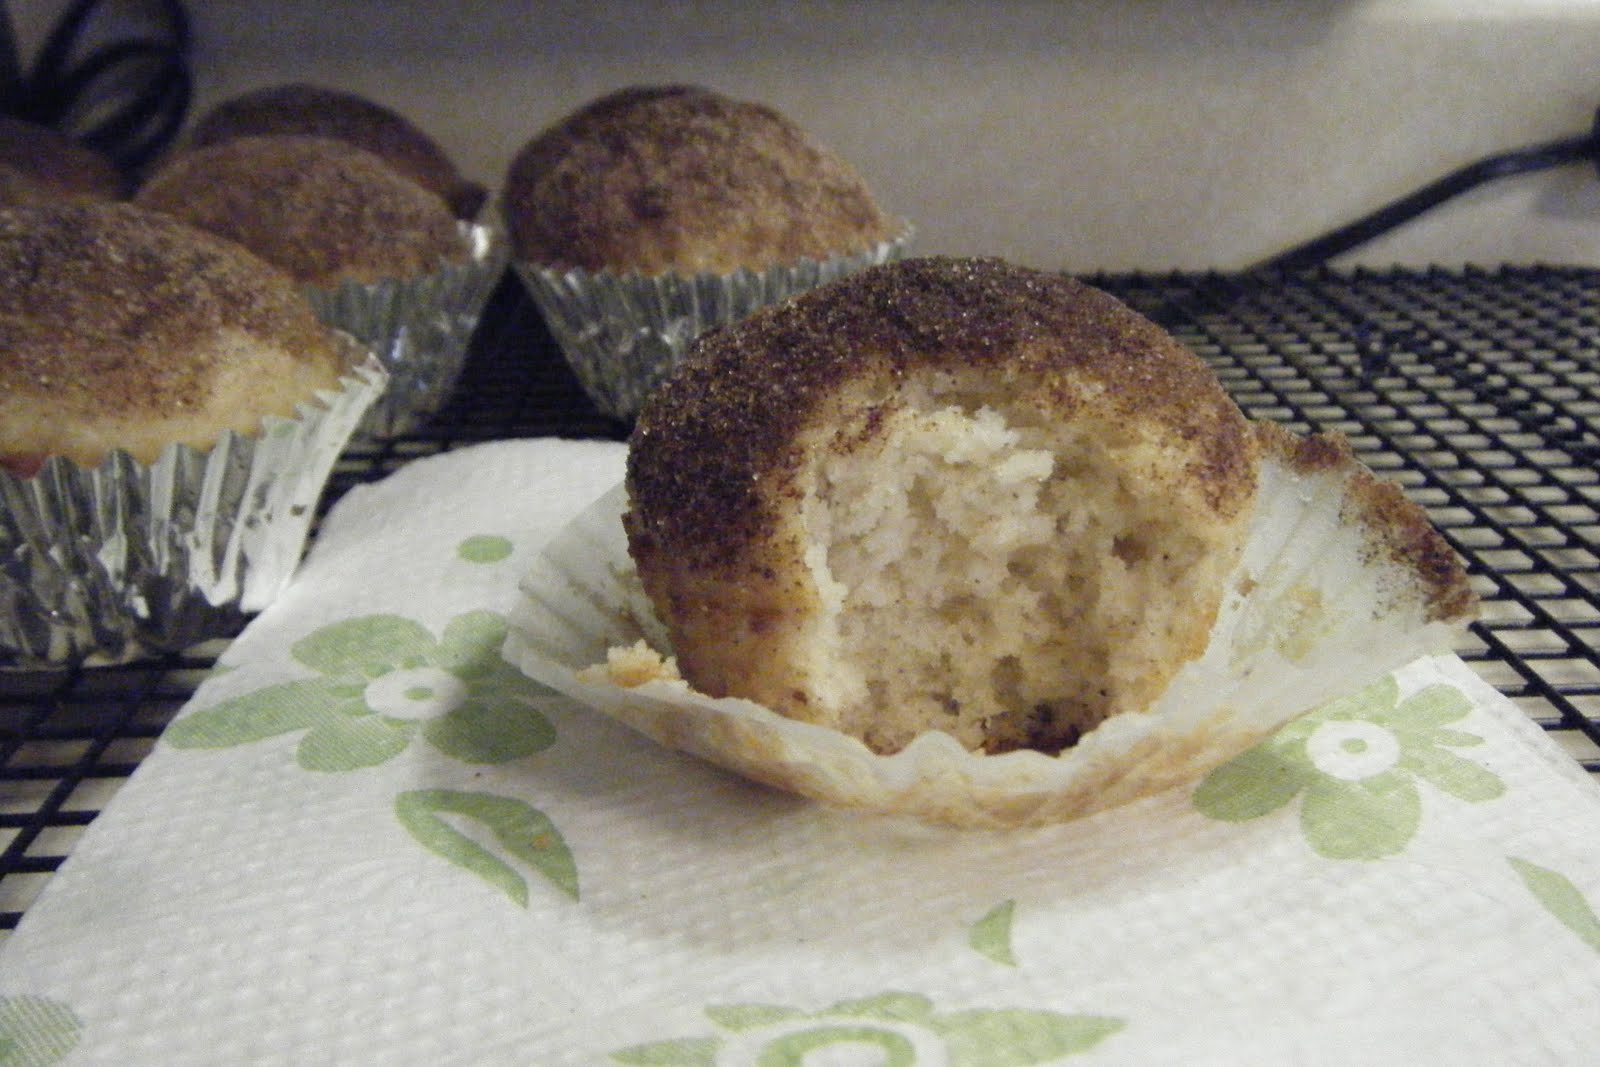
Cinnamon Doughnut Muffins

And who wouldn't want one of those???
These muffins are easy to make and delicious! They are like a cake doughnut, but more light and fluffy. Try it and you will see how good they are!
Cinnamon Doughnut Muffins
Ingredients:
1 3/4 cups all purpose flour
1 1/2 teaspoons baking powder
1/2 teaspoon salt
1/2 teaspoon ground nutmeg
1/4 teaspoon ground cinnamon
3/4 cup sugar
1/3 cup vegetable oil
1 egg
3/4 cup milk

Topping:
1/4 cup, butter melted
1/3 cup sugar
1 teaspoon ground cinnamon

Instructions:
In a large bowl mix flour, baking powder, salt, nutmeg and cinnamon. Stir to combine. Add oil, egg, and milk to dry ingredients and stir just until moistened. Fill paper lined or greased muffin cups 3/4 full and bake at 350 degrees for 20-25 minutes. They are ready when the tops are firm or you can stick a toothpick in and make sure it comes out clean. Melt butter in a small dish. Combine cinnamon and sugar in another small dish. Immediately after removing the muffins from the oven, dip the tops in the melted butter and then roll in the cinnamon/sugar mixture. Serve while warm for best taste. Makes 12 muffins.

Thursday, December 16, 2010

Blueberry Applesauce Loaf

This recipe came from Seneca. The line just before the recipe says to use applesauce for healthy baking. This makes one large loaf (9x5x3 pan) or two small loaves with the 6 inch pan.Ingredients:
1/4 cup Butter, Softened
3/4 cup Sugar
1/4 cup Applesauce (I used a wild berry cup and ate the last few spoonfuls.)
1/4 cup Apple Juice
2 Eggs
1/2 cup Milk
1 teaspoon Vanilla
1 3/4 cups Flour
1/8 teaspoon Salt
1 teaspoon Baking Powder
1 cup Fresh or Frozen Blueberries (I only had 1/2 cup of frozen, so I added Crasins too.)

Topping:
2 teaspoons Sugar
1 teaspoon Cinnamon

Instructions:
In a mixing bowl, cream together butter, sugar, applesauce, and apple juice. Beat in eggs, milk, and vanilla. Combine flour, salt, and baking powder and add to creamed mixture just until combined. Gently fold in blueberries. Pour into a greased loaf pan. Combine sugar and cinnamon and sprinkle over the top of the batter. Bake at 350 degrees for 45-55 minutes or until a toothpick comes out clean. I checked mine at 30 minutes and it was starting to brown up on the edges a lot, so I put a piece of tin foil over the pans. Cool for 10 minutes before removing from pan to wire rack to cool completely.

I think this bread is delicious. Try it and tell me if you did.

Monday, October 18, 2010

Pumpkin Muffins

I just found this recipe a few days ago in a local magazine and had to try it. It has dried cranberries (Crasins) as well. I think it would also be great with chocolate chips, but what is not better with chocolate chips? The Crasins are in there, but kind of hide in the pumpkin.
Ingredients:
2 Eggs
2 cups Sugar
1 cup Canned Pumpkin
1/2 cup Vegetable Oil
1 teaspoon Baking Soda
1/2 teaspoon Salt
1 teaspoon Pumpkin Spice (I used 1/2 teaspoon Nutmeg and 1/2 teaspoon Cinnamon)
2 1/4 cup Flour
1 cup Dried Cranberries (I think more of these would have been better.

Instructions:
This recipe made 24 full muffins.
In a mixing bowl, beat the eggs and sugar together. Add the pumpkin and oil and mix well. Stir baking soda, salt, spices, and flour in. Fold in cranberries. Fill greased muffin tins 3/4 full and bake at 400 degrees for 18-22 minutes or until a toothpick comes out clean. Cool for five minutes before removing to wire rack.
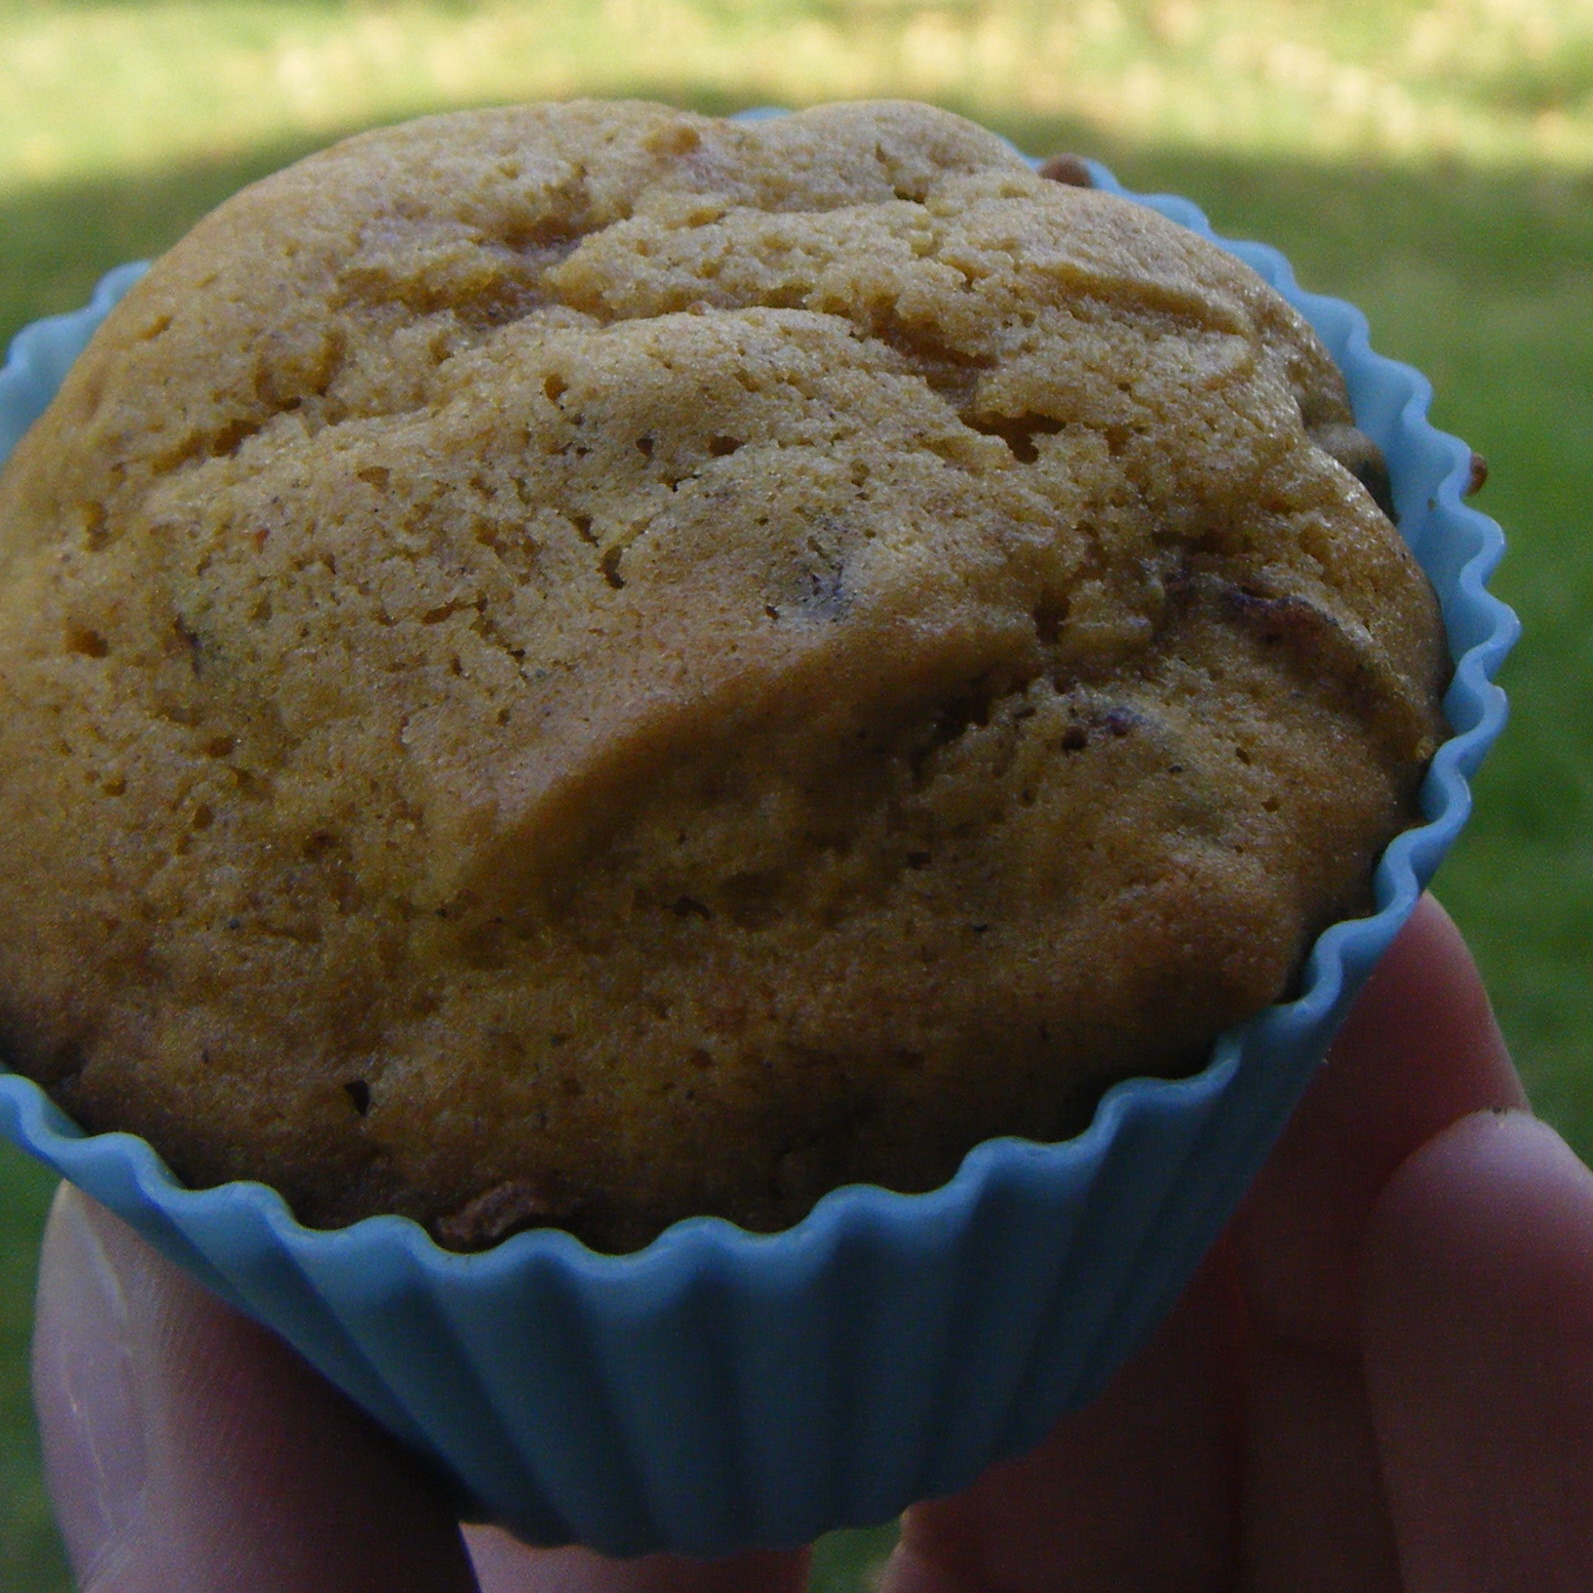
My muffin liners were in the dollar section of Target last year. They are silicone and reusable and don't even need to be sprayed (but I still do a little.)

Sunday, October 3, 2010

Bagels

One of my classmates from high school posted on Facebook that she made her own bagels. It had never occurred to me that I could make my own bagels. They seemed too fancy to make and I had no idea that I could. I looked at the recipe and it was easy. There are many steps, but the end result is perfectly delicious!
Sorry about my pictures. I don't have a lot of light in my kitchen and took 41 pictures just for these ones.

Ingredients:
1 teaspoon active dry yeast
1 1/4 cups warm milk or water (I used half water and half milk.)
1/4 cup butter or margarine, softened
2 tablespoons sugar
1 teaspoon salt
1 egg yolk
3 3/4 cups all-purpose flour

Instructions:
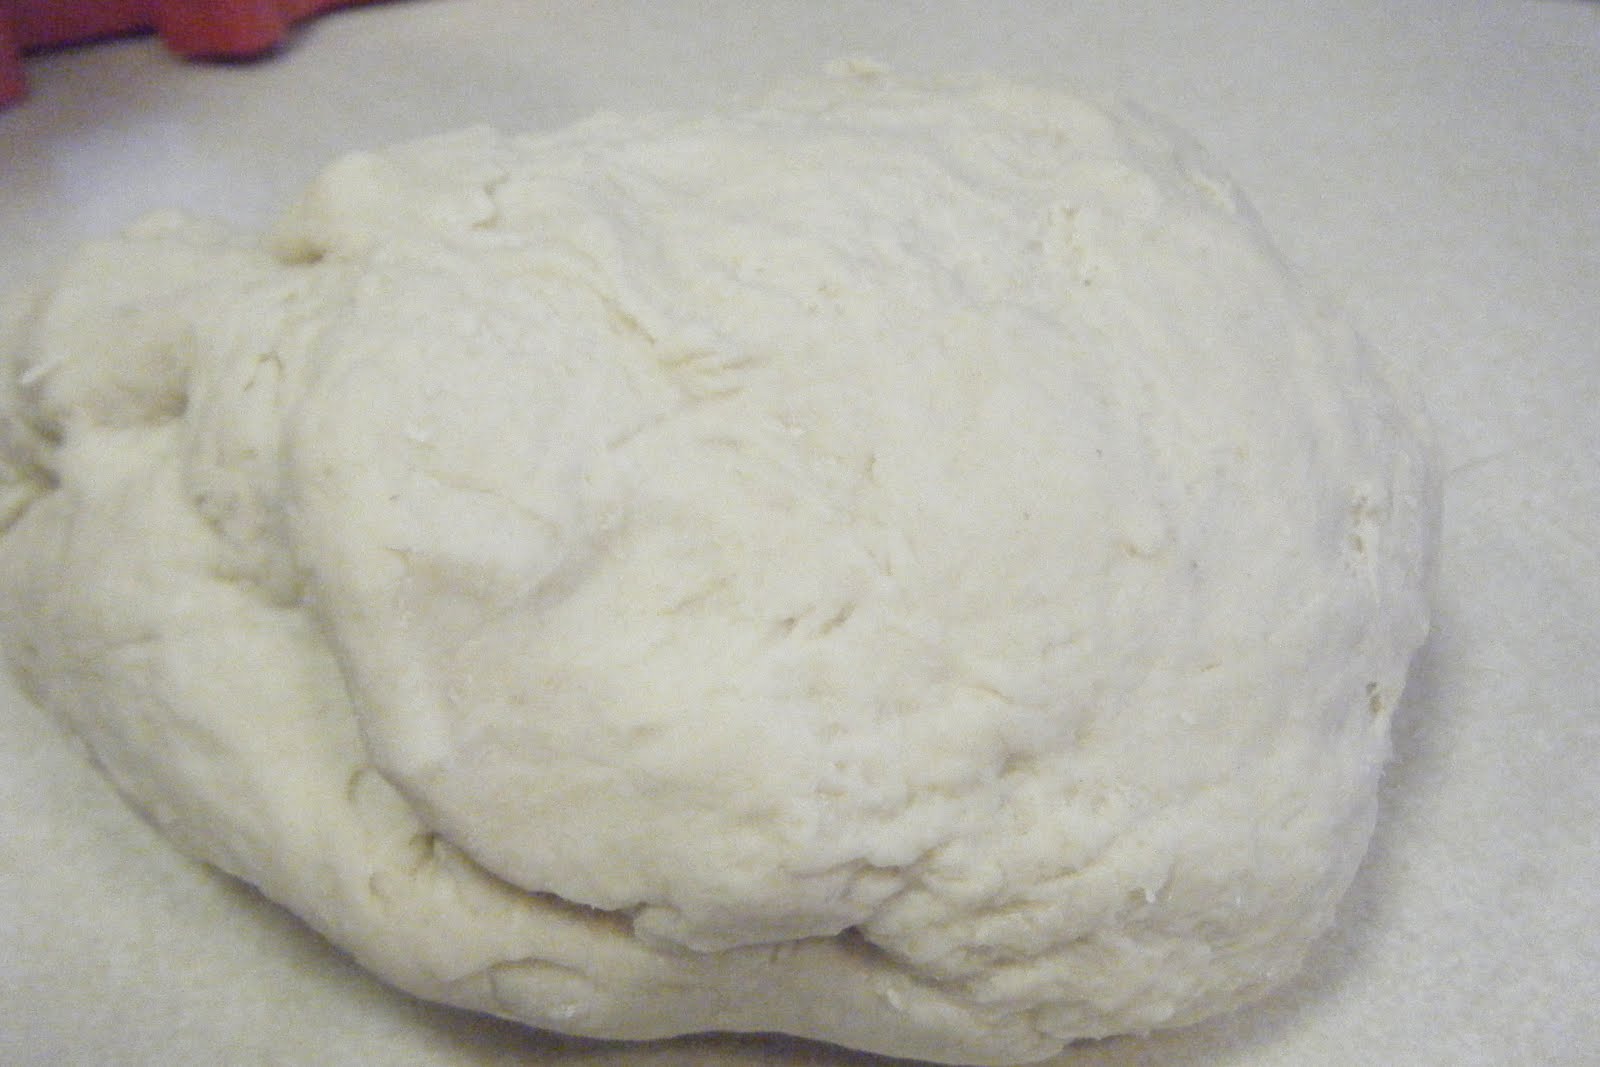
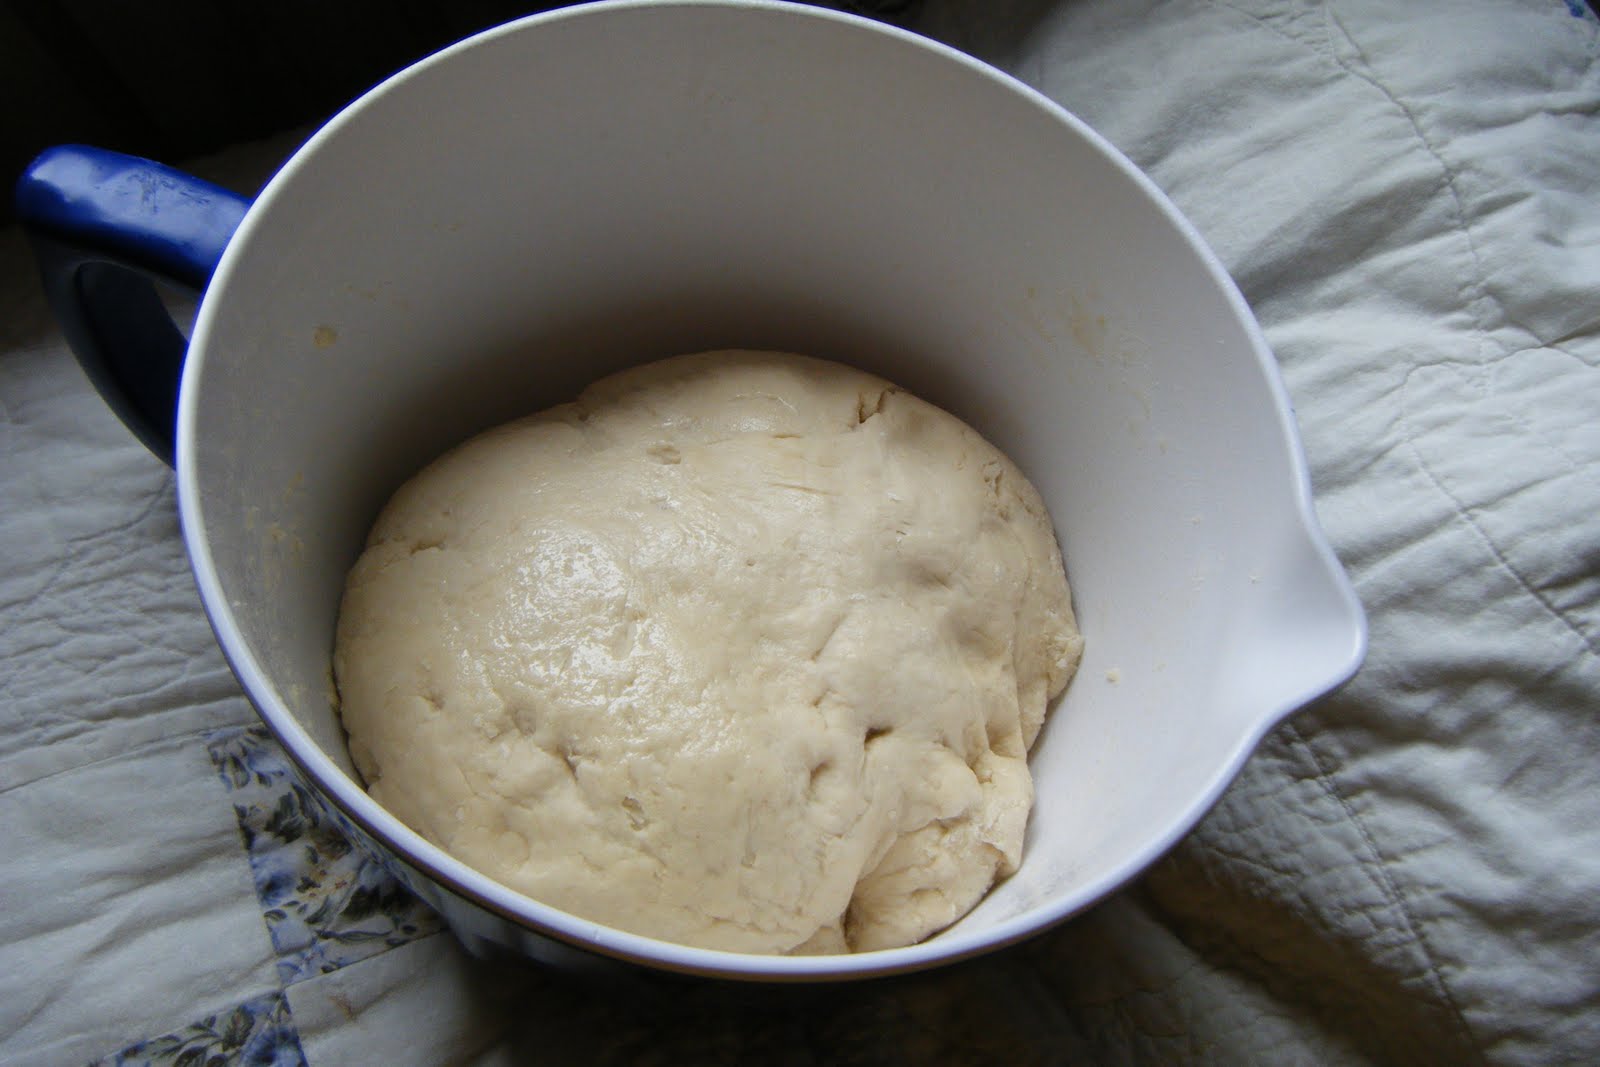
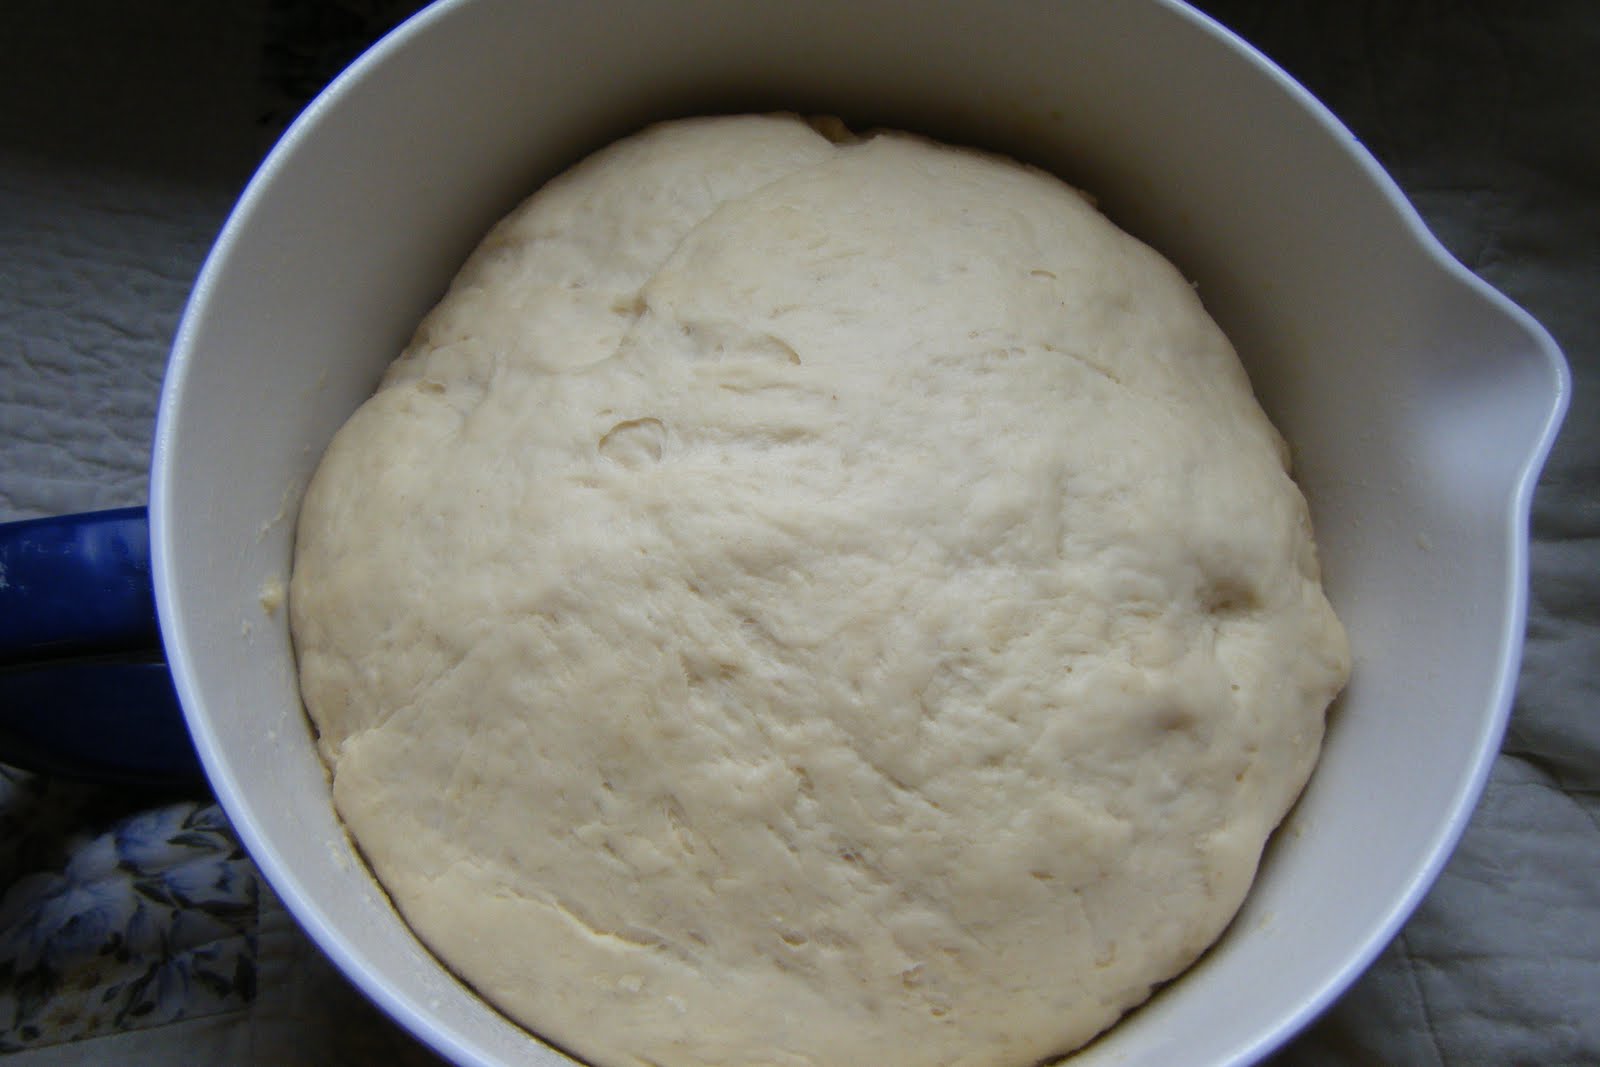
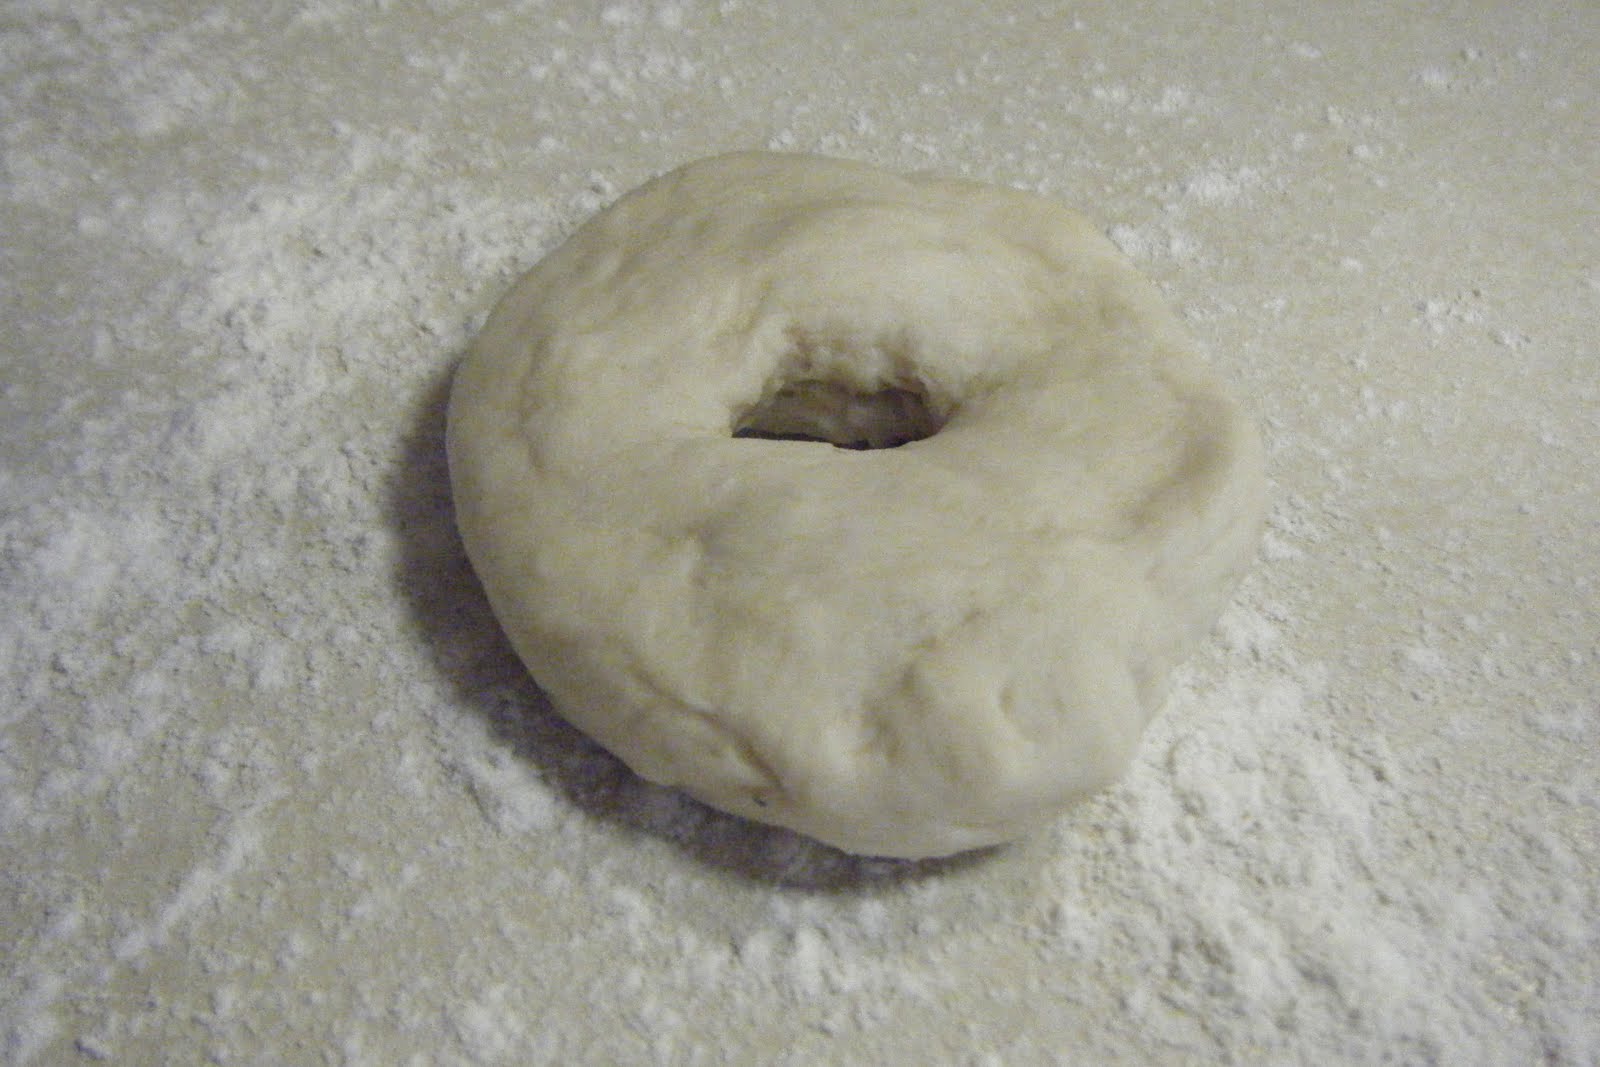
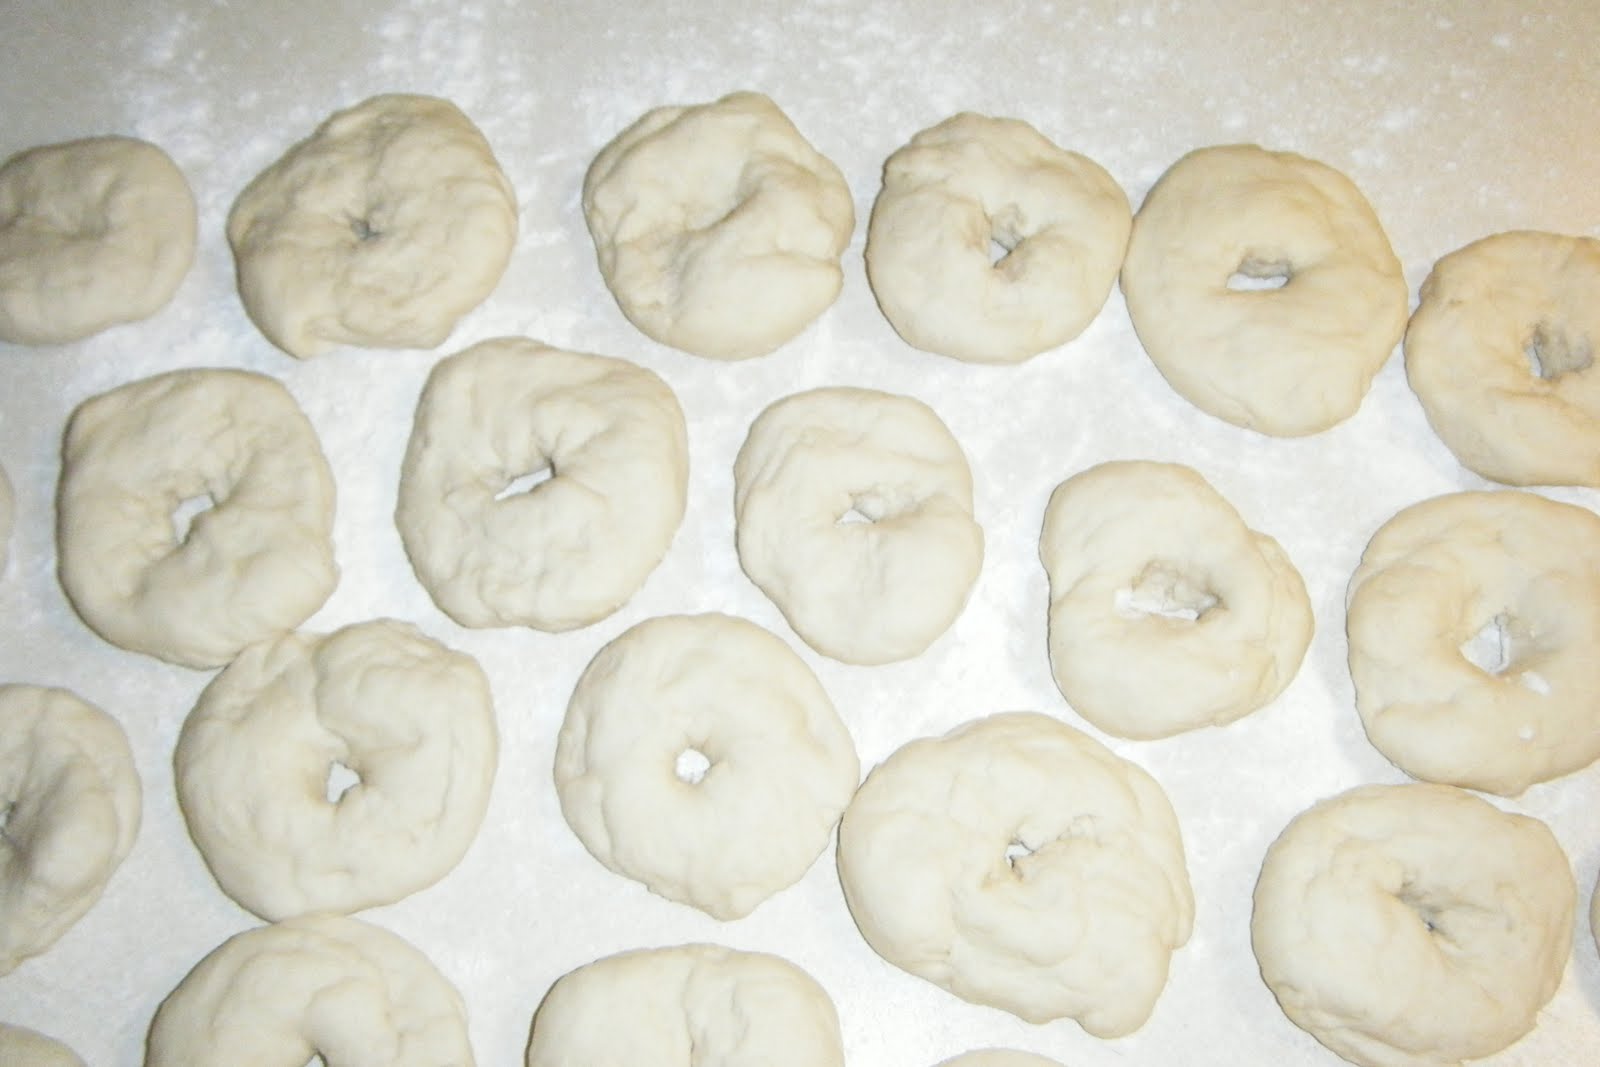
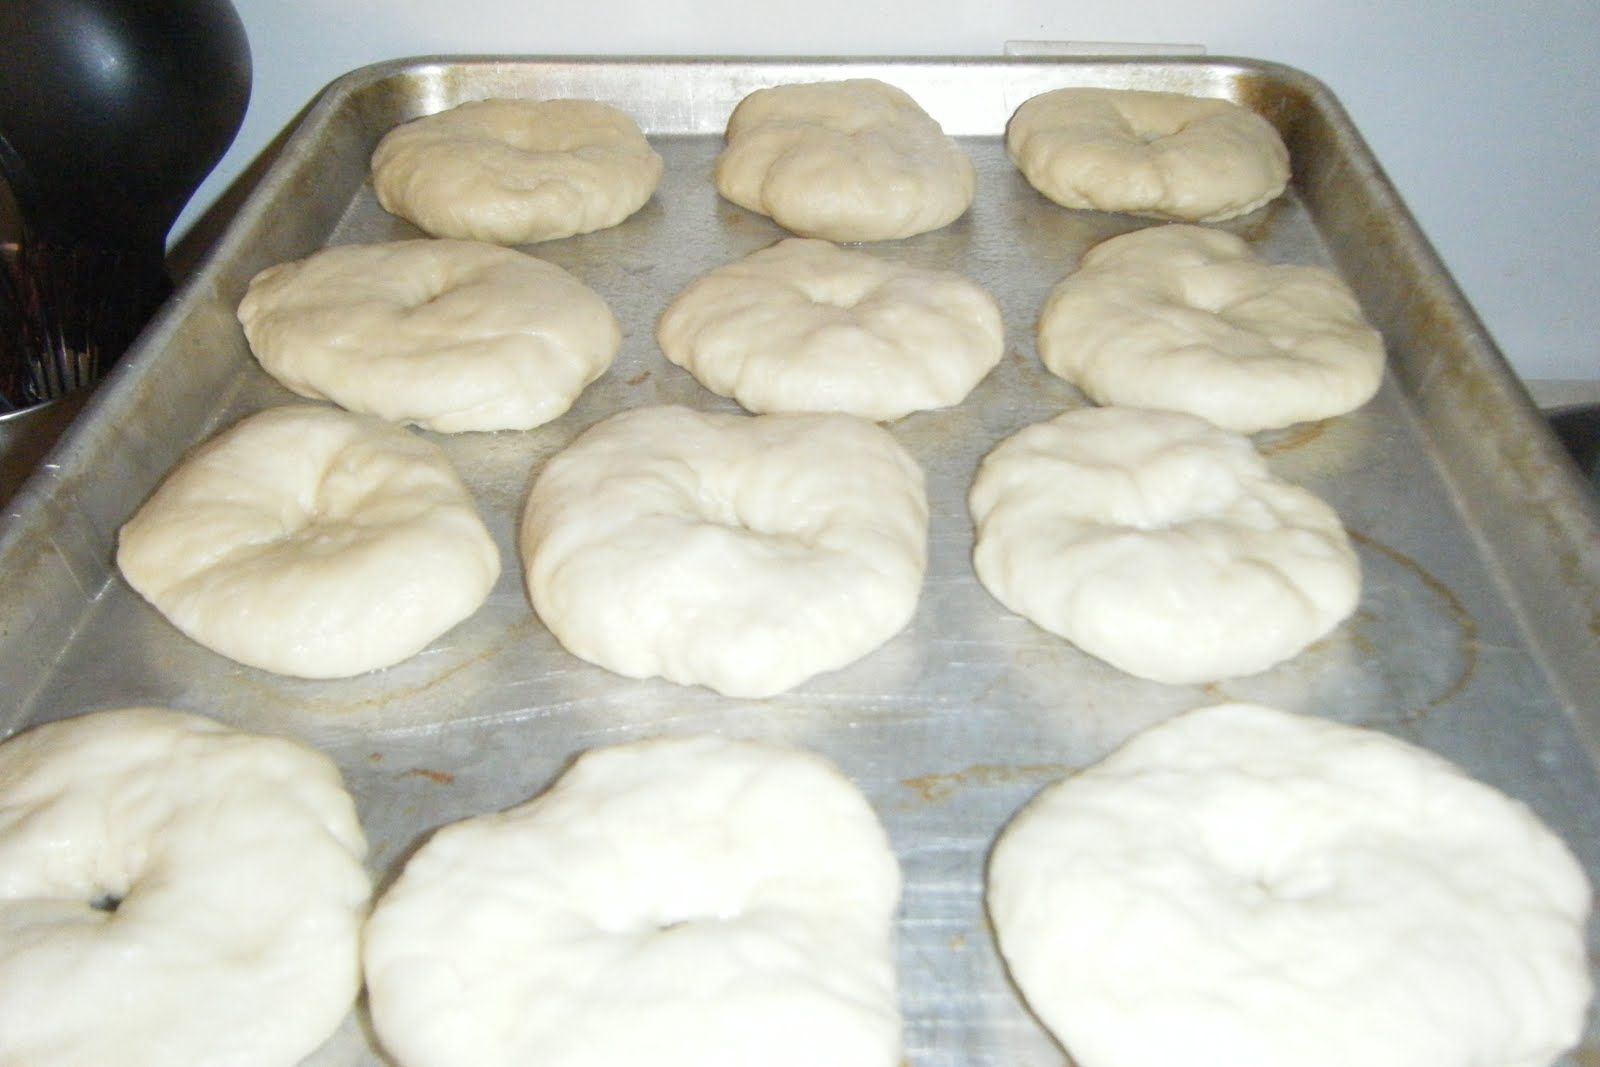
In a mixing bowl, dissolve yeast in warm milk. Add the butter, sugar, salt and egg yolk. Mix well. Stir in enough flour to form a soft dough. Turn onto a floured surface; knead until smooth and elastic, about 6-8 minutes. Place in a greased bowl, turning once to grease top.Cover and let rise in a warm place until doubled, about 1 hour.Punch dough down. Shape into 12 balls. Push thumb through centers to form a 1-in. hole. Place on a floured surface.Cover and let rest for 10 minutes. Flatten. In a large saucepan, bring water to a boil. Drop bagels, one at a time, into boiling water. When bagels float to the surface, remove with a slotted spoon and place 2 in. apart (I did less than that and they were fine.) on greased baking sheets. Boiling the bagel makes the special smooth texture on the outside of the bagel.
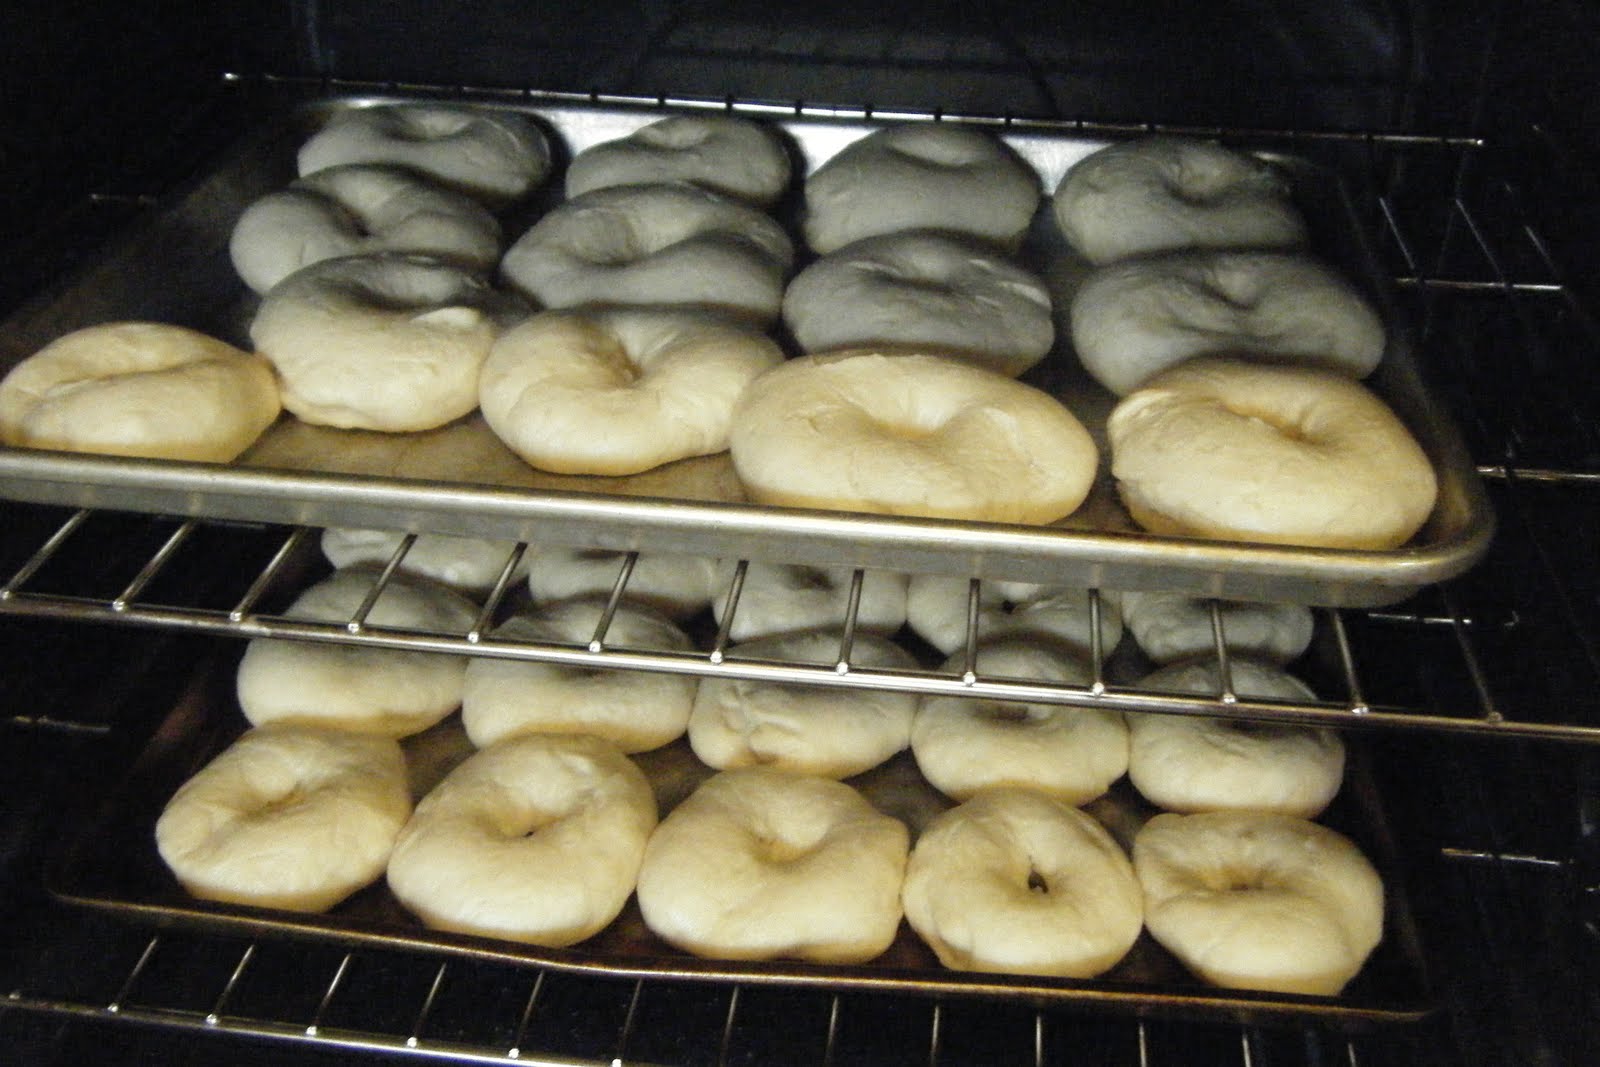
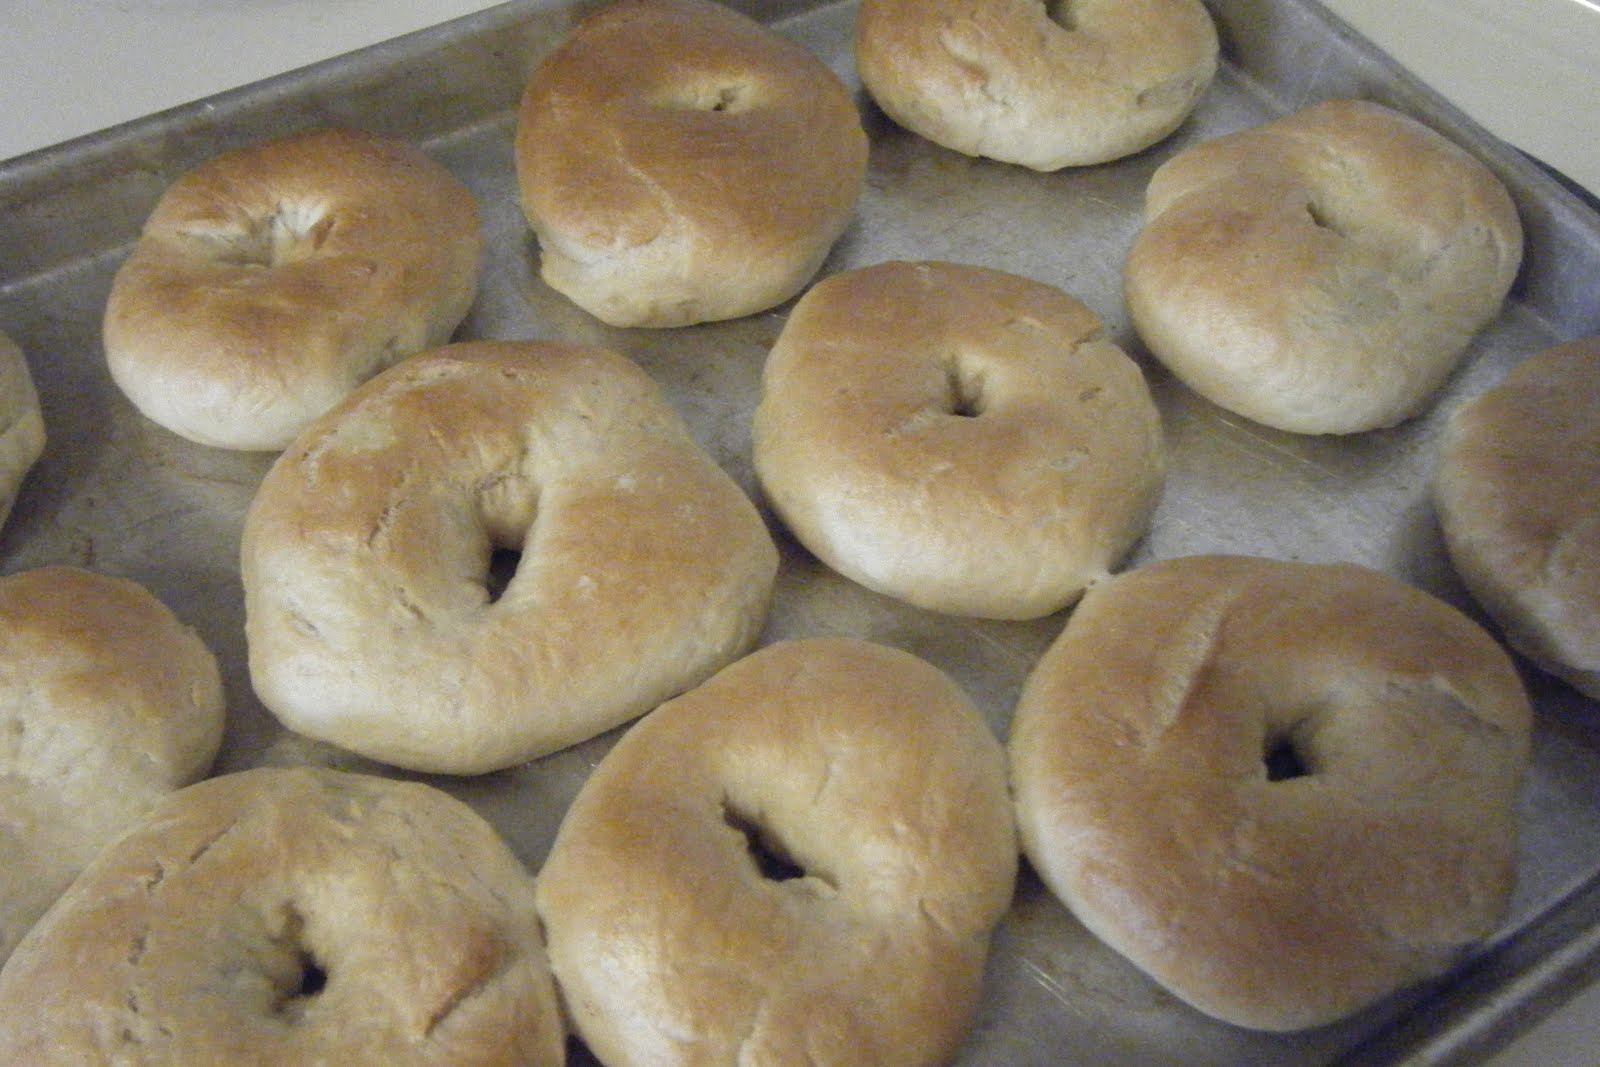
After boiling and ready to go in the oven.Bake at 400 degrees F for 20-25 minutes or until golden brown.
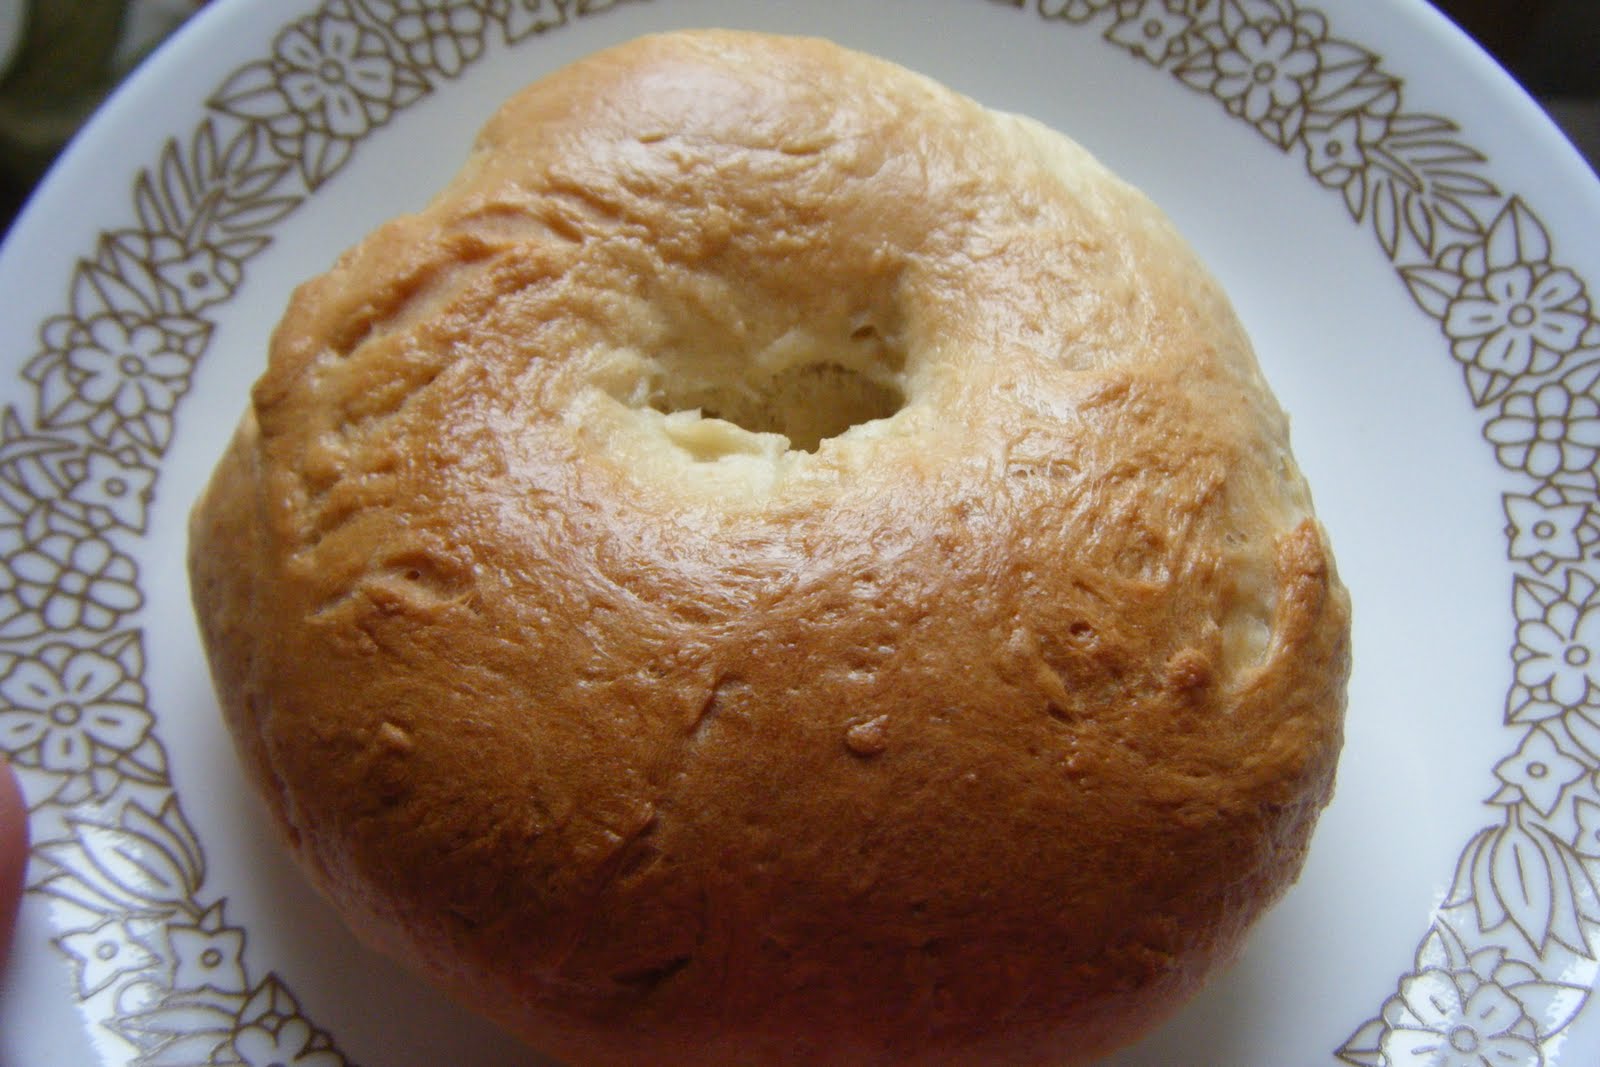
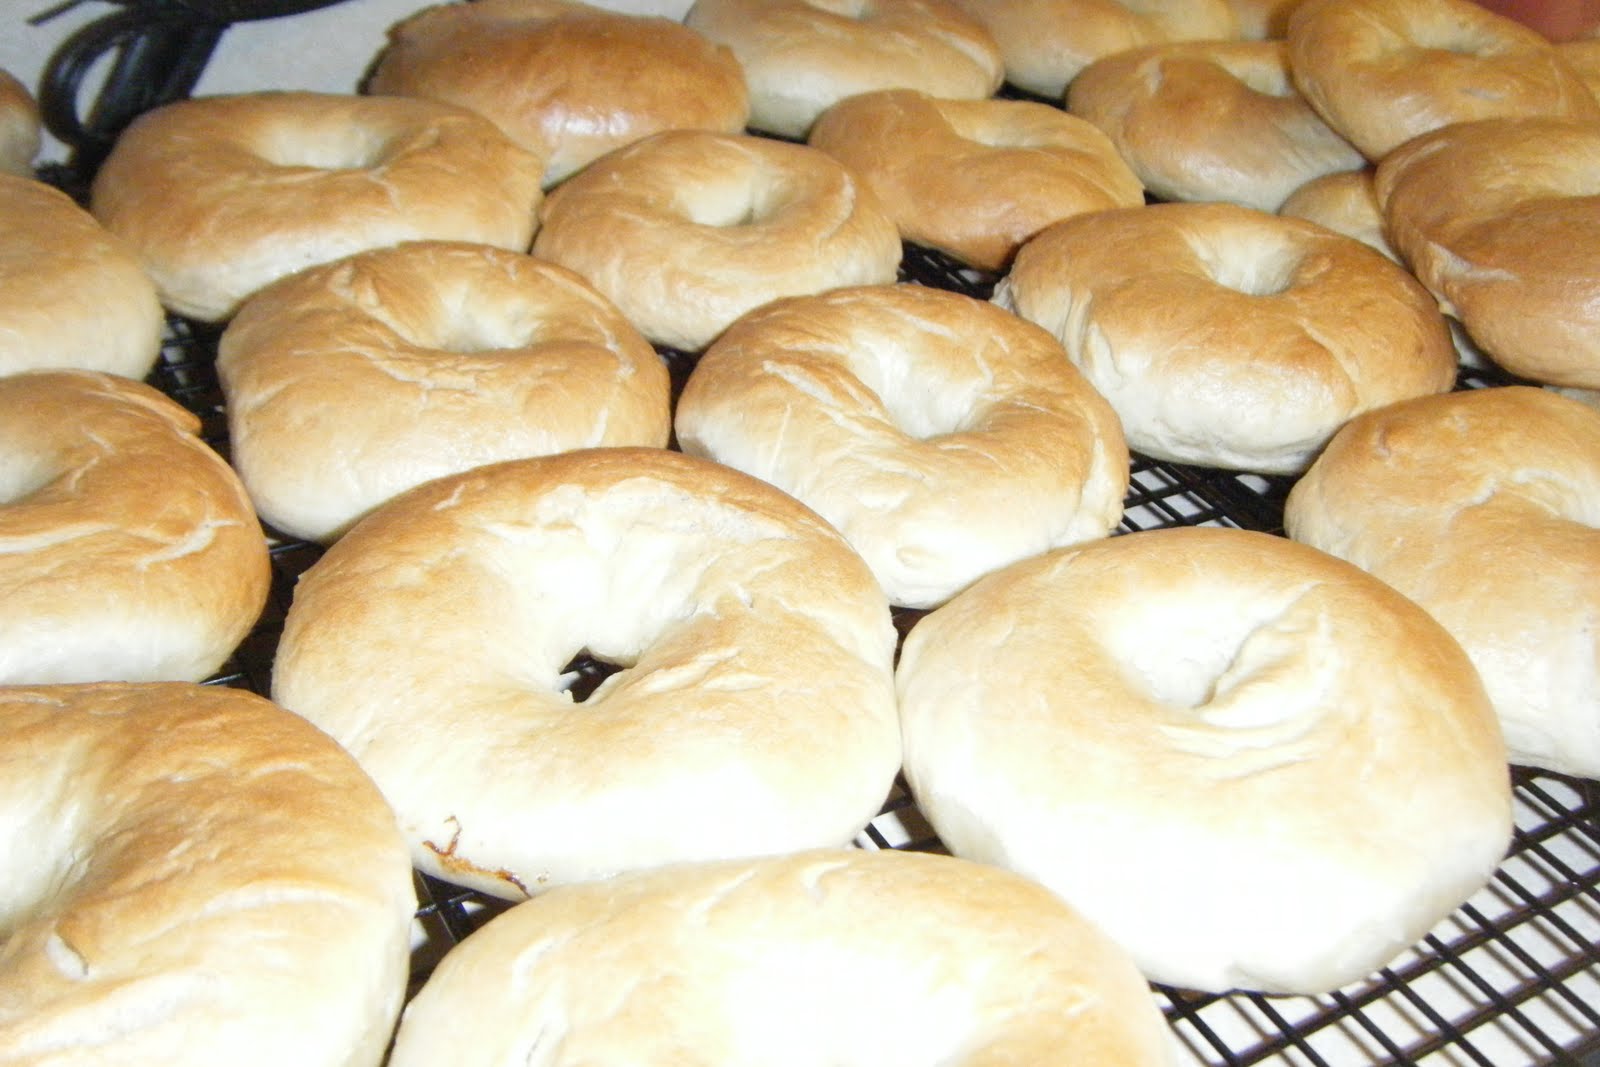
Halfway through baking.All done. The lighting is bad, but this is how they looked.
Remove from pans to wire racks to cool. I've never eaten a warm bagel before, but YUM! They are so good! I think this recipe would work well for pretzels too.

I made several smaller bagels and several bigger normal sized ones. The smaller ones were perfect for Vincent to hold and just the right amount to eat. I made 13 bagels total. I'm going to double the recipe for the next batch. Everyone loved them!
The batch I took pictures of is a doubled batch. It made 28 bagels. They are slightly smaller than the average bagel, but perfect for us. I love using my special $5 bagel cutter that I found at Big Lots years ago. It's product name is Ronco, so anytime we use it we say "Ronco!" over and over.