
Recipe from here. She has a great tutorial on how to make the dough if my directions are confusing. Elizabeth (my almost nine year old) took most of the pictures.
Pasta Ingredients:
1 1/2 cups Flour (and more to roll)
1 1/2 cups Semolina Flour
1/2 teaspoon Salt
4 Large Eggs
1 Tablespoon Olive Oil
2 Tablespoons Water (this was just the right amount, but you may need to add a tiny bit more.)
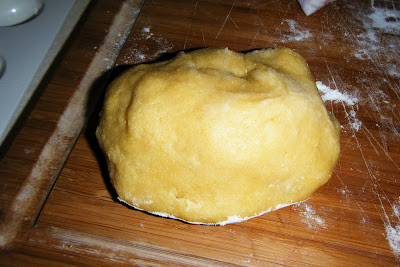
To mix the dough you can use the counter or a bowl. I chose a big bowl. I mixed the two flours with the salt and then added four eggs. I mixed it all together with my hands until the egg was combined with the dry stuff and then added 1 Tablespoon of Olive Oil and 2 Tablespoons Water and mixed it until it looked like this:
 Divide the dough into four sections and cover with a wet smooth towel for 20 minutes. You can make the filling then and put it in the fridge until you need it.
 Divide the dough into four sections and cover with a wet smooth towel for 20 minutes. You can make the filling then and put it in the fridge until you need it.
After 20 minutes, roll out one section of pasta dough with your rolling pin (or a pasta roller if you are fancy.) Use a little flour so it doesn't stick to the pin. (I think this picture has a little too much...)
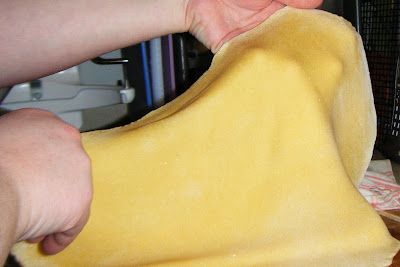
 And then roll, baby, roll! Flip the dough over and go both directions until it is thin enough. I like thick pasta (and my wrists were starting to hurt a little. And yes, you can see my poor wintery hands in these pictures. I'm keeping it real.)
 I stopped when the pasta was about this thin. Can you tell how thin it is? It's thicker than tissue paper and thinner than cardboard. I hope that helps.
 You could slice this pasta up to make regular pasta or continue on to make ravioli.
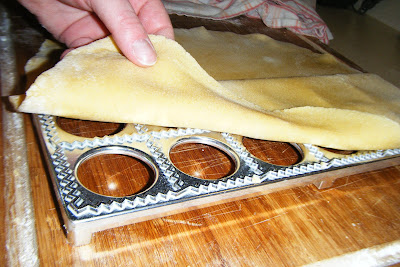
 This is where I used the ravioli press. I made my pasta twice as large as the press so I could flip it over when they are filled. You just lay the pasta over it, use the plastic egg carton type thing that came with it that I didn't get a picture of and then the little indents are ready for filling.
 Here they are all full of the filling. The filling I used was from this site.
 This is where I used the ravioli press. I made my pasta twice as large as the press so I could flip it over when they are filled. You just lay the pasta over it, use the plastic egg carton type thing that came with it that I didn't get a picture of and then the little indents are ready for filling.
 Here they are all full of the filling. The filling I used was from this site.
Filling ingredients:
1 cup Ricotta Cheese
1/2 cup Parmesan Cheese (I used the real shredded stuff this time and it was great.)
1/2 teaspoon Salt
1/4 teaspoon Pepper
1 teaspoon Italian Seasoning (I added that in.)
Optional: Spinach, shredded carrots, meat, etc.
Here is the pasta all filled up. (If you aren't using the fancy ravioli maker, just spread them out and seal them with a little brush of water around the edges and then cut them apart.)
 And then you flip the extra dough over to cover it. I didn't make it quite big enough on the corners here, but I borrowed some extra that was hanging over the top and rolled it into this when it was still on my big cutting board. (Do you see the scraggly edge on the bottom left?)
 Then with this ravioli maker, just use your rolling pin to seal the edges and cut the excess. I did have to use my fingers here to divide the dough a little. I think my rolling pin might be getting worn out or warped. I did use the extra dough on the edges to make another ball and put it under the towel with the other balls.
 Then carefully peel the edge of the ravioli out of the metal tray and place to the side. They aren't super delicate, but be careful.
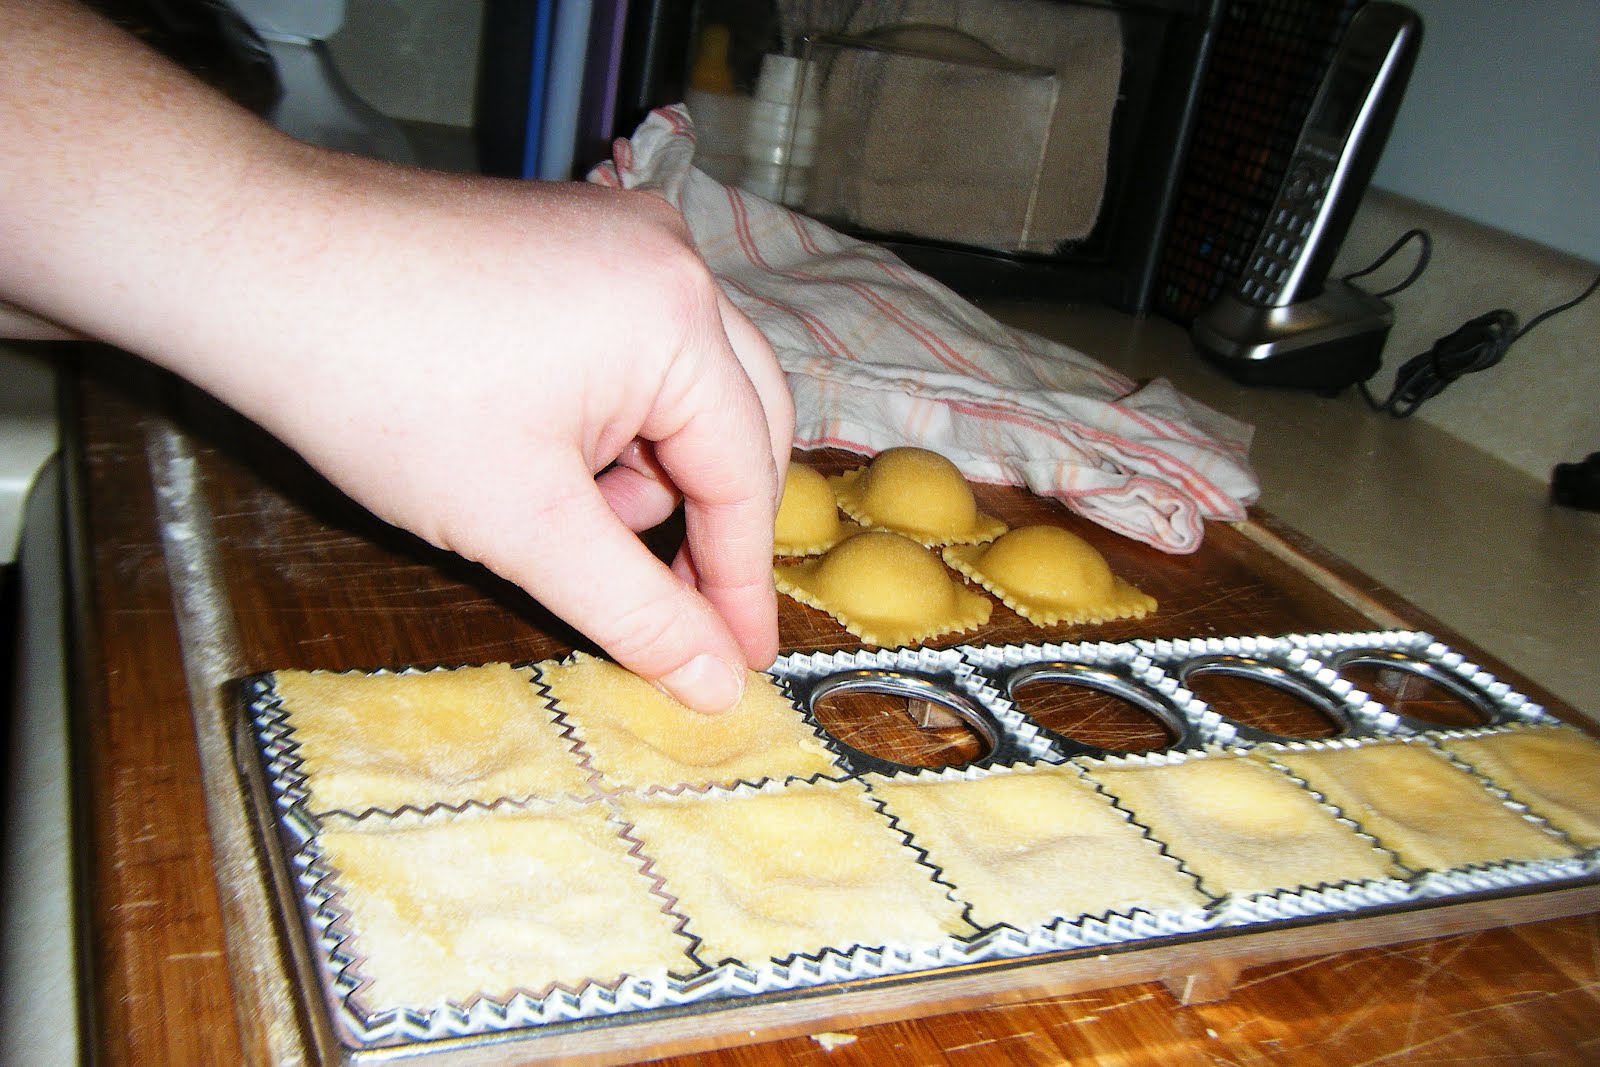 I put all 56 raviolis on my cutting boards (still raw) and covered them with a wet towel (just like the dough) until I was ready to cook them. (I needed to wait just a little while until Andy was home from work and with the snow and ice I wasn't sure exactly when that would be.)
 When it was time, I put them into boiling water 14 at a time for 4-5 minutes. They sink to the bottom first like this.
 And when they are all at the top, scoop them out with a slotted spoon onto plates.
 We enjoyed ours with some meaty spaghetti sauce. (Andy's mom made sloppy joe's a few Sundays ago and had extra of the sloppy, so she gave it to me and I mixed it with four little cans of tomato sauce and froze it in two gallon ziplocks.)
 Abby ate her ravioli like this: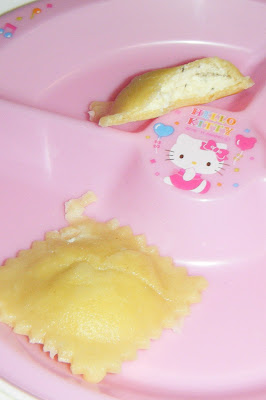
I now wonder why and how I ever bought frozen raviolis filled with the stuff it says on the side of the bag for $2-3. These are so easy to make (although a little time-consuming) and worth it! You should have seen and heard how impressed my kids (and husband) were with this dinner!


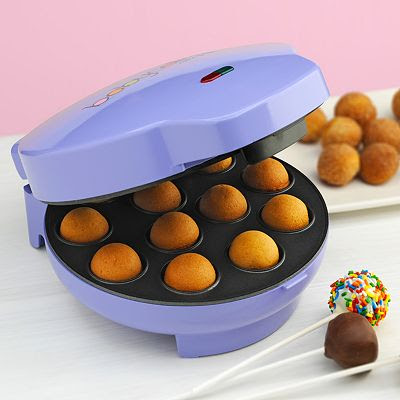 It cooks cake batter (made from scratch-which I prefer-or from a mix) into 12 round balls in about 4 minutes! I know some people really like the cake balls with cooked cake mixed with frosting (and I'll eat those too-I like any sweets!), but these are so much easier and cleaner (and WAY more sanitary than someone's hands in your food. Eww...)
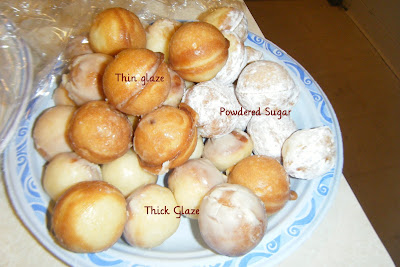
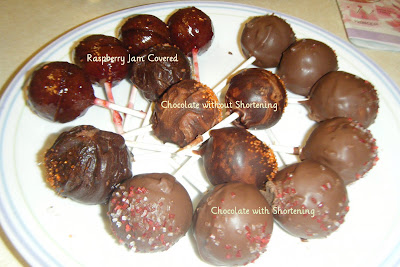 I made donut holes next with a recipe I found
  And I found a recipe for pizza balls
 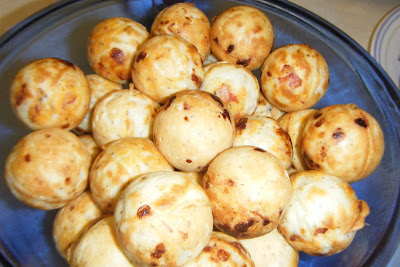 This
This 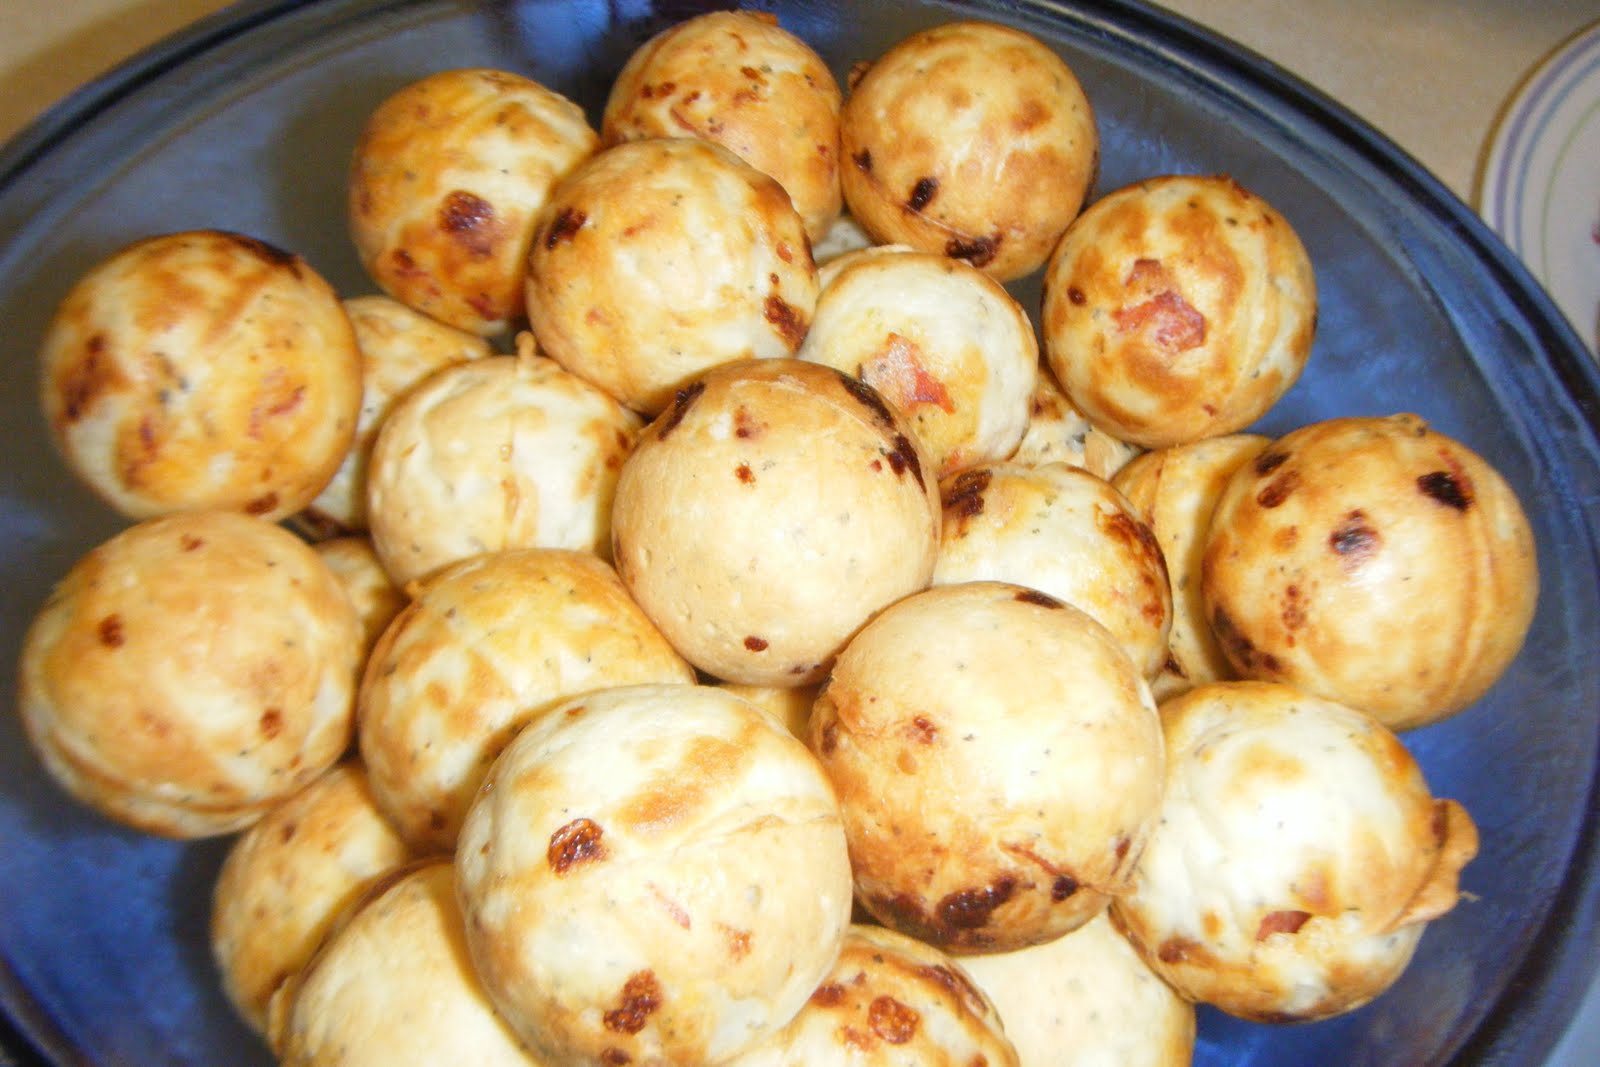
 I should warn you that this meal used several bowls and pans to make. This is a little time consuming, but so worth it and you'll feel awesome knowing you can do this. And if you clean up while it fries up, you'll be ahead of the game.

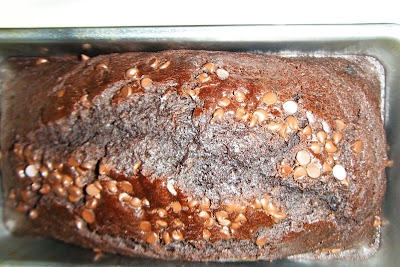 Let cool in the pan for five minutes (if you can stand it) before letting them cool on a wire rack.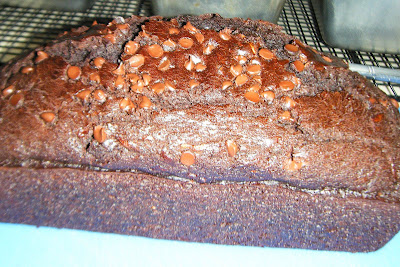
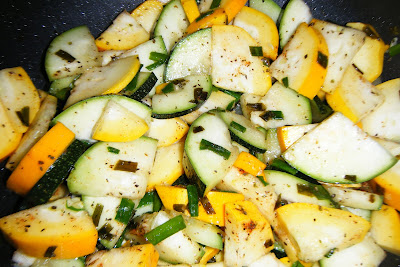 I use a large, deep frying pan (it's 10 inches at the top, about 5 inches deep and has a lid-I got it at Bed, Bath, and Beyond with a coupon and it was close to $10-well worth it!)
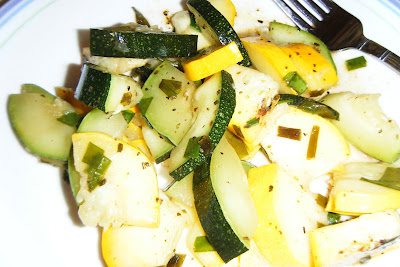 I waited 15 minutes because I was feeding a cute baby and getting her to sleep and they were still yummy, but a little more mushy than I like.
 Ingredients:
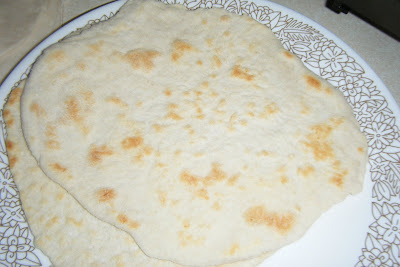
 Here are some tortillas that I rolled out while waiting for the others to brown.
  One side browned. They take about three minutes to cook each side at the 300 degree temperature I had my griddle set on.
 The recipe said that it makes 36, but for me it actually made about 16 tortillas. Maybe I should have rolled them out thinner... I would just make what you plan on eating because theses didn't work well reheated. They were great for dinner though and cheap because of the ingredients. The kids loved these. Next on the list: Pitas!
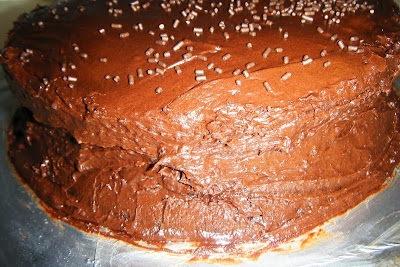 If I had the patience to wait for it to cool before frosting it, it would have turned out ever better, but it tasted super good, and no one was complaining about looks either. I loved the frosting recipe. It was easy and way better than canned chocolate frosting (even though I do like chocolate canned frosting, just not vanilla. Eww.) It would probably do better with actual cake pans instead of pie pans too.
 I think raspberry jam would be a yummy filling in this too. I added chocolate sprinkles on top and then covered the whole cake with my largest bowl to protect it from hungry eyes and fingers (ie: kids). I did end up taking half of the cake home and ate all the rest in a few days. I love desserts! Obviously. Look at the majority of my recipes...
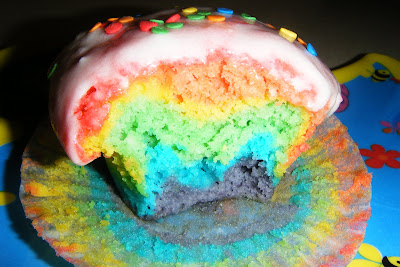 I saw them a while ago on
  I made Red, Yellow, Orange, Green, Blue, and Violet (Purple). ROY-G-BIV. I left out Indigo. I think it's kind of made up anyway. I used gel food coloring. I think you know how to make orange, green, and purple without help, but if you don't, leave a comment and I'll help you out. =)
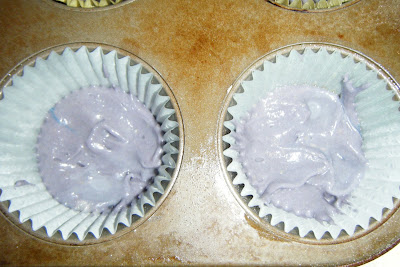 I also spray my liners so the cupcake comes out easily.It's kind of time consuming, but these cupcakes are so fun and delicious, it's worth it.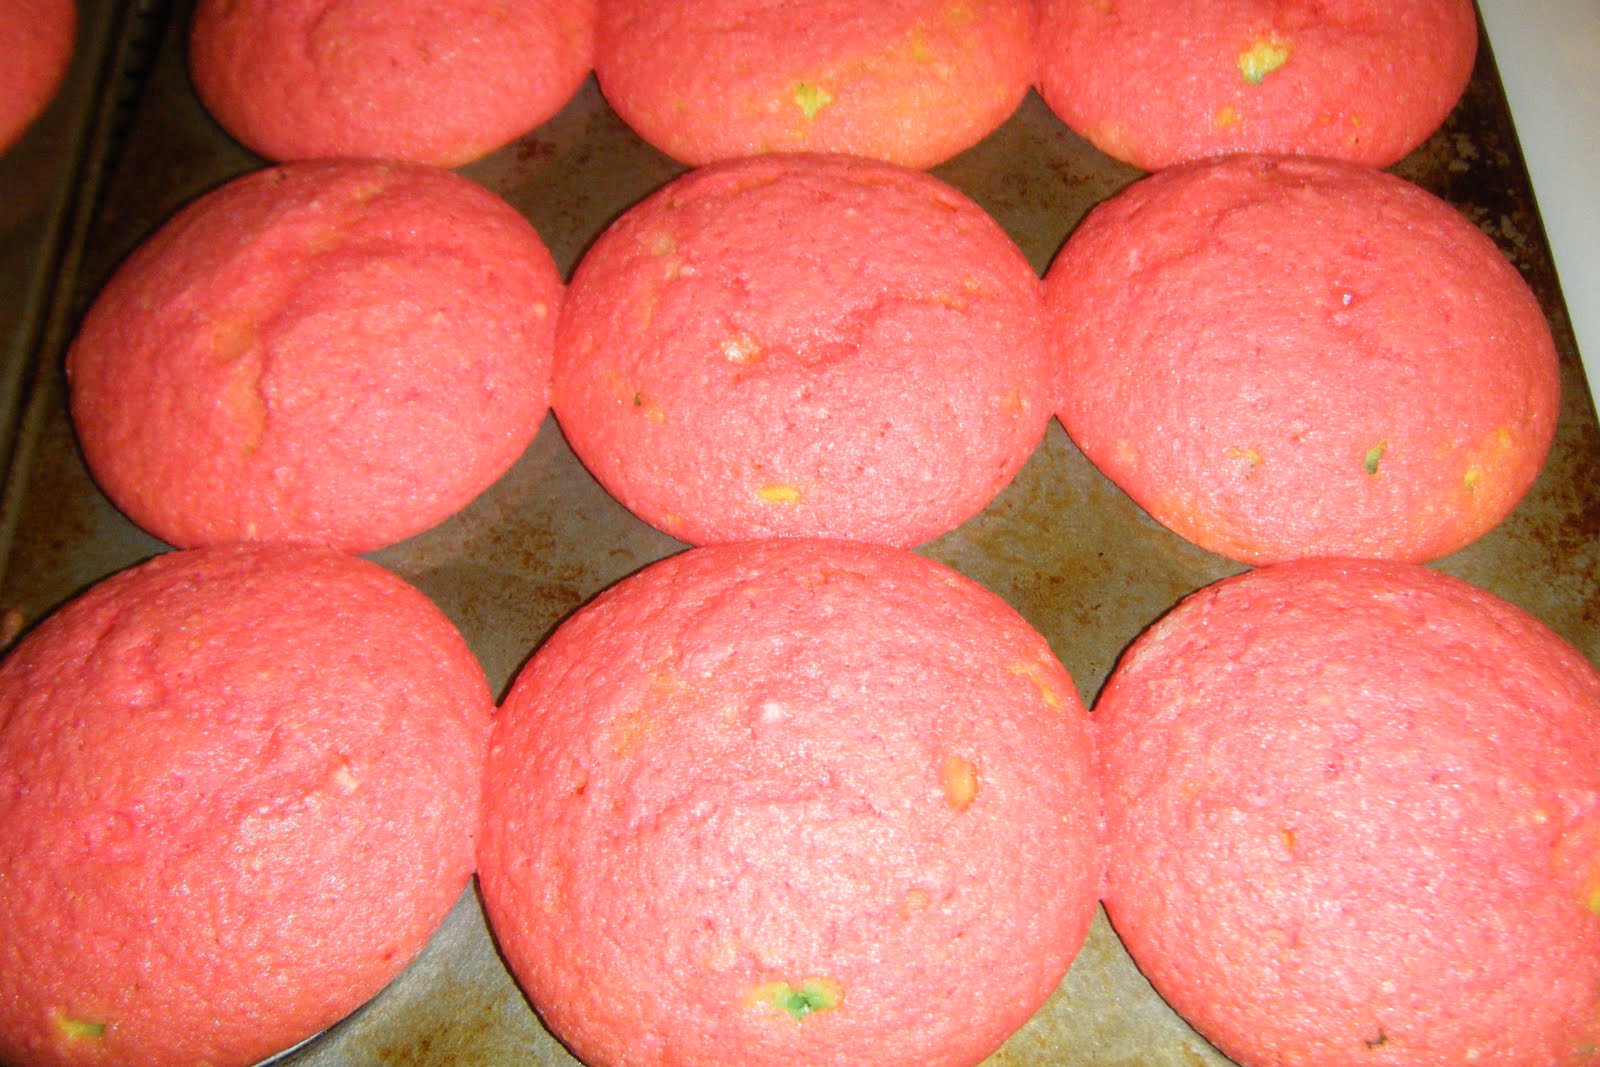


 They still ate the frosting first, but they all finished the whole cake part too. That's saying a lot for kids. Most just eat the frosting.
