I can't take credit for
this recipe, but I did make it and I substituted a little, so here's what I did and it was a success. This is a recipe that is great to make because who doesn't like General Tso's Chicken, but this is even better than the stuff at buffets because you eat it as soon as it's made and it hasn't been under heat lamps. Andy said to me several weeks ago that General Tso's chicken is his favorite and that I should make it, so I found a recipe and gathered all the ingredients (it was hard to find Hoisin sauce-WINCO!) and made it for our family.

I should warn you that this meal used several bowls and pans to make. This is a little time consuming, but so worth it and you'll feel awesome knowing you can do this. And if you clean up while it fries up, you'll be ahead of the game.
The things that you might not have in your stocked kitchen are:
*Red chili (or pepper) flakes
*Chinese rice wine (or rice vinegar)
*Hoisin Sauce (I finally found this at Winco for $3. A little pricey, but I plan on making this a lot with that $3 bottle.)
*Chili paste (This is in the aisle with the other Asian food. It's red and usually has garlic with it. It's SPICY!)
*Sesame oil (also in the Asian aisle.)
You just need a little of each of these things, so if you know someone who likes to cook with them, see if you can borrow a little before you invest in them. However, if you do buy them, you can use them often.
I bought some Oyster Sauce for a trial dinner once and it was DISGUSTING (to us....we don't like seafood and I could hardly even taste it after smelling Oyster Sauce.) I gave all the sauces I bought for that meal and the recipe to my friend and borrowed back the rice vinegar and sesame oil from her to make this.
Serves 4 adults as part of a multi-course meal, 2 to 3 adults as a main entree.
It served our family with two adults and three kids (maybe 2 1/2 is more like it) for TWO MEALS! I think next time I will double the sauce that goes on the fried chicken so it would flavor the rice a little more.
Ingredients:
1 pound boneless, skinless
chicken thighs (I used 3 slightly defrosted large chicken breasts), sliced into 1-inch cubes
1 1/2 cups
cornstarch1/2 teaspoon
salt1/2 teaspoon
black pepper3 cups
vegetable oil for frying, plus 1 tablespoon for stir-frying
8 dried whole red chilis, or substitute 1/4 teaspoon dried
red chili flakes (I used red pepper flakes)
2 cloves
garlic, minced (I like the little bottle of it you can buy in the produce section for a buck and it's ready anytime.)
1 teaspoon
white sesame seeds, for garnish
Scallions, green parts thinly sliced, for garnish
Marinade:
1 tablespoons
soy sauce1 tablespoon Chinese rice wine (I used
rice vinegar)
2
egg whitesSauce:
1/4 cup
chicken stock, or substitute water (I used water and it was YUMMY!)
1 1/2 tablespoons
tomato paste1 tablespoon
soy sauce1 tablespoon
rice vinegar1 teaspoon
hoisin sauce1 teaspoon
chili paste1 teaspoons
sesame oil1 tablespoon
sugar1 teaspoon
cornstarchInstructions:
1. Prepare the marinade: In a large bowl, combine the soy sauce, rice wine, and egg whites (save the yolks to make fried rice with the leftover rice later). Coat the chicken in the marinade mixture and let sit for 10 minutes (or longer).
2. Prepare the sauce: In a small bowl, combine the chicken stock, tomato paste, sugar, soy sauce, rice vinegar, hoisin sauce, chili paste, sesame oil, sugar, and the 1 teaspoon of cornstarch. Stir until the sugar and cornstarch are dissolved. Set the sauce aside.
3. In a large bowl or deep plate, toss the 1 1/2 cups cornstarch with the salt and pepper. Coat the marinated chicken in the cornstarch and shake off any excess before frying.
4. Heat the 3 cups of peanut or vegetable oil in your wok (or large frying pan) until it registers 350°F on an instant-read oil thermometer (or just set the temperature to medium-high and wait a minute or two). Working in 2 or 3 batches, add the first batch of chicken cubes and fry until golden brown on the outside and cooked through, about 5-6 minutes. Remove the chicken with a slotted spoon and drain on paper towels. Repeat with the rest of the chicken.
5. Drain the oil into a heatproof container and save for discarding. Wipe the wok with a paper towel to remove any brown bits, but don’t wash. Make sure to wipe the outside edge of the pan so it doesn't cause a fire.
6. Reheat the wok or skillet over medium-high heat. Add another 1 tablespoon of oil and swirl to coat the base and sides. Add the dried chilis and garlic to the wok and stir-fry until just fragrant (such a great smell!), about 20 seconds. Pour in the sauce mixture and stir until thickened, about 1 to 2 minutes.
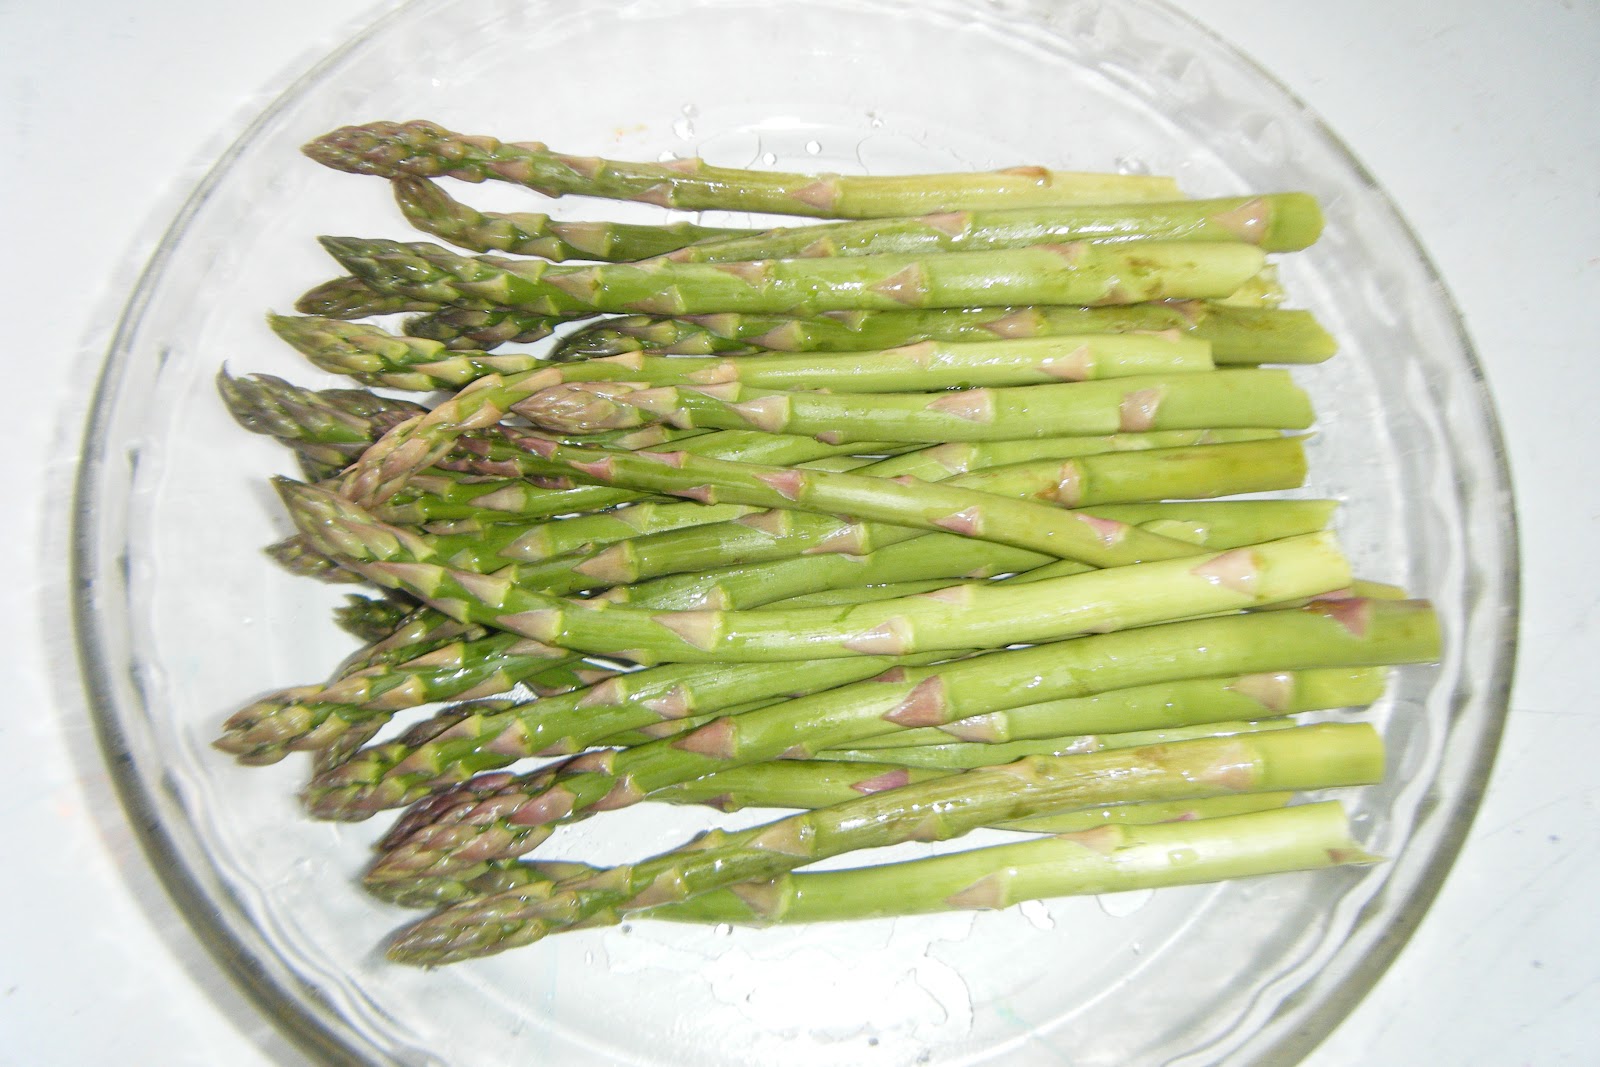
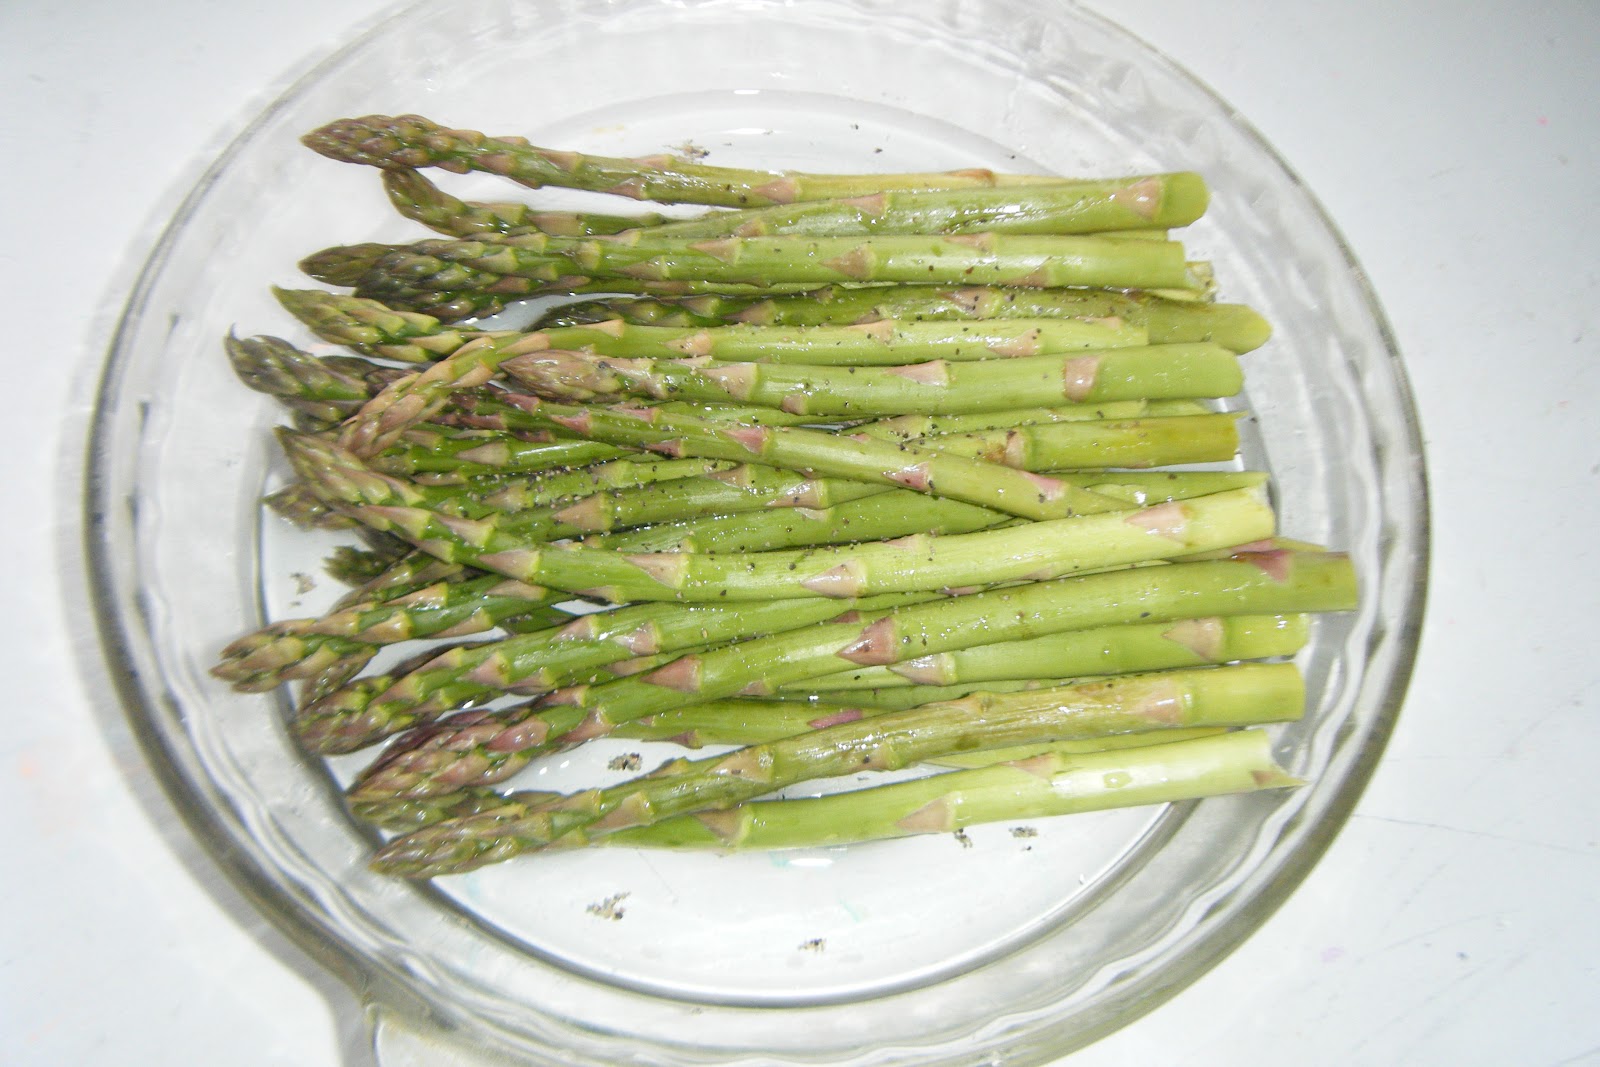
7. Return the chicken to the wok and stir well to coat with sauce. (Again the next time I make this, I'm doubling the sauce.) Transfer the chicken to a serving dish. Garnish with white sesame seeds and scallions. Serve with white rice and vegetables. I add the sesame seeds at the table because Andy doesn't like them and I didn't have scallions. It was still delicious and our 8 1/2 and 6 year old daughters gave it many thumbs up.

Let me know if you try this.


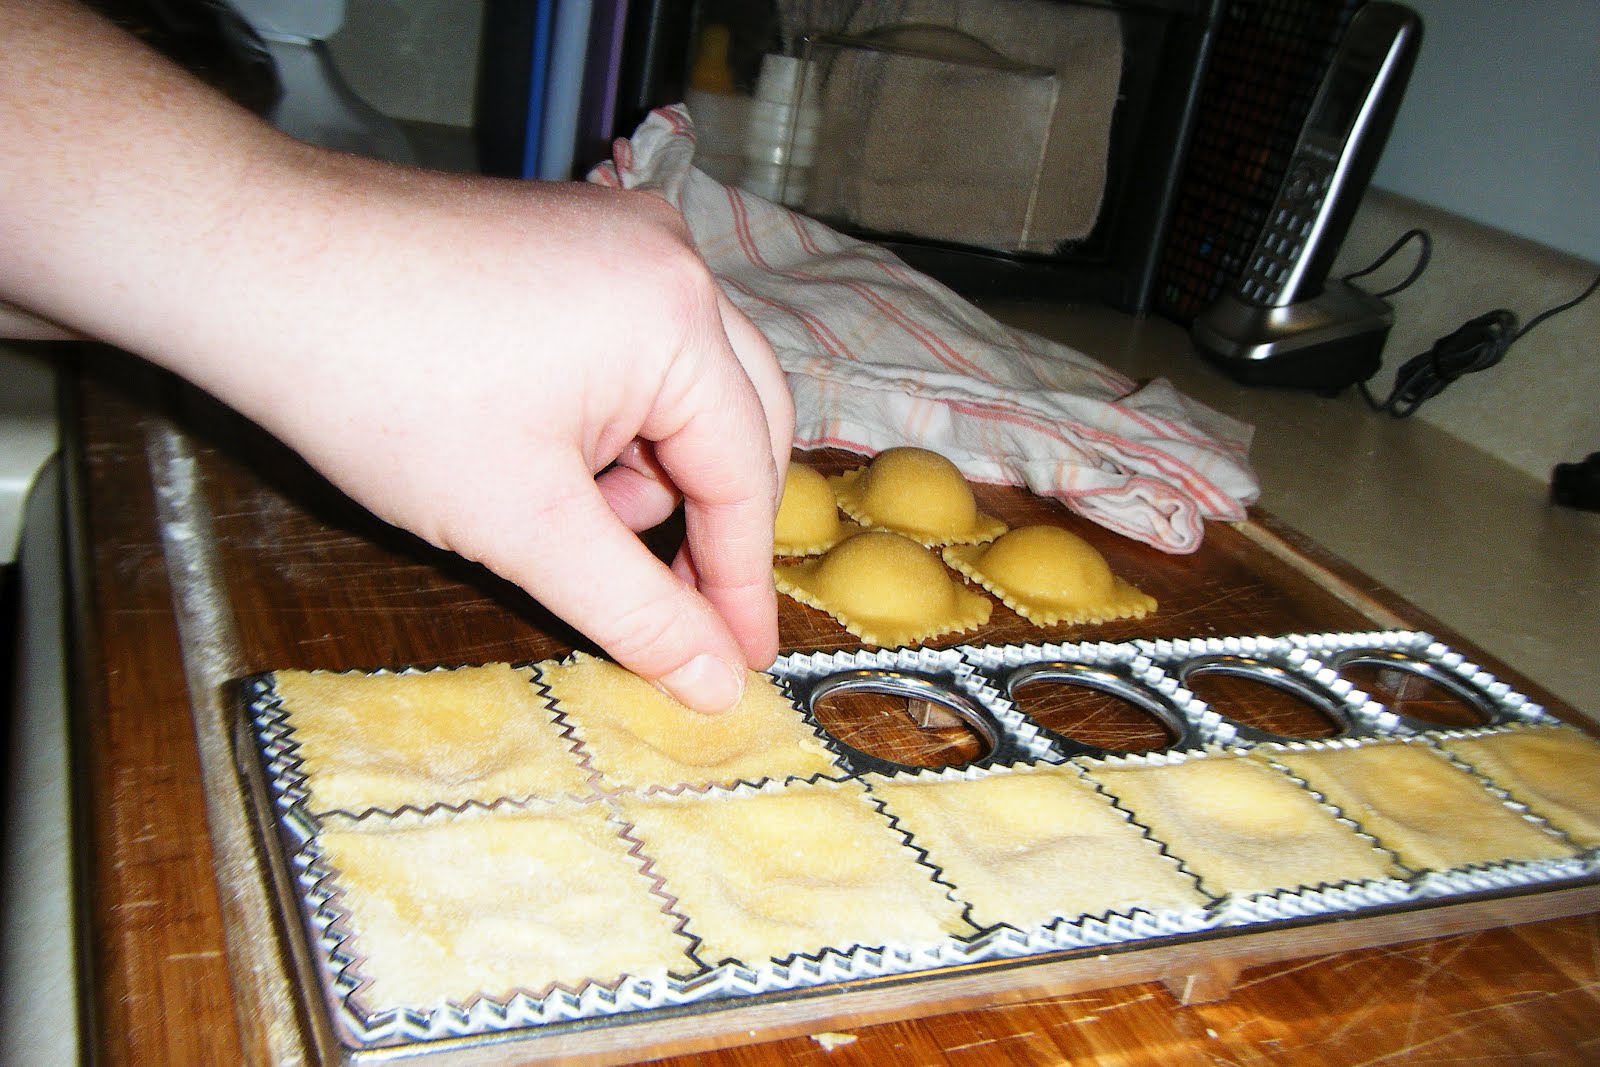


 It cooks cake batter (made from scratch-which I prefer-or from a mix) into 12 round balls in about 4 minutes! I know some people really like the cake balls with cooked cake mixed with frosting (and I'll eat those too-I like any sweets!), but these are so much easier and cleaner (and WAY more sanitary than someone's hands in your food. Eww...)
 I made donut holes next with a recipe I found
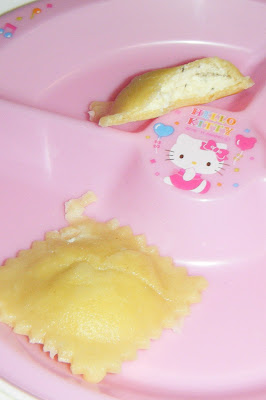
  And I found a recipe for pizza balls
  This
This 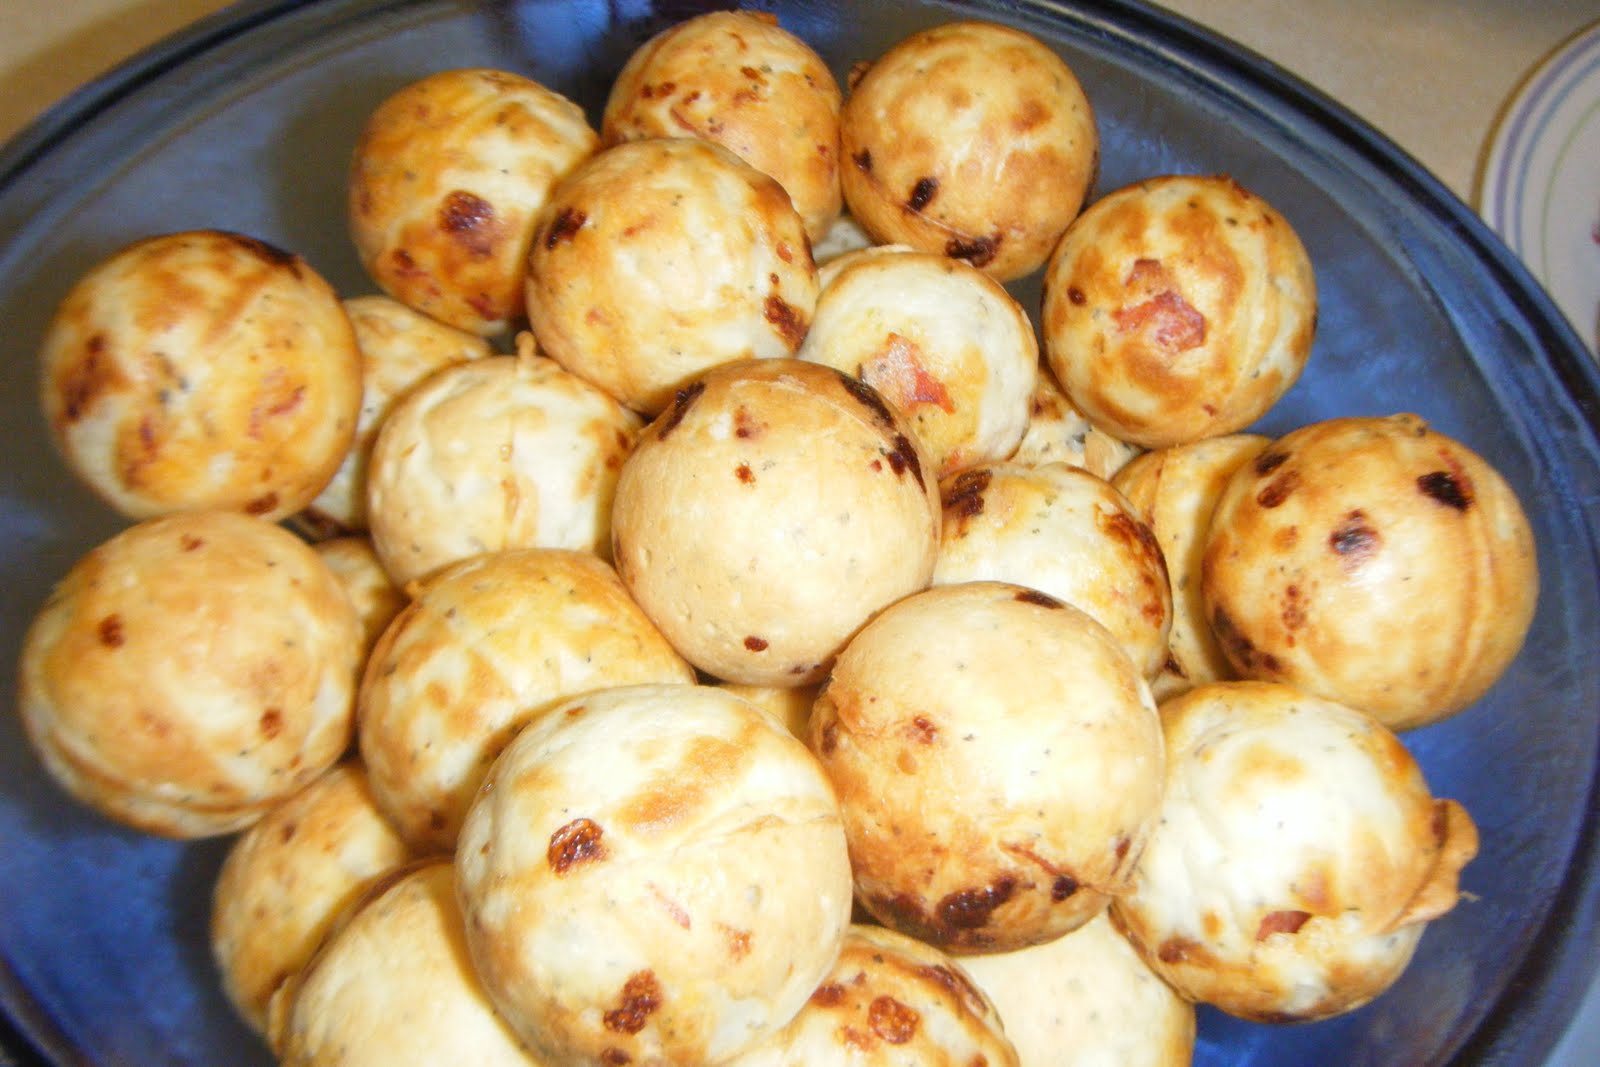
 I should warn you that this meal used several bowls and pans to make. This is a little time consuming, but so worth it and you'll feel awesome knowing you can do this. And if you clean up while it fries up, you'll be ahead of the game.

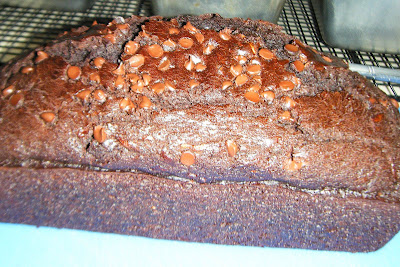
 Let cool in the pan for five minutes (if you can stand it) before letting them cool on a wire rack.