SO sorry this blog has taken a back seat to everything else going on in my life. I haven't been cooking much more than I need to lately, but this is one thing I have enjoyed making over the last few years that's easy and delicious. I'm hoping to share some more of my meals in the coming months and update this with a picture.
This is one of my very favorite soups! I make it probably once every two months or so, but I'd make it more if my family liked soup for dinner more. (I often give the leftover soup to a good friend whose family really likes it too!)
I use dry beans for this (mostly because I like to be thrifty and since I make it in the crockpot, it's not too hard to start with dry beans.)
I also slice baby carrots, but regular carrots work as well. I sometimes slice a whole bag of baby carrots and freeze them if they are starting to get dried out in the fridge (kids never like eating dry carrots even though they are perfectly fine.)
For the ham I found that most grocery stores carry a package of diced ham for just as cheap as buying a ham alone and cutting it up yourself, so I buy a package and normally have an extra one that I put in the freezer so I'm always ready to make this soup on a rainy day.
Ingredients:
-2 pound bag dry white beans
-2 cups sliced baby carrots
-2 cans chicken broth
-8 cups water (to cook the beans)
-12-16 oz diced Ham
-1/2 cup diced onion (or onion powder if you prefer that)
-1 teaspoon pepper
-1 teaspoon salt
-1 teaspoon garlic powder
-1/2 teaspoon red pepper powder or flakes (more if you want it to be more spicy)
Instructions:
Use large crockpot (6 quarts). Put all ingredients in and set it on high for five-six hours. Put it on low when the beans and carrots are soft.
Add more seasoning if needed an hour or so before serving.
Add other vegetables like spinach if you like.
Serve with bread or rolls or just with crackers and enjoy.
Wednesday, February 22, 2017
Wednesday, November 6, 2013
Try It Tuesday
I started a new thing with my weekly menu for the last three weeks.

I instituted "Try It Tuesday".
The kids don't know what we're eating (and neither do I until I scan my Pinterest recipes I want to try or whip something up), but we all get to "try it".
It kind of brings the surprise back into cooking and gives me a chance to experiment a little bit. I can't say every experiment has been good, but they all tried it.
Last night we had nachos. I had to make sure it was something good after the last two Tuesday dishes flopped. I combined a can of black refried beans, velvetta cheese, some salsa, and taco seasoning in a saucepan on the stove on low and served the dip with chips.
It was a quick meal that I didn't have to work hard on, maybe not the most balanced meal, but everyone liked it (except for my five year old who doesn't like beans-too bad!)
What's the newest meal you've tried?
Did it work?
What should I made for the next Try It Tuesday?
Wednesday, July 3, 2013
Ranch Egg Salad Sandwich
I started making these sandwiches at lunchtime. They fill me up and are good for me.
I don't like mayonnaise or salad dressing much (anymore-Andy doesn't like them and I just stopped buying them when we got married and did without), so I use ranch dressing instead. I love ranch (and yes, I know that ranch has most of the same ingredients as mayo and salad dressing.)
Here's the finished product.
Egg Salad on whole wheat toasted bread with a Kraft Singles American Cheese and carrots.

Start with a boiled egg. I usually use large eggs, but this one was a medium and was plenty for my sandwich.

After peeling (obviously), I just use a fork to make it into crumbles. I'm sure I could buy a fancy egg dicer tool, but I'd rather just stick with the fork I already have.

See? Beautiful egg crumbles.

I add about a Tablespoon of Ranch dressing and some ground black pepper (salt isn't needed for me) and then stir it up.

Toast the bread, add some cheese, and then spread the egg salad on top before topping with the second piece of cheese.

You have to cut it diagonally, right? My almost eight year old can make this herself.

Easy, filling, and good-for-you lunch.
I think it'd be great with a slice of tomato, lettuce, bacon, or turkey on top too.
Maybe all of them, like a fancy BLT.
Tuesday, April 9, 2013
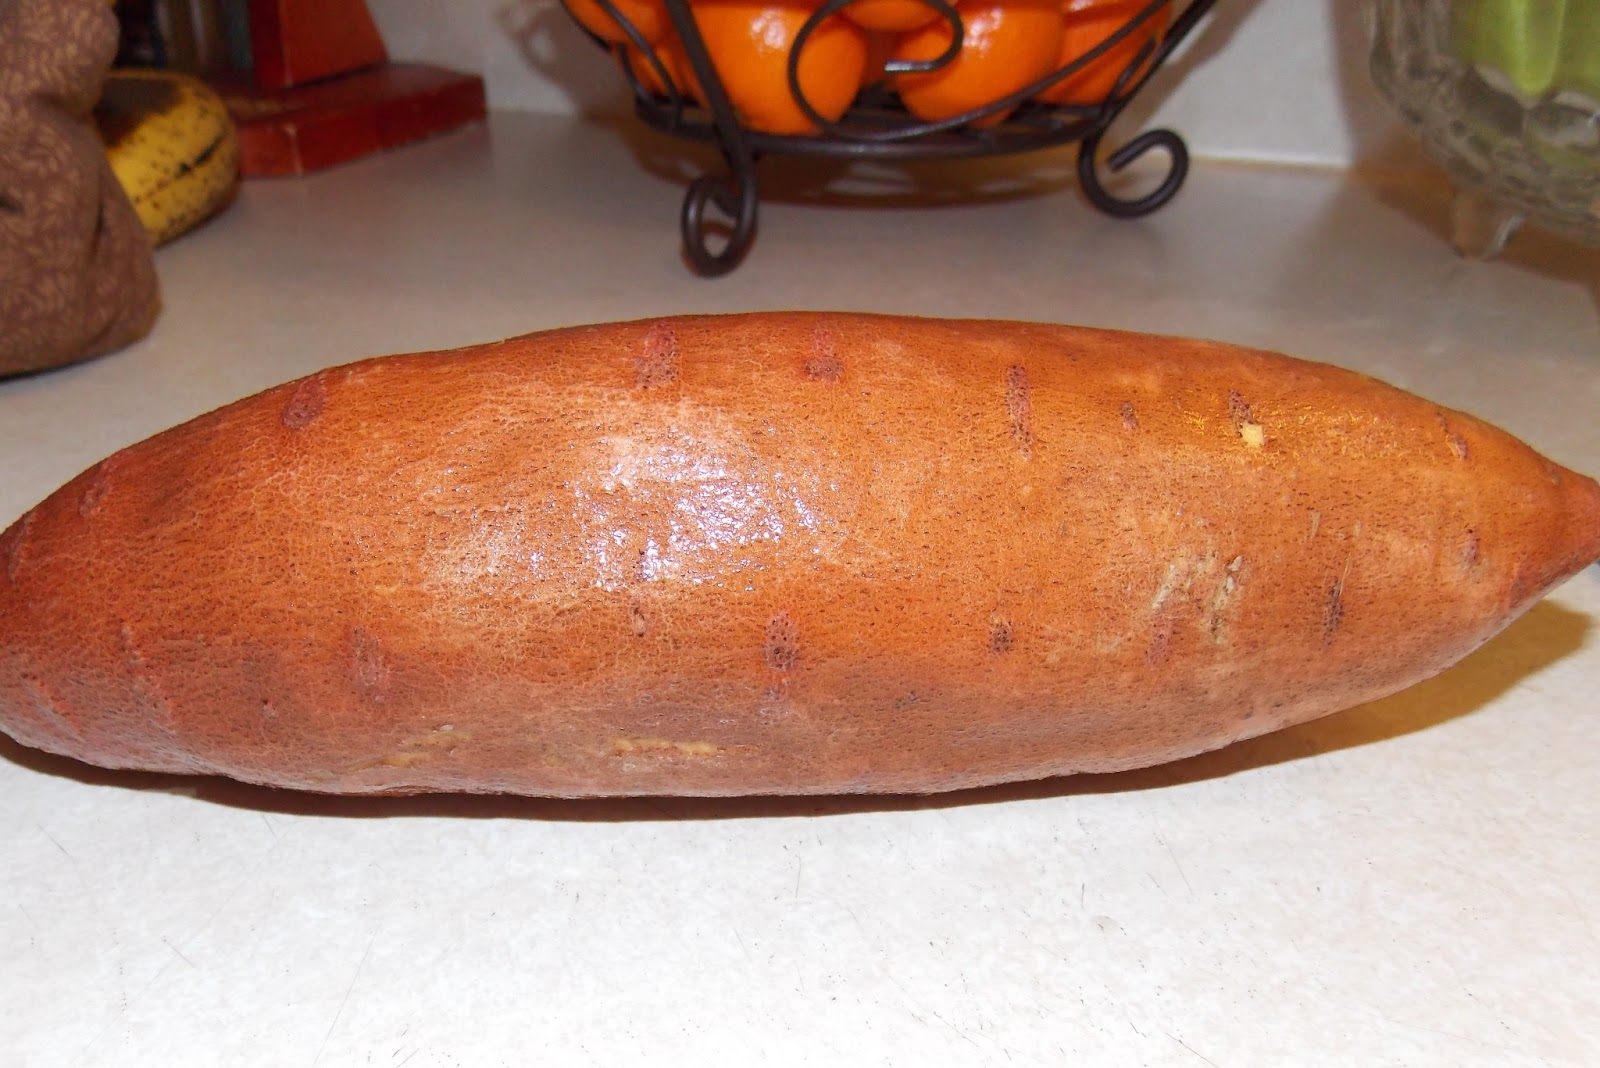
Microwave Sweet Potato (or Yam)
This is one of my favorite lunches these days. I was buying sweet potatoes, but they are currently more expensive than yams in the stores I go to, so I bought a few yams to try. Just as good to me and good for me!

I like to microwave it while I eat a salad or get lunch ready for my two who are at home at lunchtime.
Start with a sweet potato (or yam). Wash it (I eat the skin....yummy!)
Cut off the ends and cut it in half. Wrap each half in a paper towel.

Put it in a really cool microwave potato bag (that I make and sell for just $6). I heat up tortillas in it to make enchiladas too.)

Close up the potato bag that is made of 100% cotton and it wicks away the moisture so you have a perfectly cooked potato. Put it in the microwave for five minutes on high. I usually check to see if it's soft then or let it sit in the microwave for another five to ten minutes resting while it finishes cooking (or cook it for two more minutes). One other cool thing about these bags is that they keep the food in them hot, so if the kids spill some water or someone calls, I can just let it sit and it will still be great 15 minutes later.

I just slice each half in half again, add a little bit of margarine and salt and pepper and eat it.
Sometimes I don't even use a fork. I just tear the halves apart and eat it like a taco.
As a bonus, they are less than 250 calories, WITH margarine and they fill me up.
What do you eat for a quick lunch?
Monday, February 11, 2013
Egg, Pepper, and Cheese Omelet
This is one of my favorite things to eat for either breakfast or lunch (and sometimes dinner if it's leftover night and my family eats all of them or if I've eaten too many calories during the day.)

I break TWO large eggs directly into a nonstick pan and then use a little fork to scramble them up. Then I toss in some sweet pepper strips (about a cup of them) and keep the temperature on medium heat. Also add a little salt and pepper at this point.


I use a large spatula to flip my omelet because I don't like any runniness in my omelet. Wait to flip until the edges are all set which usually takes between five and eight minutes.


2 Large Eggs 140 calories
1 cup C&W Pepper Strips 33 calories
1/4 cup Shredded Mild Cheddar Cheese 110 calories
Let me know if you try this or if there's something you like to add to omelets that maybe I haven't thought of.
Wednesday, February 6, 2013
Homemade Chicken Noodle Soup
Has it really been since last June that I posted?! How can that be?
Since then I've managed to lose a decent amount of weight, so maybe it was all the treats I made (and ate) to post on this little blog (that and having little to no control!) If you need a place to start losing weight, I fully recommend My Fitness Pal. Be my friend on there if you want to.
Back to the recipe. A friend of mine from church who has nine children (six the regular way and three adopted from China as almost teenagers) showed us how to make these noodles for chicken noodle soup one night at a meeting. I tried it out a week or two ago, but didn't take pictures. Today was my oldest daughter's tenth birthday and she requested this for her birthday dinner (told you it was good!) and asked if she could help me make it. Um, yes you can help make your own dinner on your own day!
Doesn't the finished product look delicious? Yummy chicken, carrots, and noodles.

I started out with three chicken breasts cut into cubes.


We let the carrots cook while we made the pasta.

The pasta dough my friend made just on a cutting board and she said it's easier for her to do it that way instead of using a bowl. I think next time I'll use a bowl, although it worked well for me last time to just do it this way. It wasn't easy for Elizabeth and she didn't like getting her hands so messy either.

1 cup Flour
1 beaten Egg
1/2 teaspoon Salt
2 Tablespoons Milk
Mix these ingredients together until you have a ball of dough. It will take several minutes (or maybe less if you are awesome! Let me know!)

I started rolling the dough out and Elizabeth quickly took over. She liked this job.

Elizabeth used my special rolling wavy cutter for the noodles, but a pizza cutter would work just as good or even a sharp knife like my friend uses. She just stacks the noodles up and cuts them. We like fancy looking noodles here though because we have a fun tool to use. (Thanks, MOM!) I know it looks like she's going to chop off her fingers, but I promise that NO blood was shed making this dinner. It's all the angle.


Toss the pasta in the extra flour and make sure they are separated so they'll cook.

Elizabeth was my hand model to drop the noodles in the soup.


The flour in the pasta makes the broth whiter and I added 1/4 cup of milk at the end to make it creamy as well.
End product is so good and worth the hour or so of time.

We saved some soup for my mother in law who came over to take Elizabeth birthday shopping and she thought it was great too!
Let me know if you try it and what you add to it.
Last time I added some finely chopped celery with the onions, but I was out of it today.
Monday, June 25, 2012
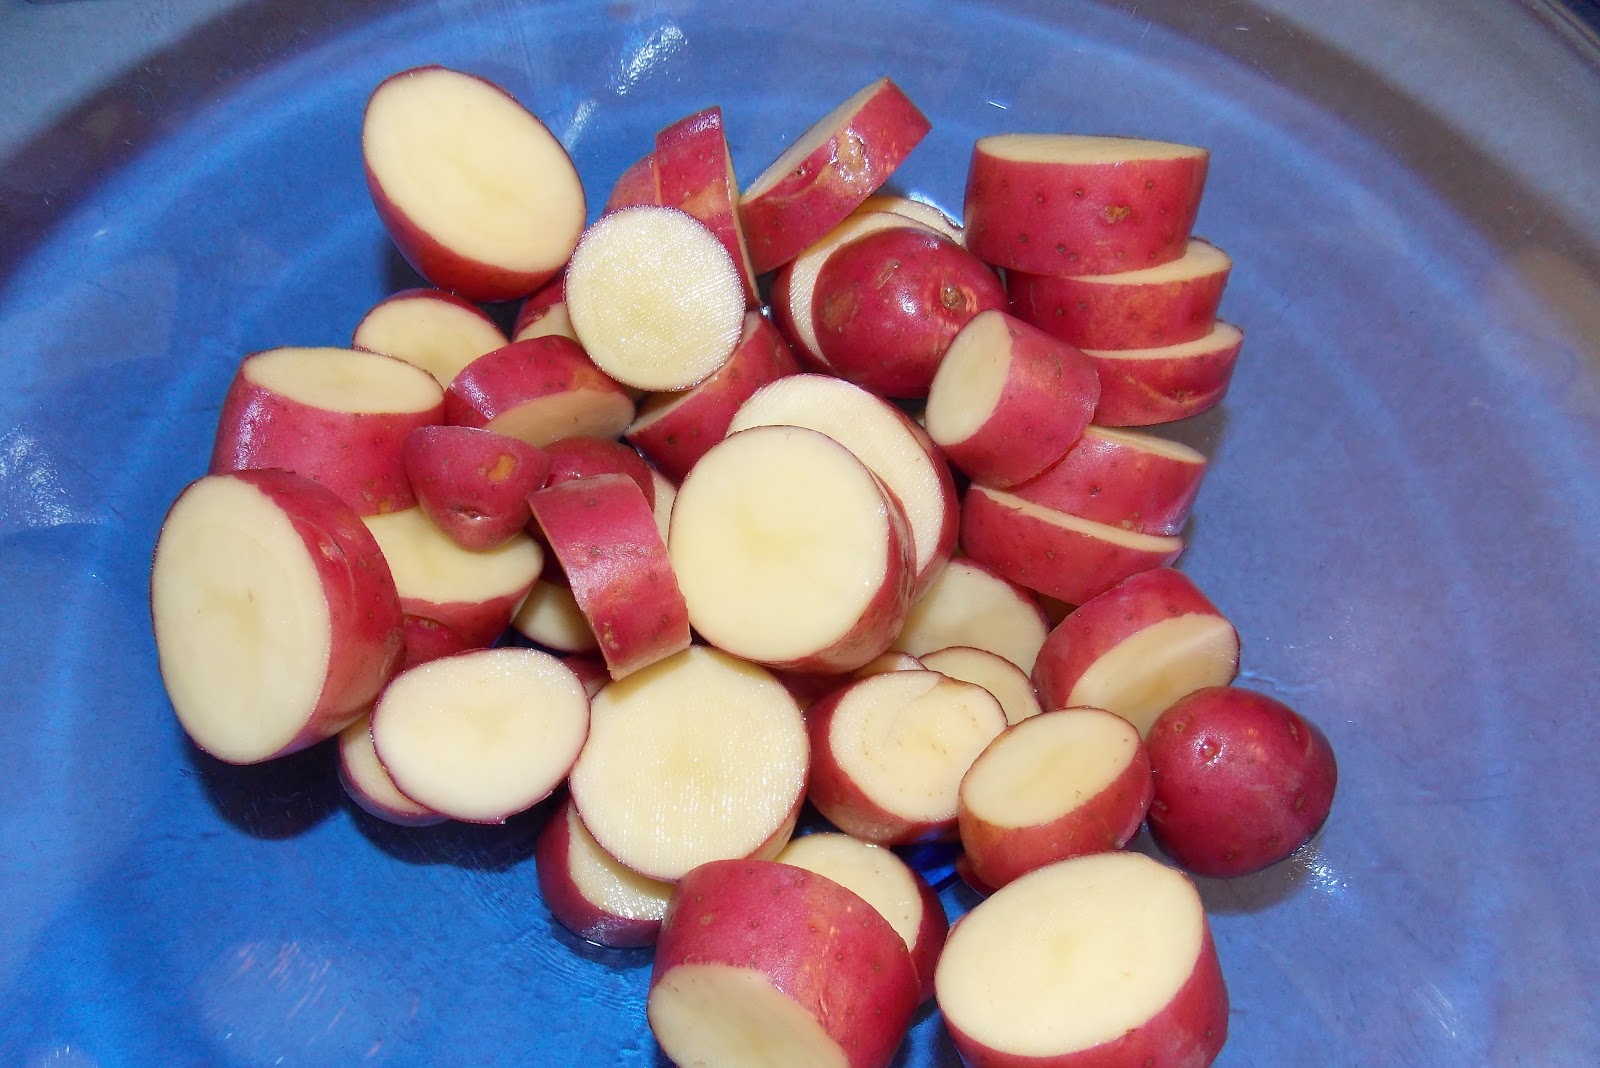
Red Potatoes
This is my newest favorite recipe.
It's only two ingredients. Baby red potatoes and seasoning. I used these ones:


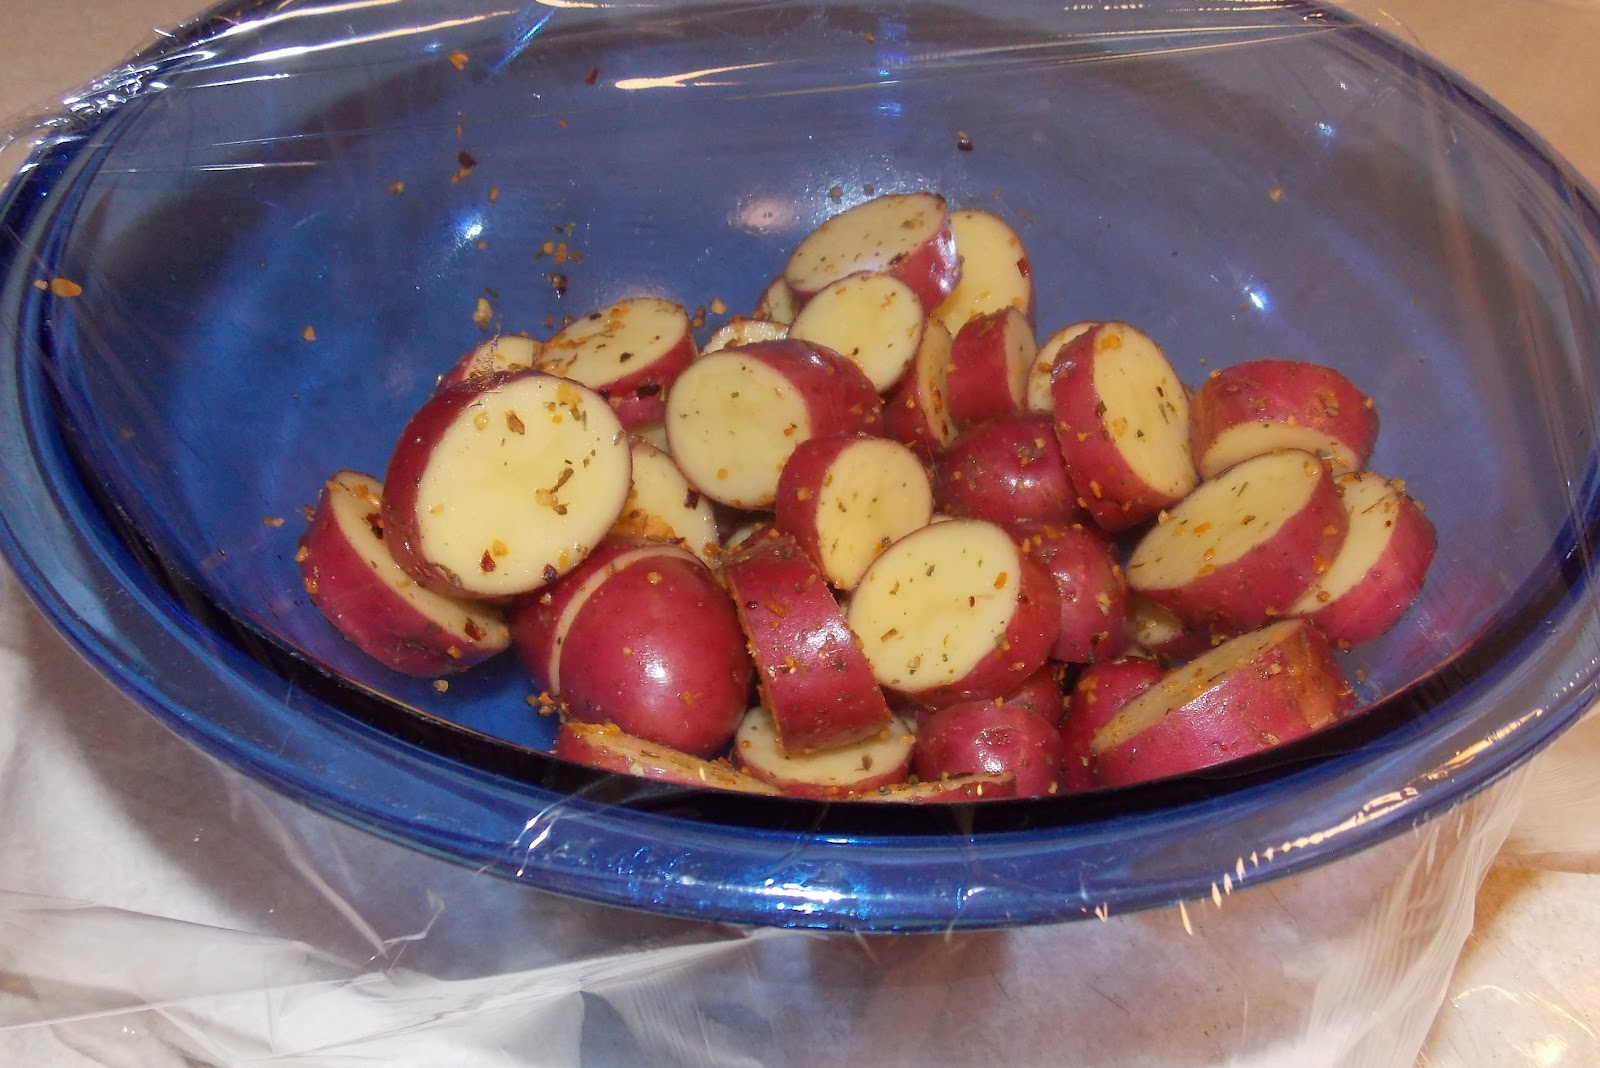


Friday, June 1, 2012
FAST Microwave Oatmeal
I used to buy those little packets of oatmeal in the store and tear them open, dump them in a bowl, add water, and then throw them in the microwave. Many times the water I added would be too much and it would overflow the bowl. I finally realized that I could just make this myself for SO much cheaper (especially since I had a 25 pound bag of oats to use up!)
I make my oatmeal in the microwave because it's fast and easy. I'm busy in the mornings. It keeps me full until lunch (especially if I eat a banana on the side) and it's just over 100 calories (breakdown at the end).
1/4 cup Quick Oats
1/8 teaspoon Cinnamon-Sugar (or just cinnamon, if you wish)
1 Tablespoon Honey (I actually was comparing online on My Fitness Pal and using brown sugar is less calories because you don't need as much of it. I use 2 teaspoons of brown sugar as a replacement for honey.)
Small handful of crasins
1/2 cup water
I keep the baking stuff all in one cupboard, so I don't have to open and close a bunch of cupboards.


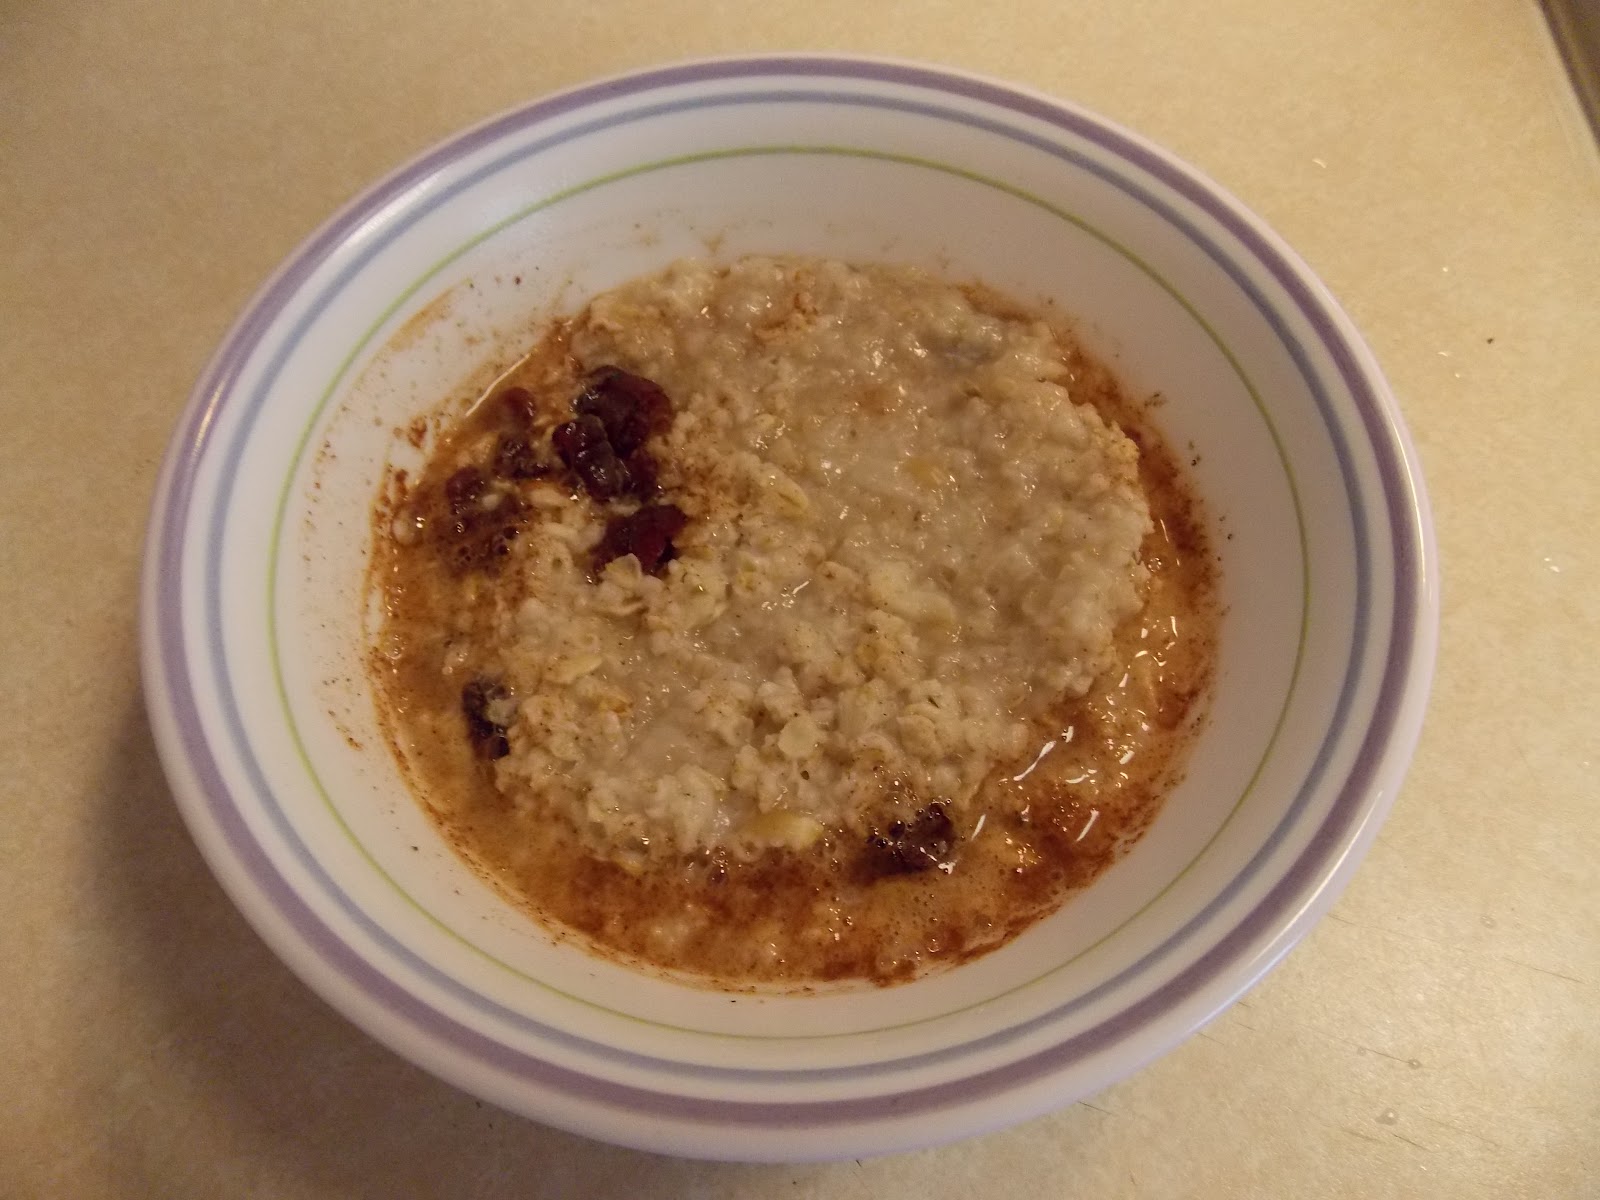

Nicely thickened, just the way I like. If you add milk or anything else, do it now.


1/4 cup Oatmeal 37 calories
1/8 teaspoon Cinnamon 1 calorie
1 Tablespoon Honey 64 calories (or 2 teaspoons Brown Sugar 30 calories)
1/12 cup Crasins 33 calories
1/2 cup Water 0 calories
Oatmeal with Honey option = 135 Calories
Oatmeal with Brown Sugar option = 101 Calories

Subscribe to:
Posts (Atom)