Wednesday, March 23, 2011

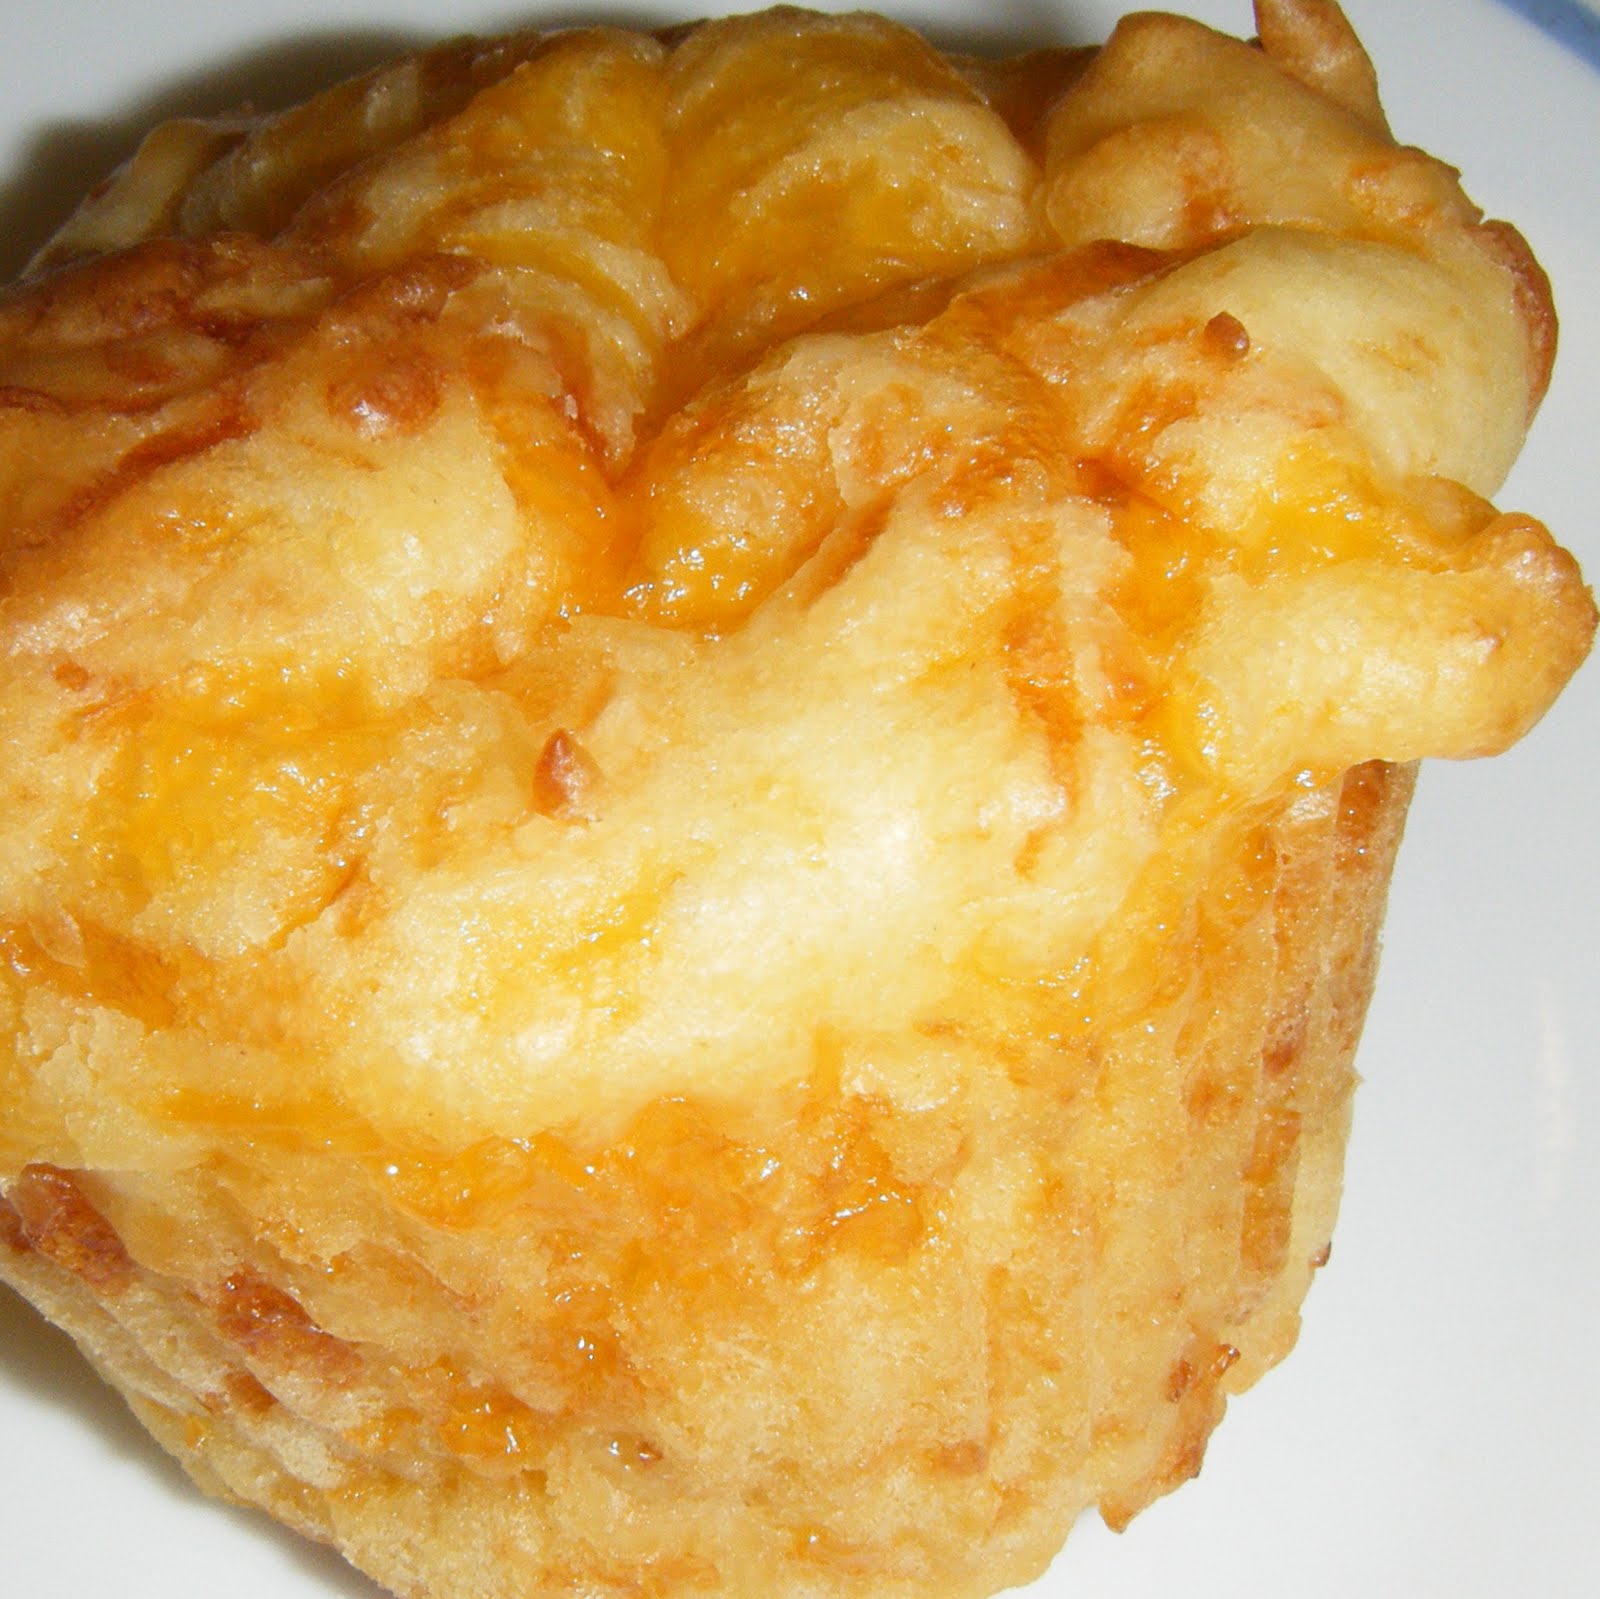
Cheese Muffins

I got this recipe from Addictive Allen's and they got it from Pioneer Woman, so I really should have known that it would be SO good. They whipped up really fast. I had enough time to boil the noodles and heat up the sauce for spaghetti while they baked. I made them last night and just finished the last one (heated up) this afternoon. It only made 12, but somehow we didn't devour every one of them last night. Must have been that yummy spaghetti...

Ingredients:
1 1/2 cups Flour
1 1/2 Tablespoons Sugar
1 Tablespoon Baking Powder
1/2 teaspoon Salt
3 cups Cheese (Any kind works: colby-jack, cheddar, mozzarella, etc)
1 cup Milk
1 Egg
1/4 cup Melted Butter

Instructions:
It doesn't even matter how you put these ingredients together. Just mix and spoon into muffin tins. Yes, it is THREE cups of cheese.
(The official directions are to whisk dry ingredients, stir in cheese(s), then in a separate bowl whisk egg, milk, and melted butter before mixing them into the dry ingredients. )
I just added everything to one bowl and mixed and added the cheese last. They worked beautifully. It will seem as though there is too much cheese, but is there really such a thing as too much cheese????
Bake in greased muffin tins at 375 degrees for 20 minutes.
These muffins are airy and cheesy and delightful! They taste best when the cheese on the inside is melty enough to be a little stringy when you take a bite.
Also, the recipe says it makes 12, but I think it could easily make 15 or so.
Sorry most of my recipes are muffins. I really like them and so do my kids. =)

Saturday, January 15, 2011

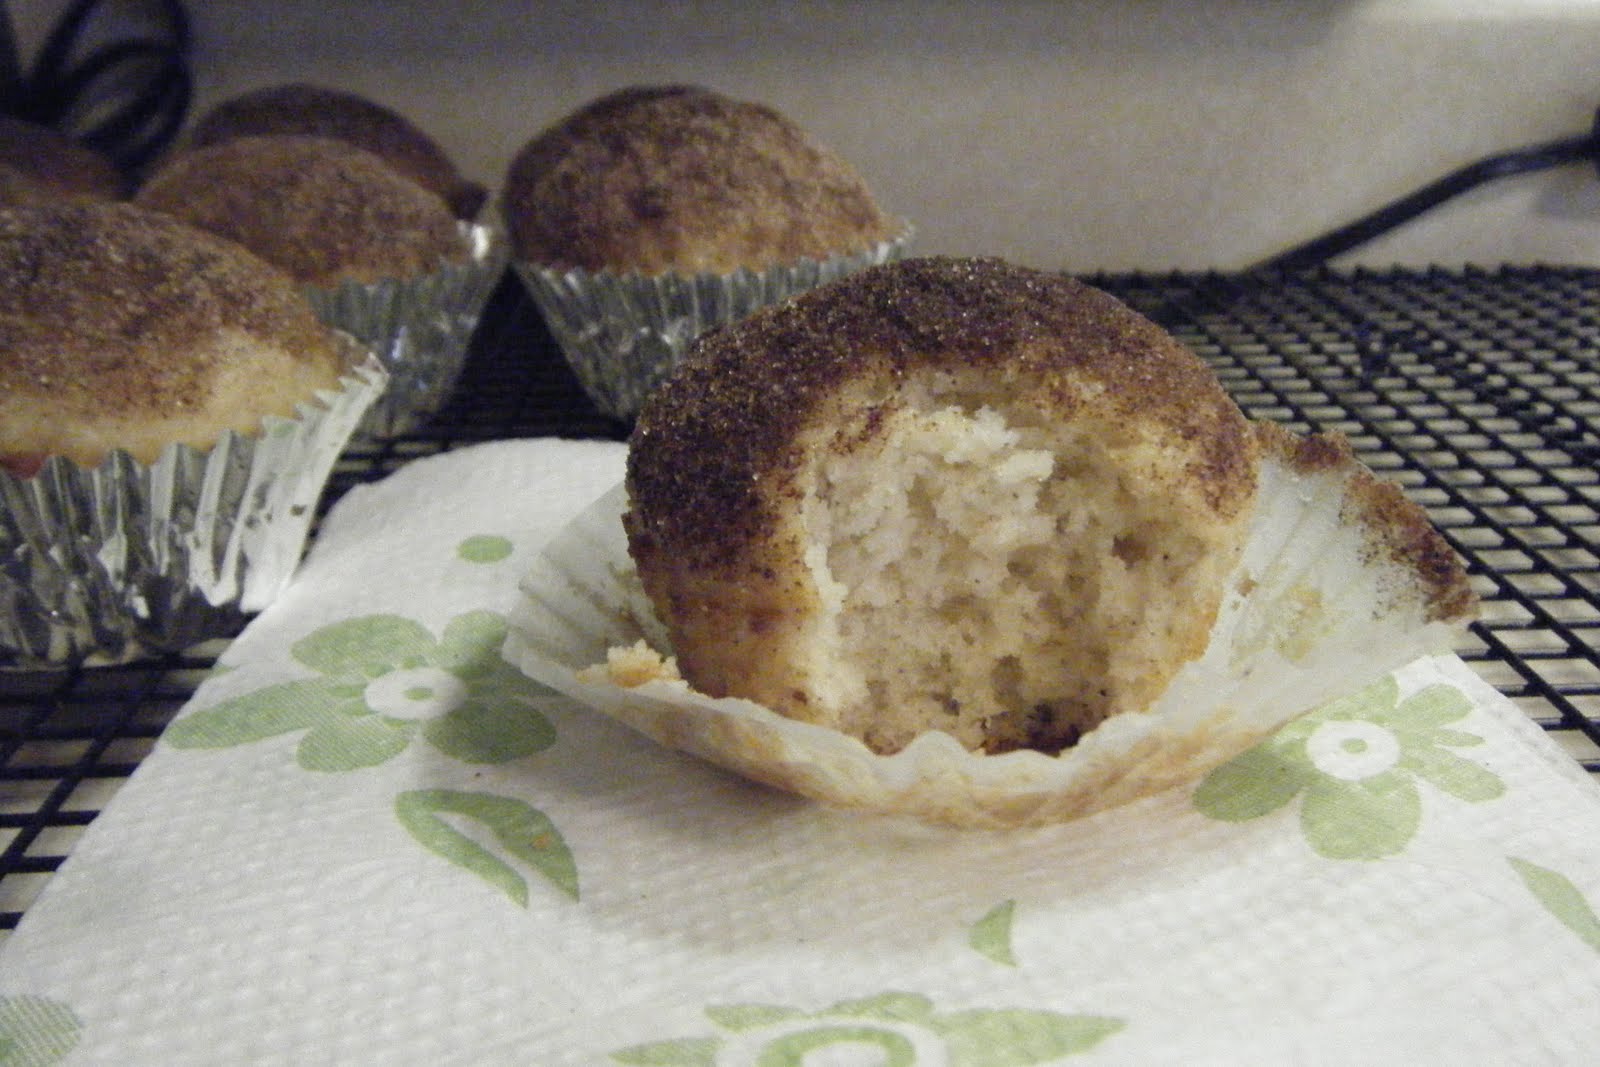
Cinnamon Doughnut Muffins

And who wouldn't want one of those???
These muffins are easy to make and delicious! They are like a cake doughnut, but more light and fluffy. Try it and you will see how good they are!
Cinnamon Doughnut Muffins
Ingredients:
1 3/4 cups all purpose flour
1 1/2 teaspoons baking powder
1/2 teaspoon salt
1/2 teaspoon ground nutmeg
1/4 teaspoon ground cinnamon
3/4 cup sugar
1/3 cup vegetable oil
1 egg
3/4 cup milk

Topping:
1/4 cup, butter melted
1/3 cup sugar
1 teaspoon ground cinnamon

Instructions:
In a large bowl mix flour, baking powder, salt, nutmeg and cinnamon. Stir to combine. Add oil, egg, and milk to dry ingredients and stir just until moistened. Fill paper lined or greased muffin cups 3/4 full and bake at 350 degrees for 20-25 minutes. They are ready when the tops are firm or you can stick a toothpick in and make sure it comes out clean. Melt butter in a small dish. Combine cinnamon and sugar in another small dish. Immediately after removing the muffins from the oven, dip the tops in the melted butter and then roll in the cinnamon/sugar mixture. Serve while warm for best taste. Makes 12 muffins.

Thursday, December 16, 2010

Blueberry Applesauce Loaf

This recipe came from Seneca. The line just before the recipe says to use applesauce for healthy baking. This makes one large loaf (9x5x3 pan) or two small loaves with the 6 inch pan.Ingredients:
1/4 cup Butter, Softened
3/4 cup Sugar
1/4 cup Applesauce (I used a wild berry cup and ate the last few spoonfuls.)
1/4 cup Apple Juice
2 Eggs
1/2 cup Milk
1 teaspoon Vanilla
1 3/4 cups Flour
1/8 teaspoon Salt
1 teaspoon Baking Powder
1 cup Fresh or Frozen Blueberries (I only had 1/2 cup of frozen, so I added Crasins too.)

Topping:
2 teaspoons Sugar
1 teaspoon Cinnamon

Instructions:
In a mixing bowl, cream together butter, sugar, applesauce, and apple juice. Beat in eggs, milk, and vanilla. Combine flour, salt, and baking powder and add to creamed mixture just until combined. Gently fold in blueberries. Pour into a greased loaf pan. Combine sugar and cinnamon and sprinkle over the top of the batter. Bake at 350 degrees for 45-55 minutes or until a toothpick comes out clean. I checked mine at 30 minutes and it was starting to brown up on the edges a lot, so I put a piece of tin foil over the pans. Cool for 10 minutes before removing from pan to wire rack to cool completely.

I think this bread is delicious. Try it and tell me if you did.

Monday, October 18, 2010

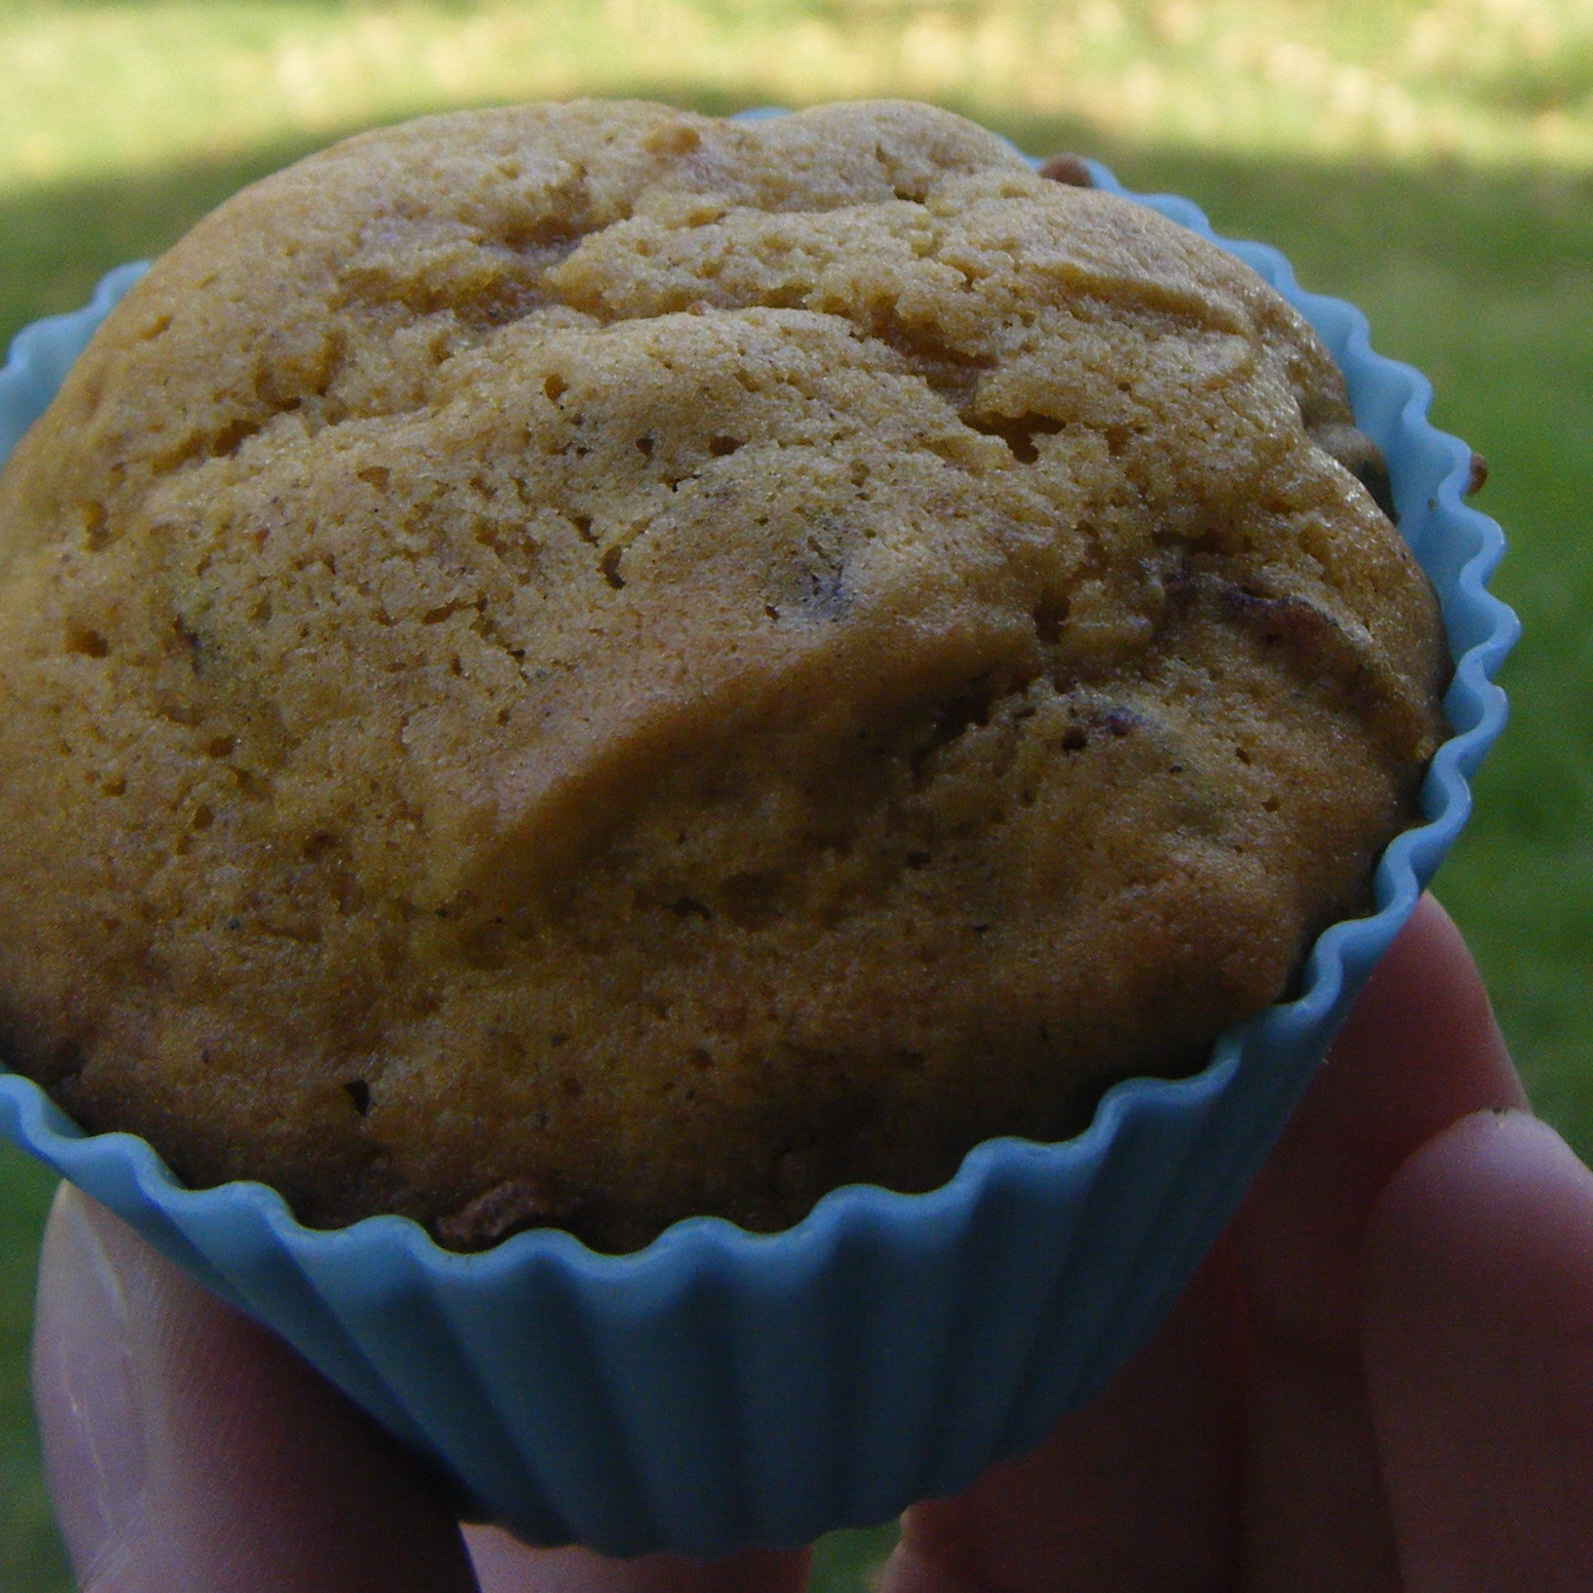
Pumpkin Muffins

I just found this recipe a few days ago in a local magazine and had to try it. It has dried cranberries (Crasins) as well. I think it would also be great with chocolate chips, but what is not better with chocolate chips? The Crasins are in there, but kind of hide in the pumpkin.
Ingredients:
2 Eggs
2 cups Sugar
1 cup Canned Pumpkin
1/2 cup Vegetable Oil
1 teaspoon Baking Soda
1/2 teaspoon Salt
1 teaspoon Pumpkin Spice (I used 1/2 teaspoon Nutmeg and 1/2 teaspoon Cinnamon)
2 1/4 cup Flour
1 cup Dried Cranberries (I think more of these would have been better.

Instructions:
This recipe made 24 full muffins.
In a mixing bowl, beat the eggs and sugar together. Add the pumpkin and oil and mix well. Stir baking soda, salt, spices, and flour in. Fold in cranberries. Fill greased muffin tins 3/4 full and bake at 400 degrees for 18-22 minutes or until a toothpick comes out clean. Cool for five minutes before removing to wire rack.
My muffin liners were in the dollar section of Target last year. They are silicone and reusable and don't even need to be sprayed (but I still do a little.)

Sunday, October 3, 2010

Bagels

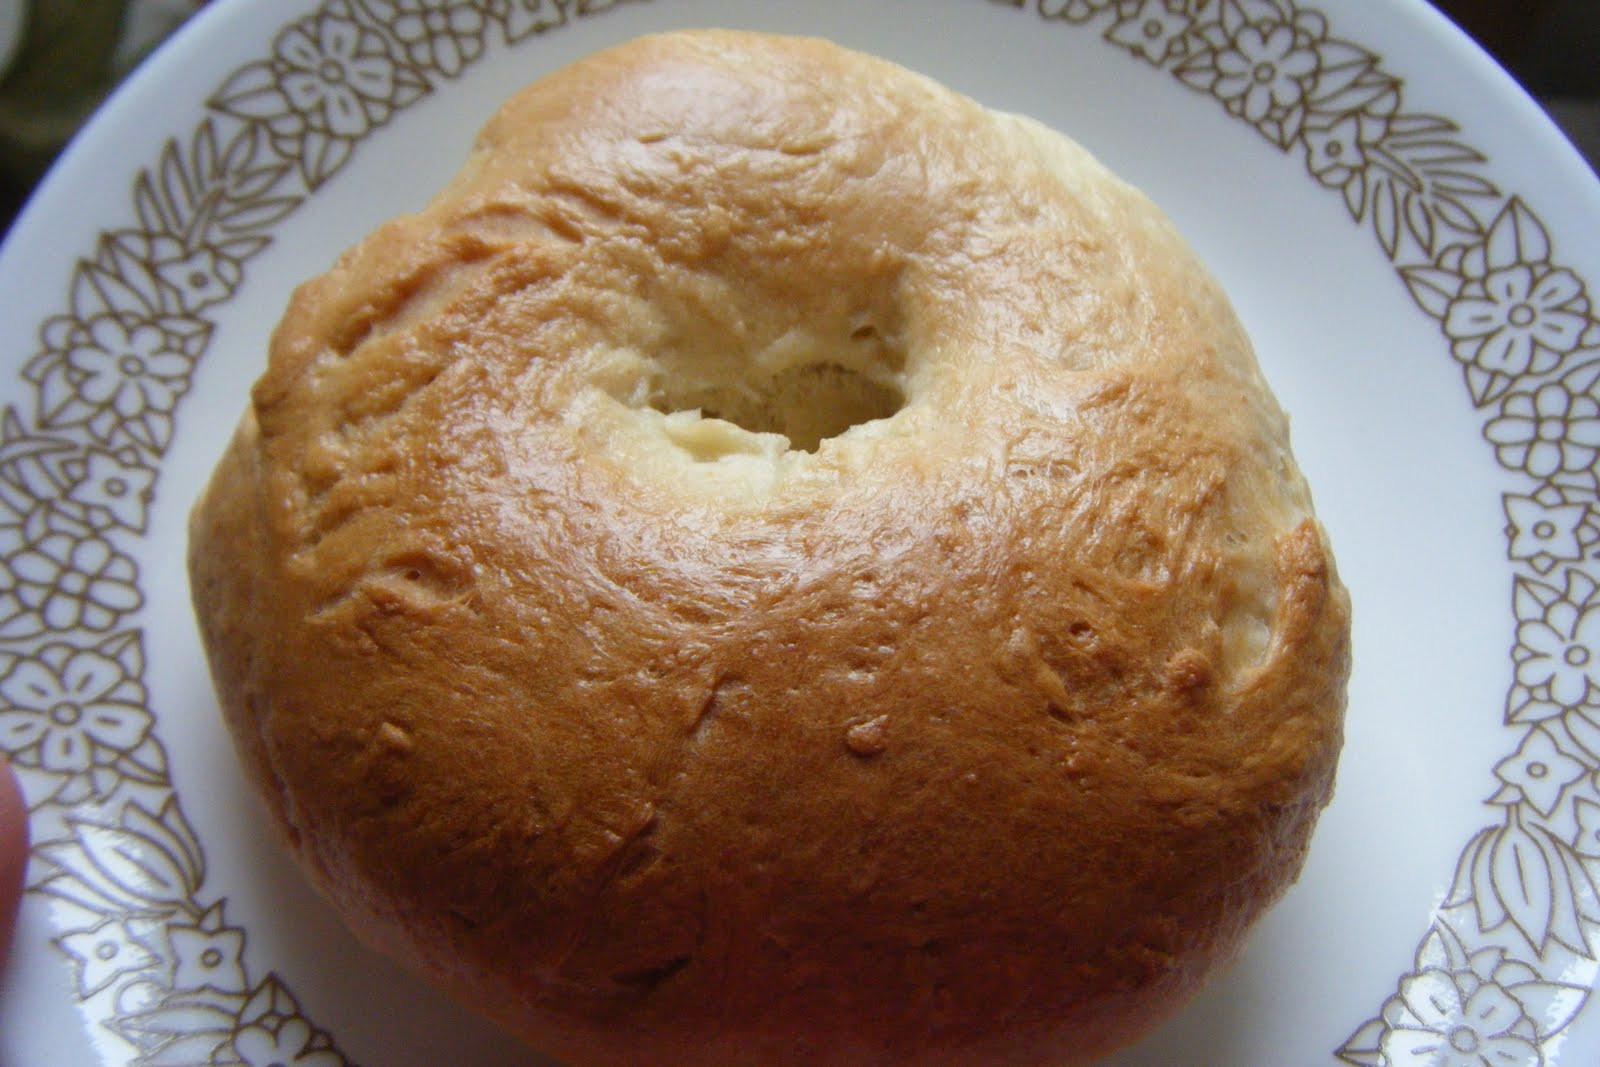
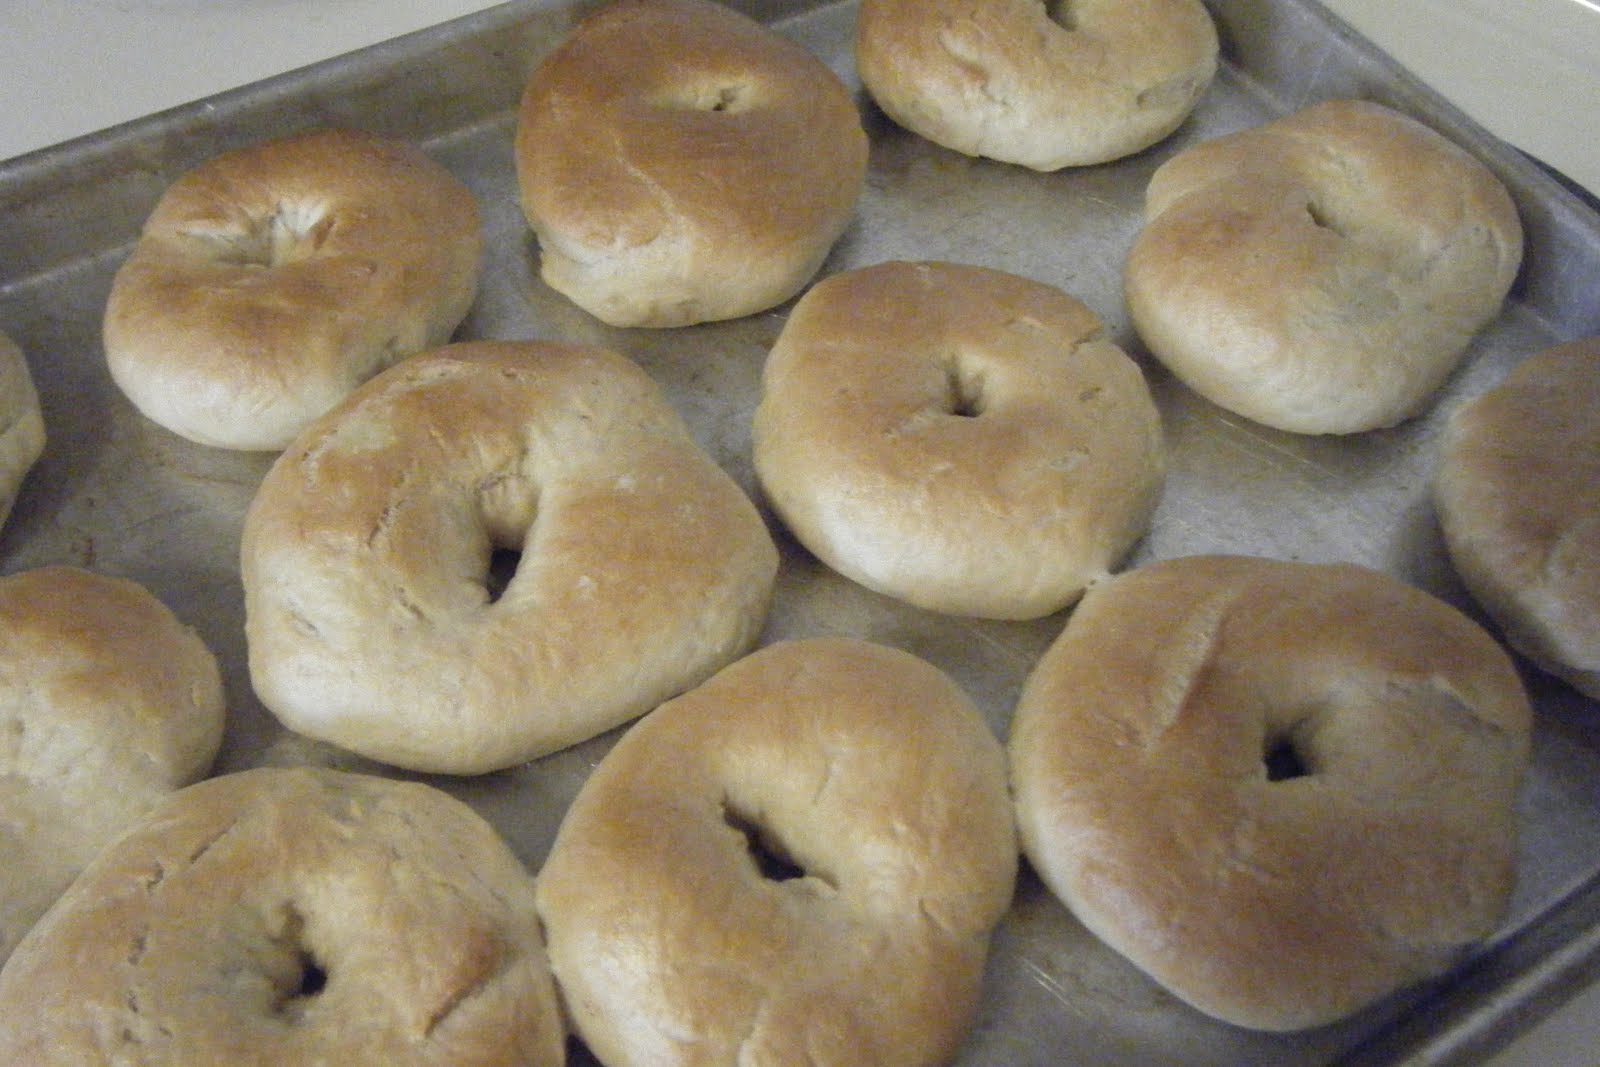
One of my classmates from high school posted on Facebook that she made her own bagels. It had never occurred to me that I could make my own bagels. They seemed too fancy to make and I had no idea that I could. I looked at the recipe and it was easy. There are many steps, but the end result is perfectly delicious!
Sorry about my pictures. I don't have a lot of light in my kitchen and took 41 pictures just for these ones.

Ingredients:
1 teaspoon active dry yeast
1 1/4 cups warm milk or water (I used half water and half milk.)
1/4 cup butter or margarine, softened
2 tablespoons sugar
1 teaspoon salt
1 egg yolk
3 3/4 cups all-purpose flour

Instructions:
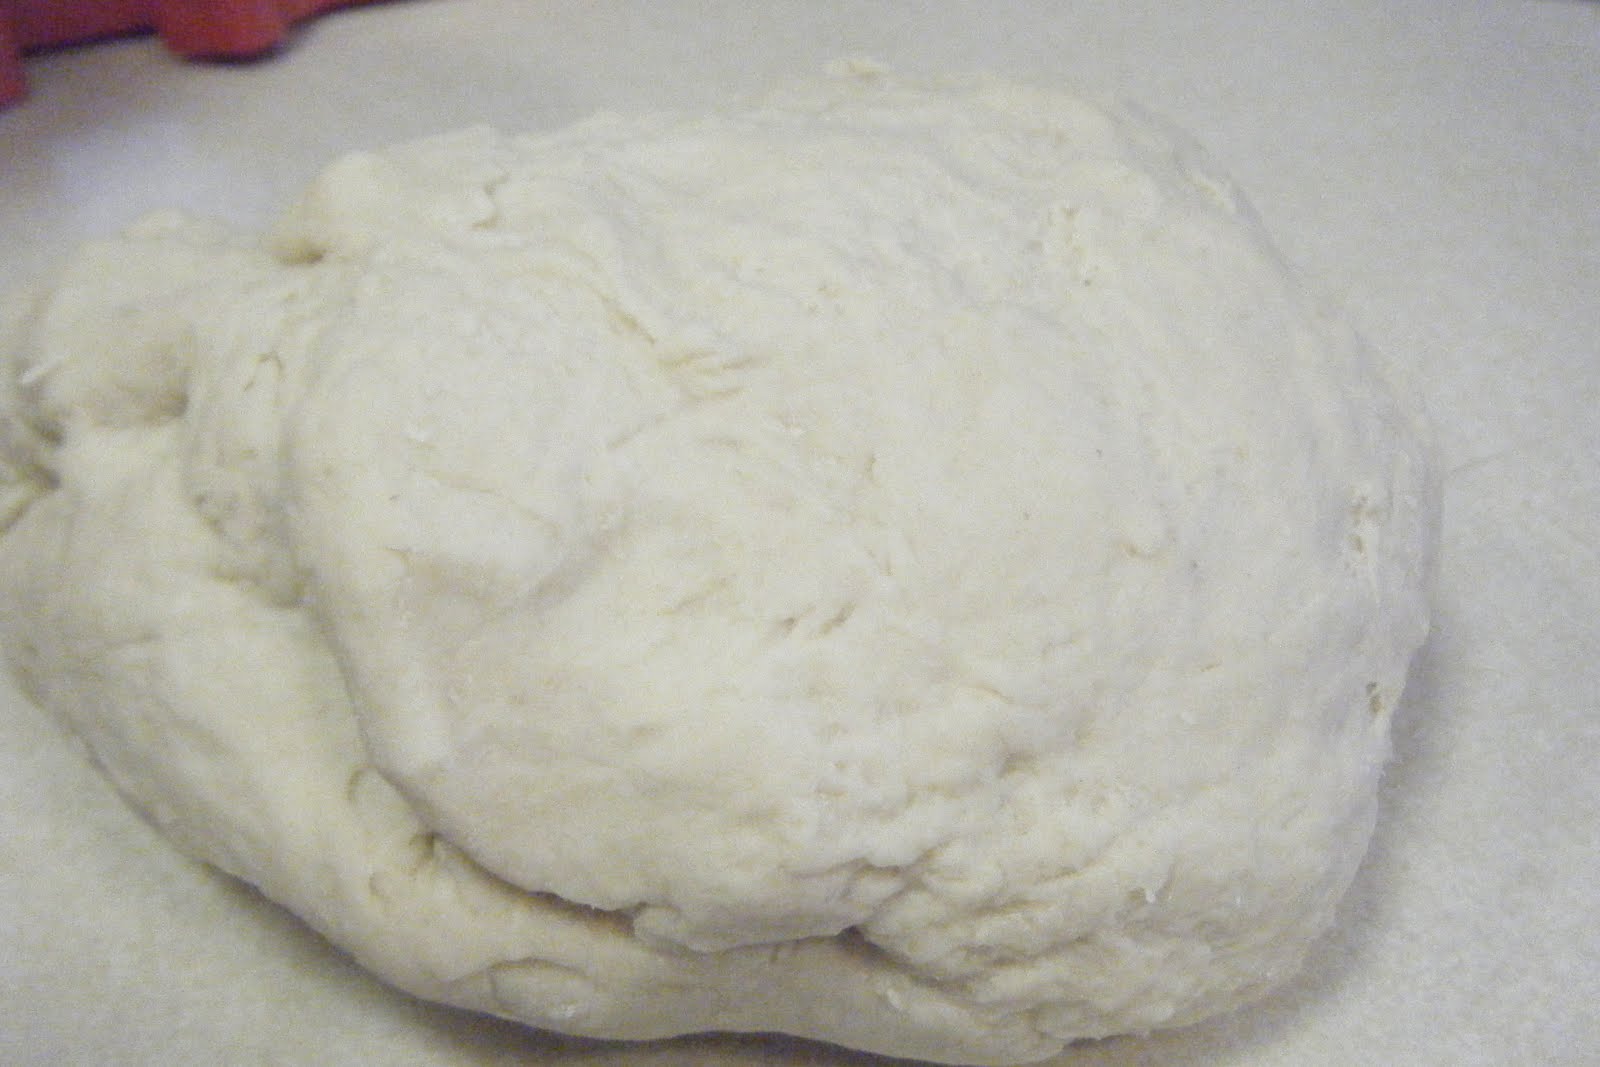
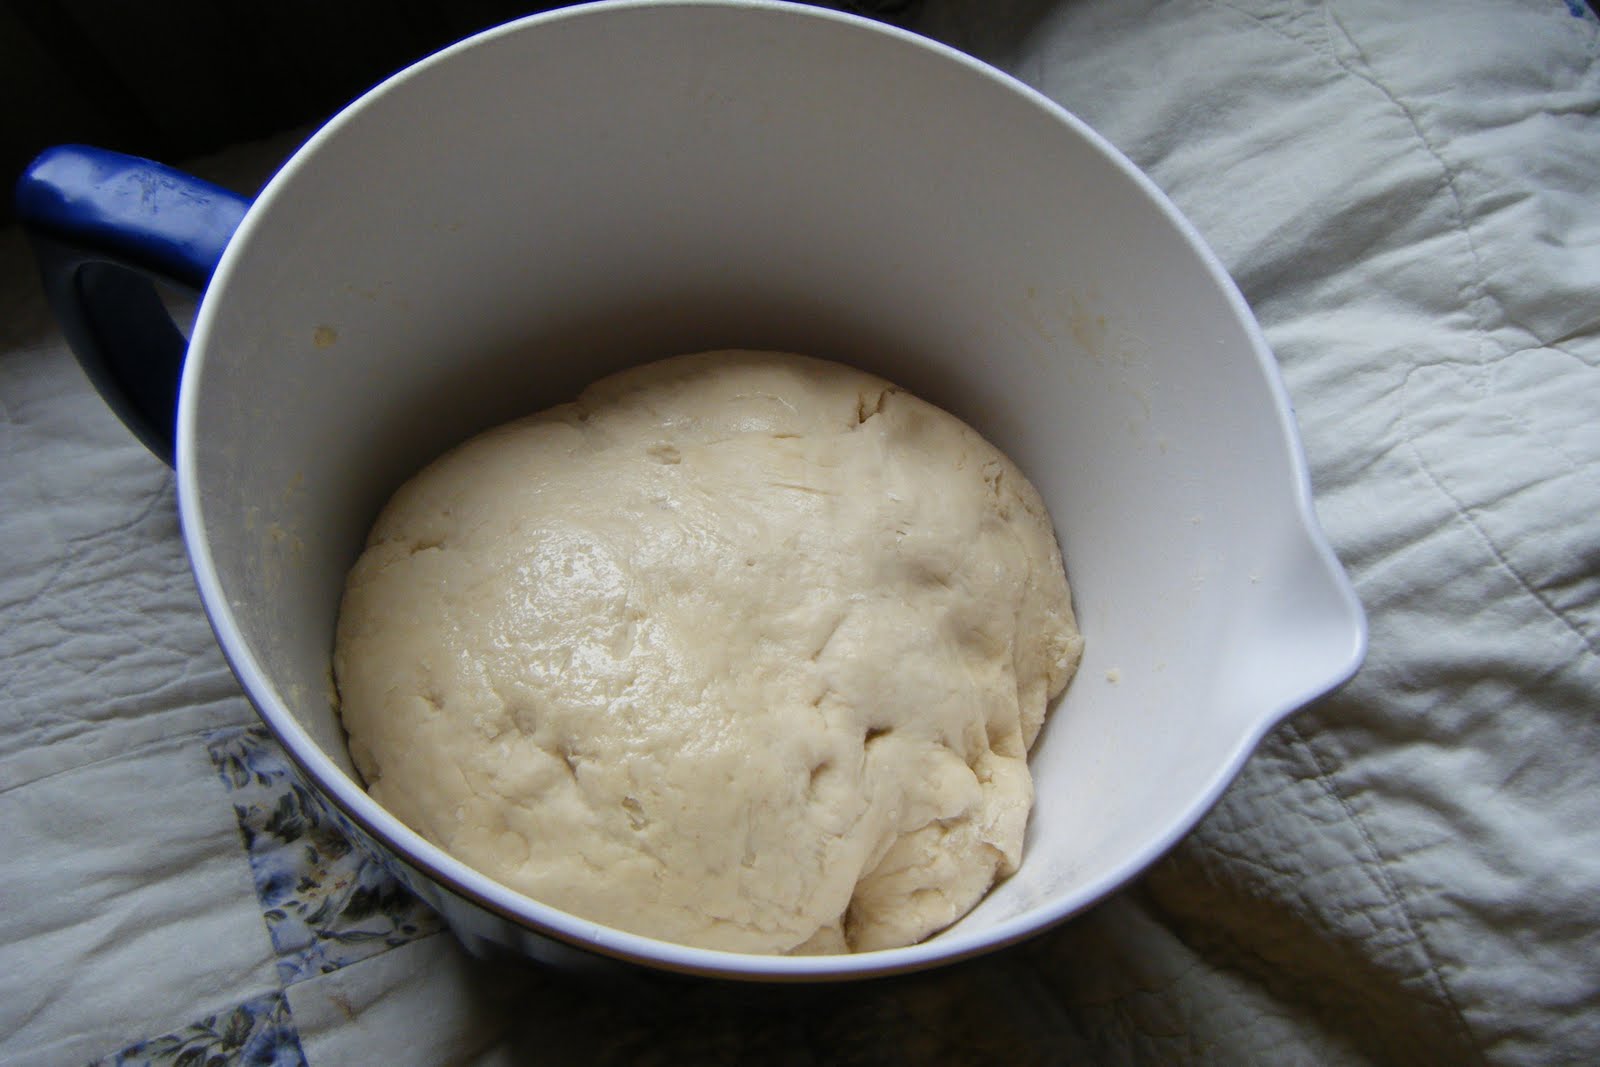
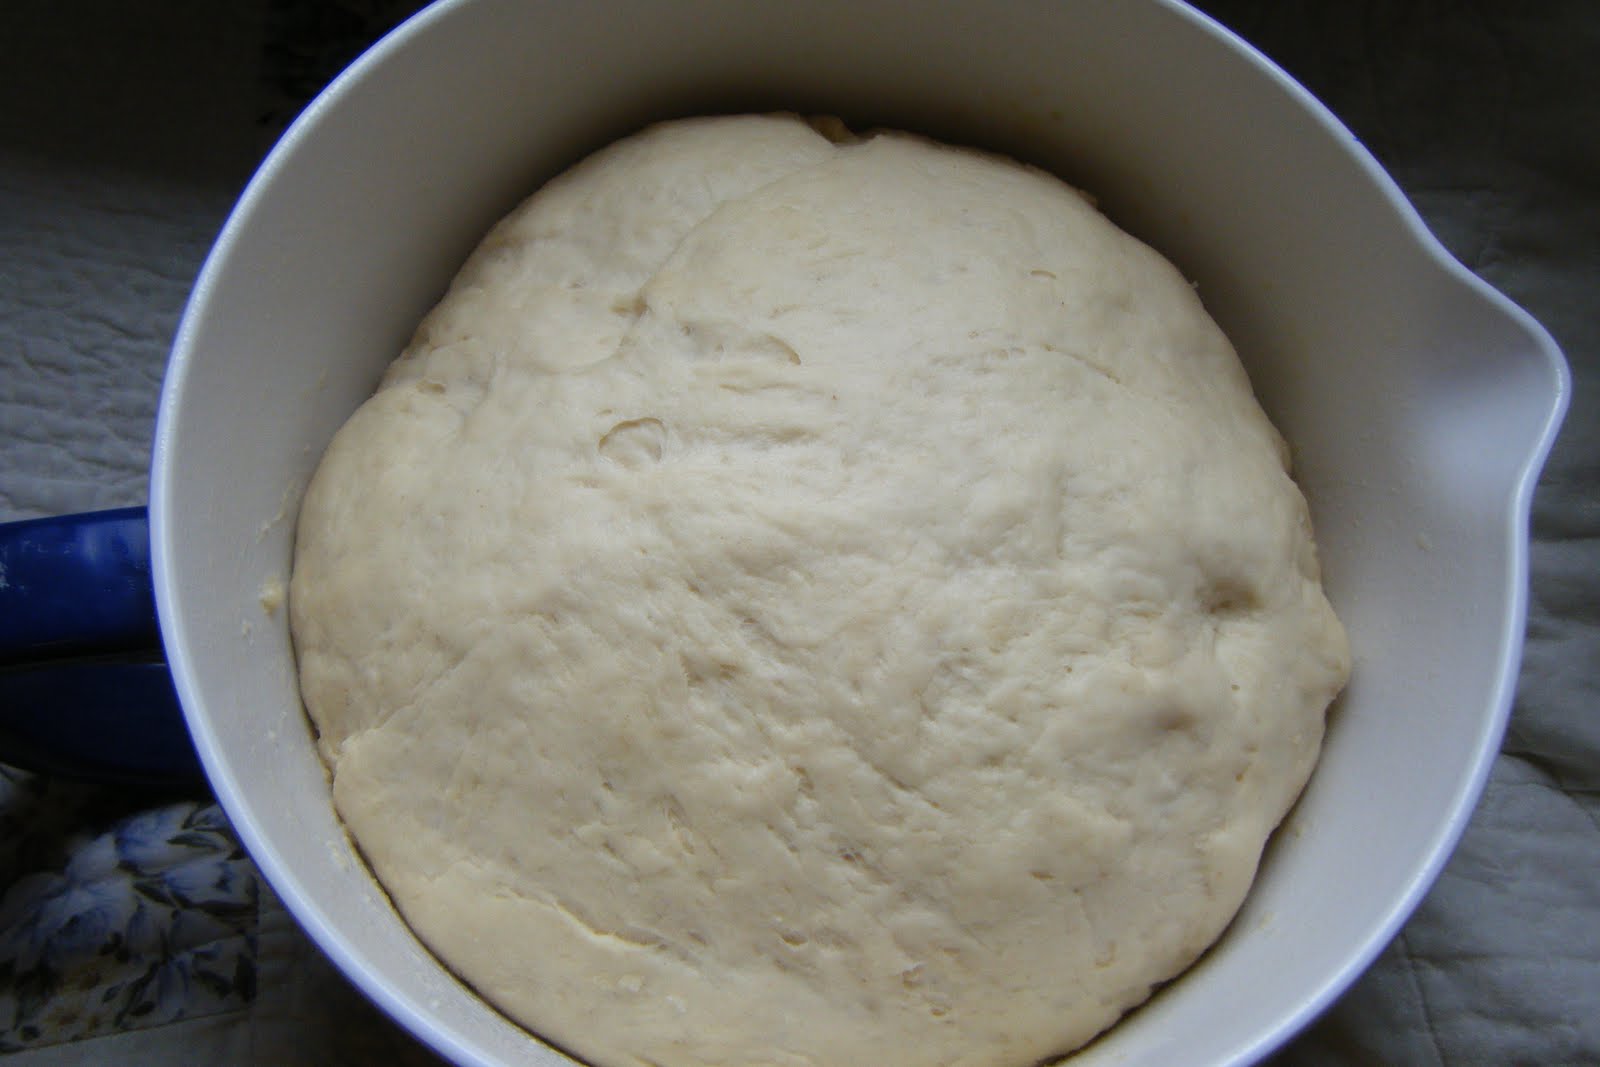
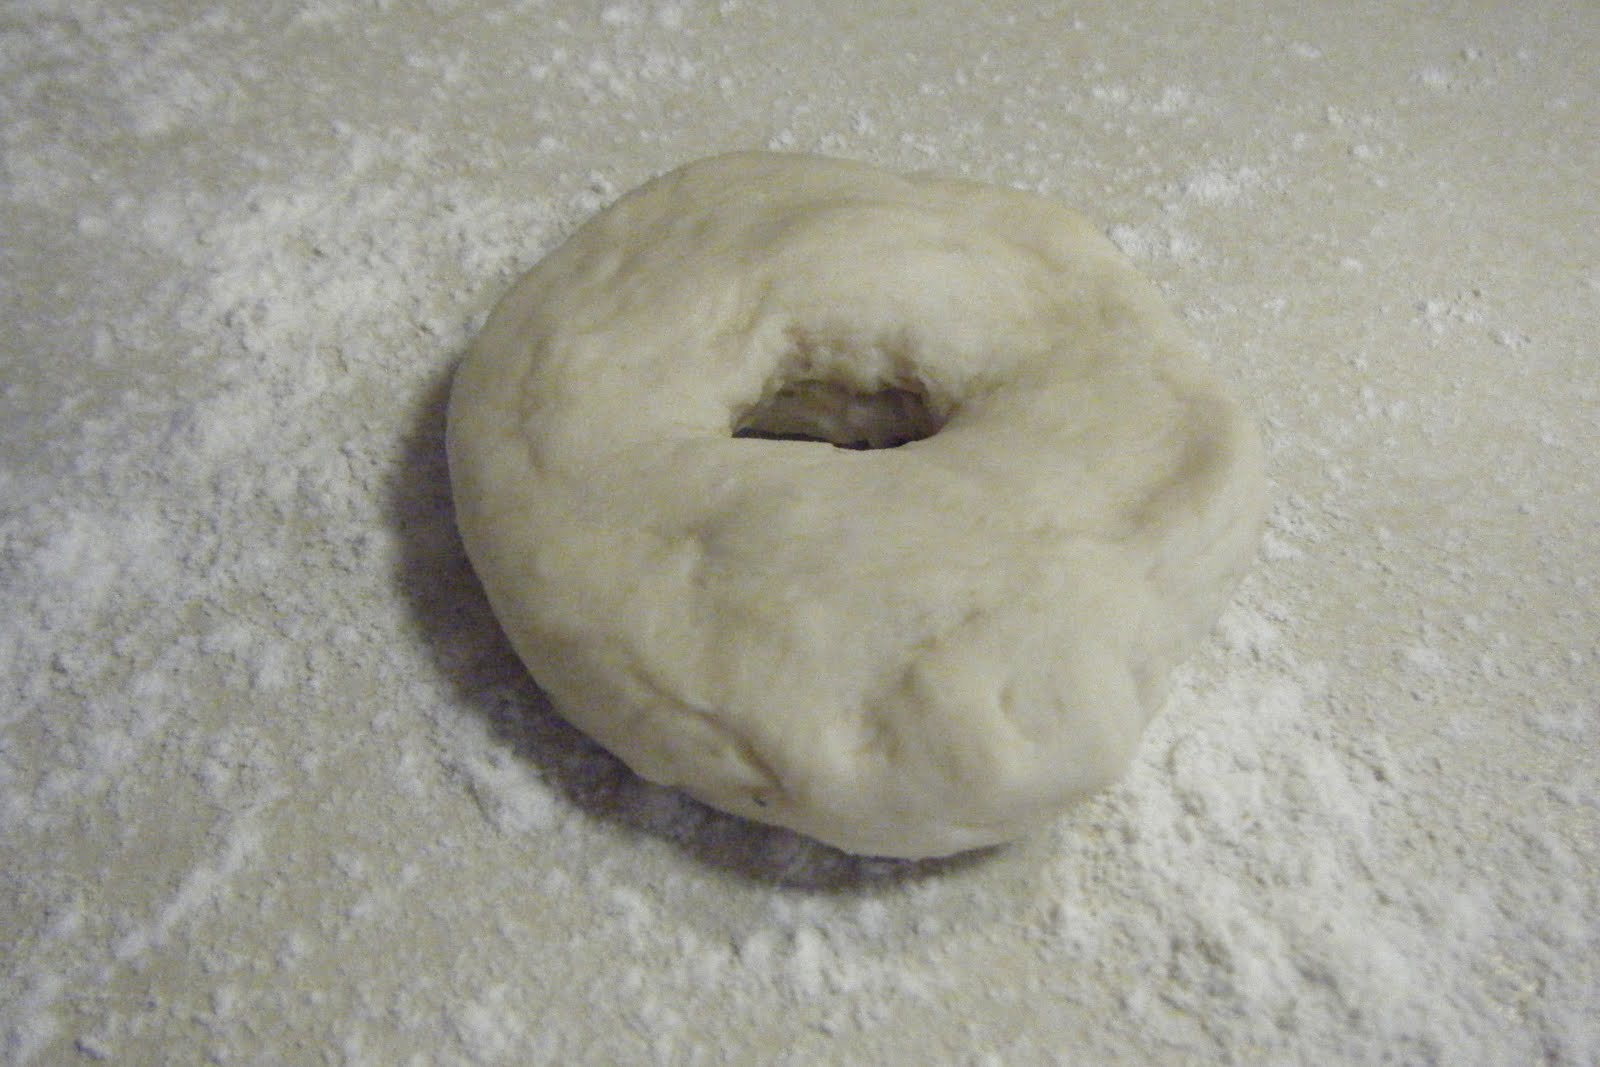
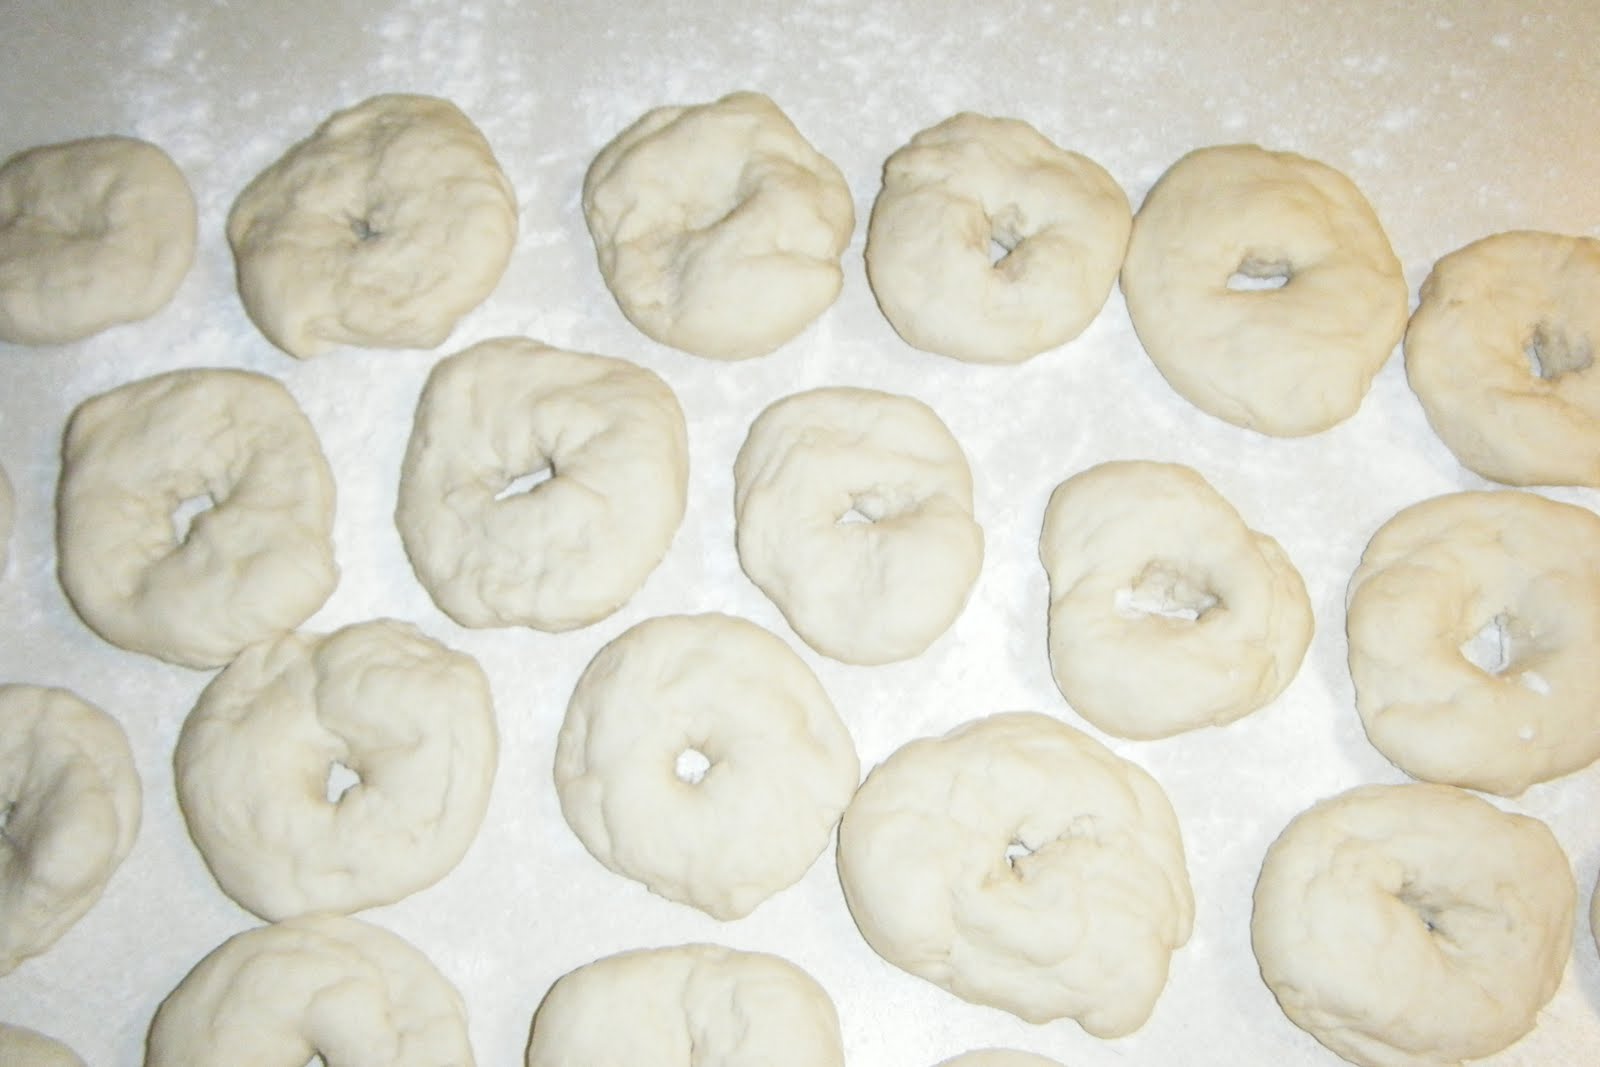
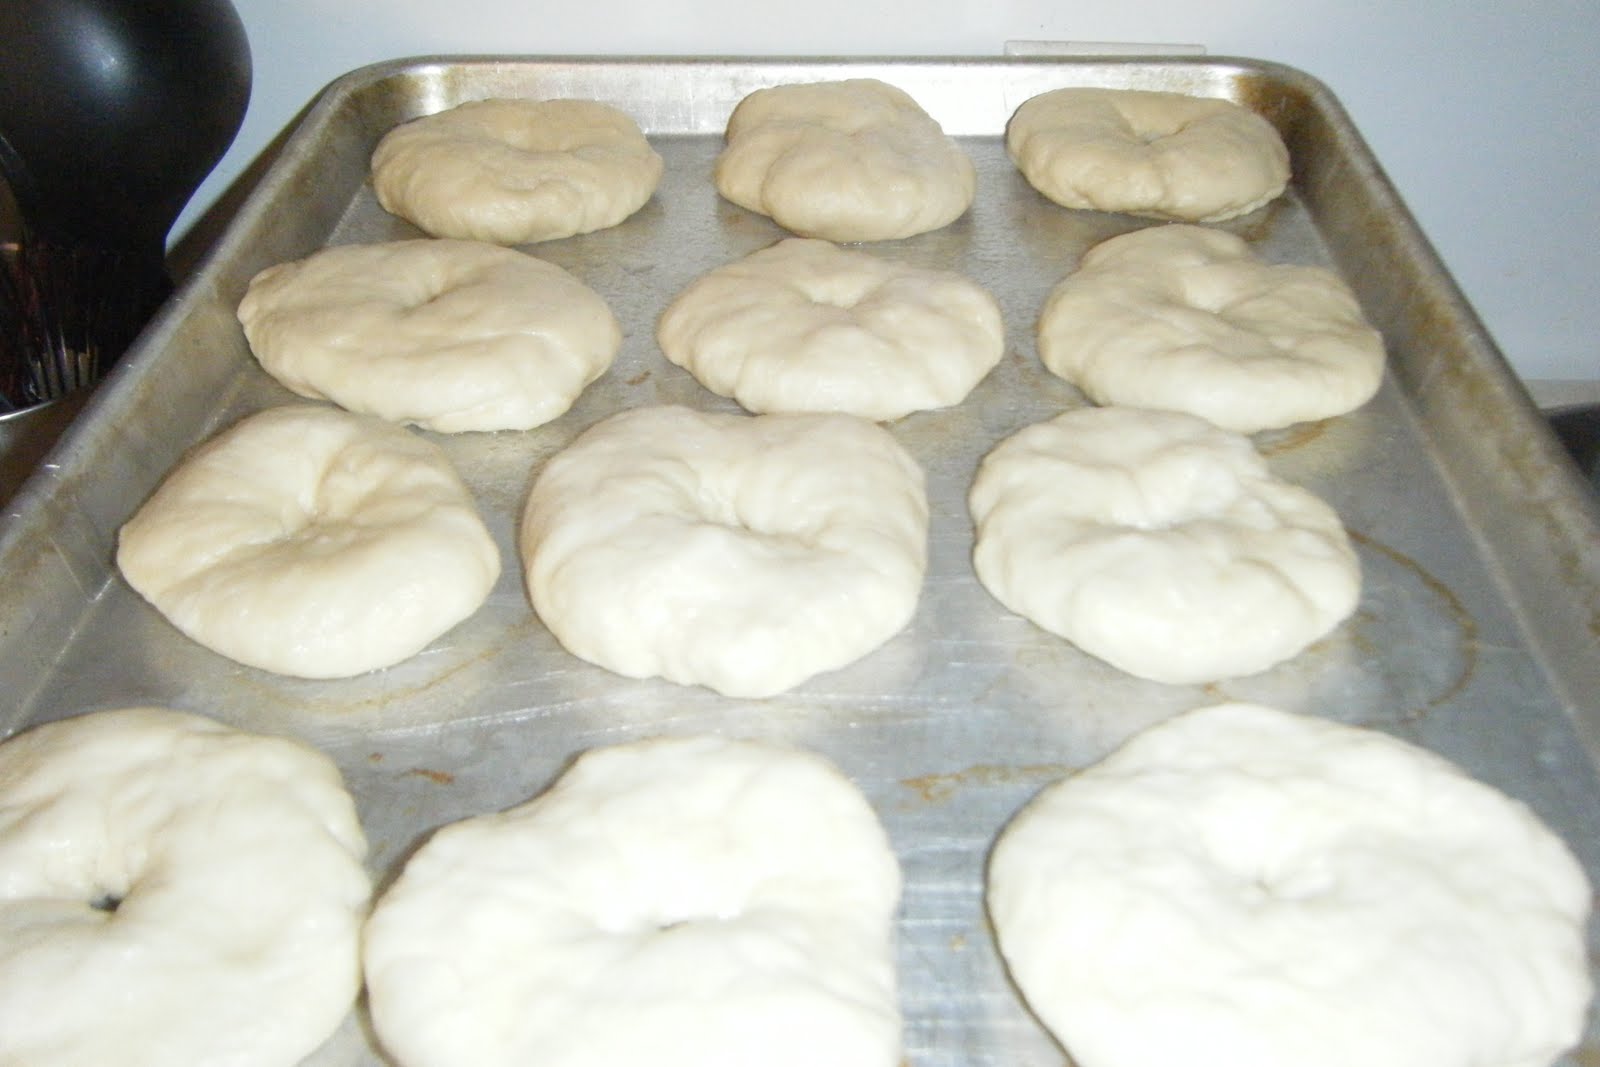
In a mixing bowl, dissolve yeast in warm milk. Add the butter, sugar, salt and egg yolk. Mix well. Stir in enough flour to form a soft dough. Turn onto a floured surface; knead until smooth and elastic, about 6-8 minutes. Place in a greased bowl, turning once to grease top.Cover and let rise in a warm place until doubled, about 1 hour.Punch dough down. Shape into 12 balls. Push thumb through centers to form a 1-in. hole. Place on a floured surface.Cover and let rest for 10 minutes. Flatten. In a large saucepan, bring water to a boil. Drop bagels, one at a time, into boiling water. When bagels float to the surface, remove with a slotted spoon and place 2 in. apart (I did less than that and they were fine.) on greased baking sheets. Boiling the bagel makes the special smooth texture on the outside of the bagel.
After boiling and ready to go in the oven.Bake at 400 degrees F for 20-25 minutes or until golden brown.
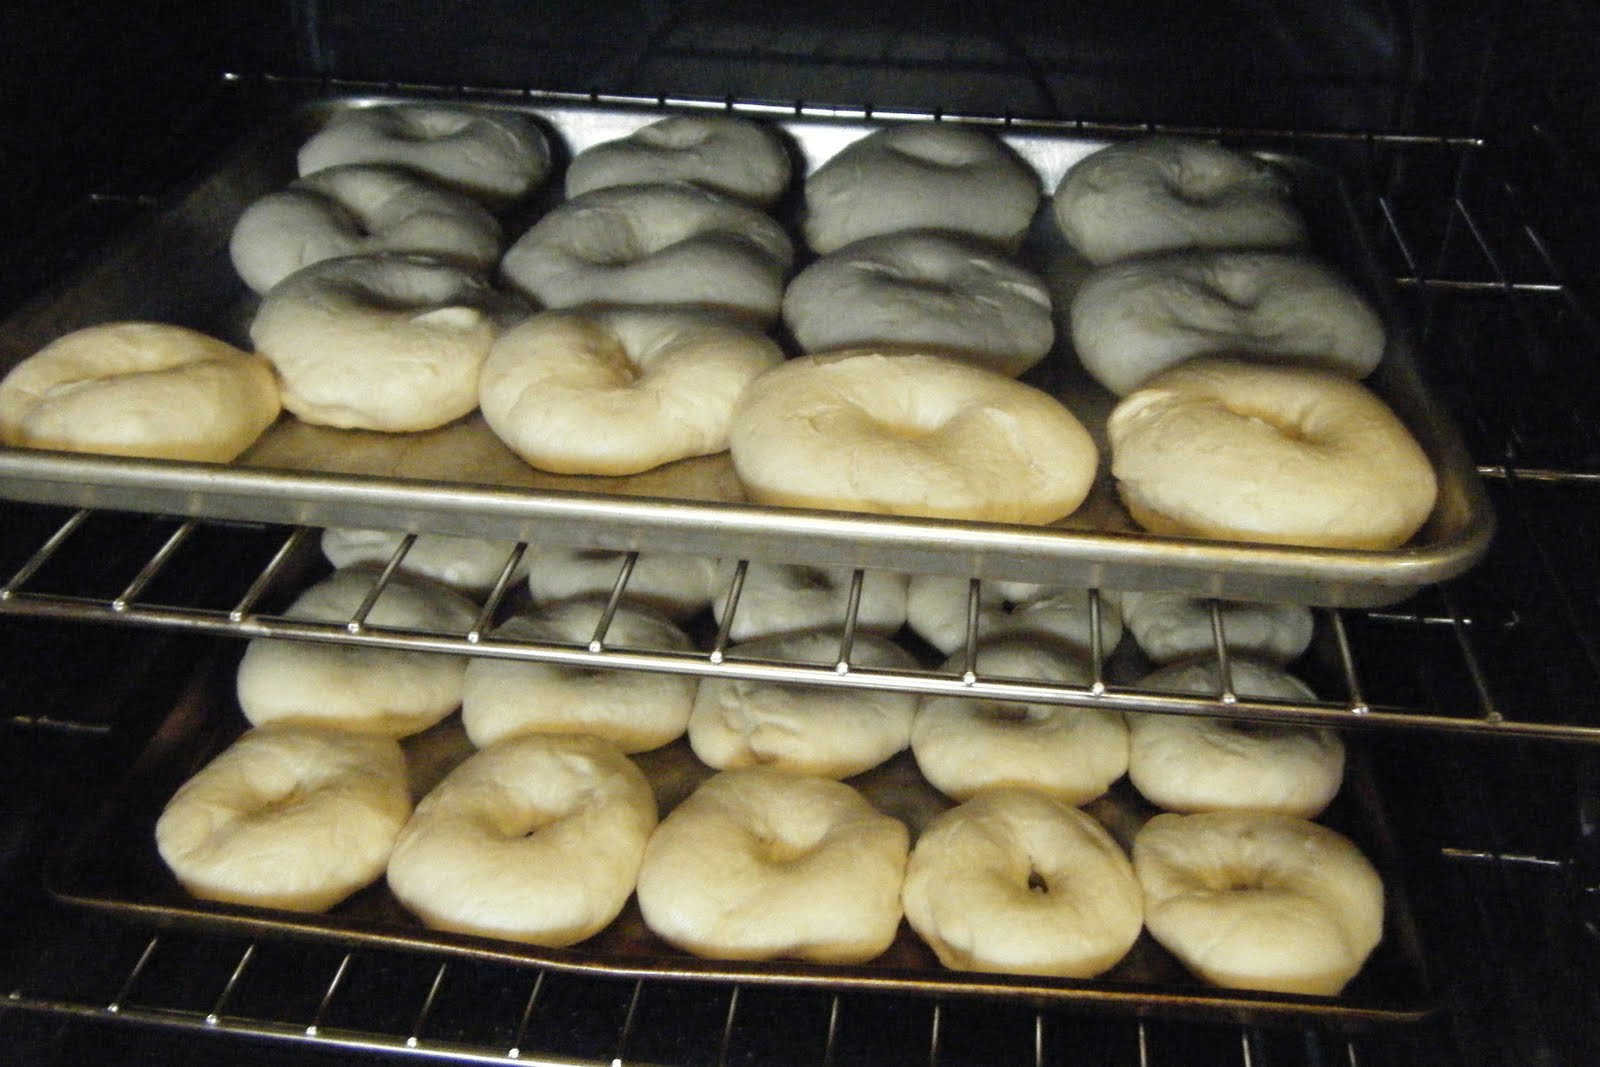
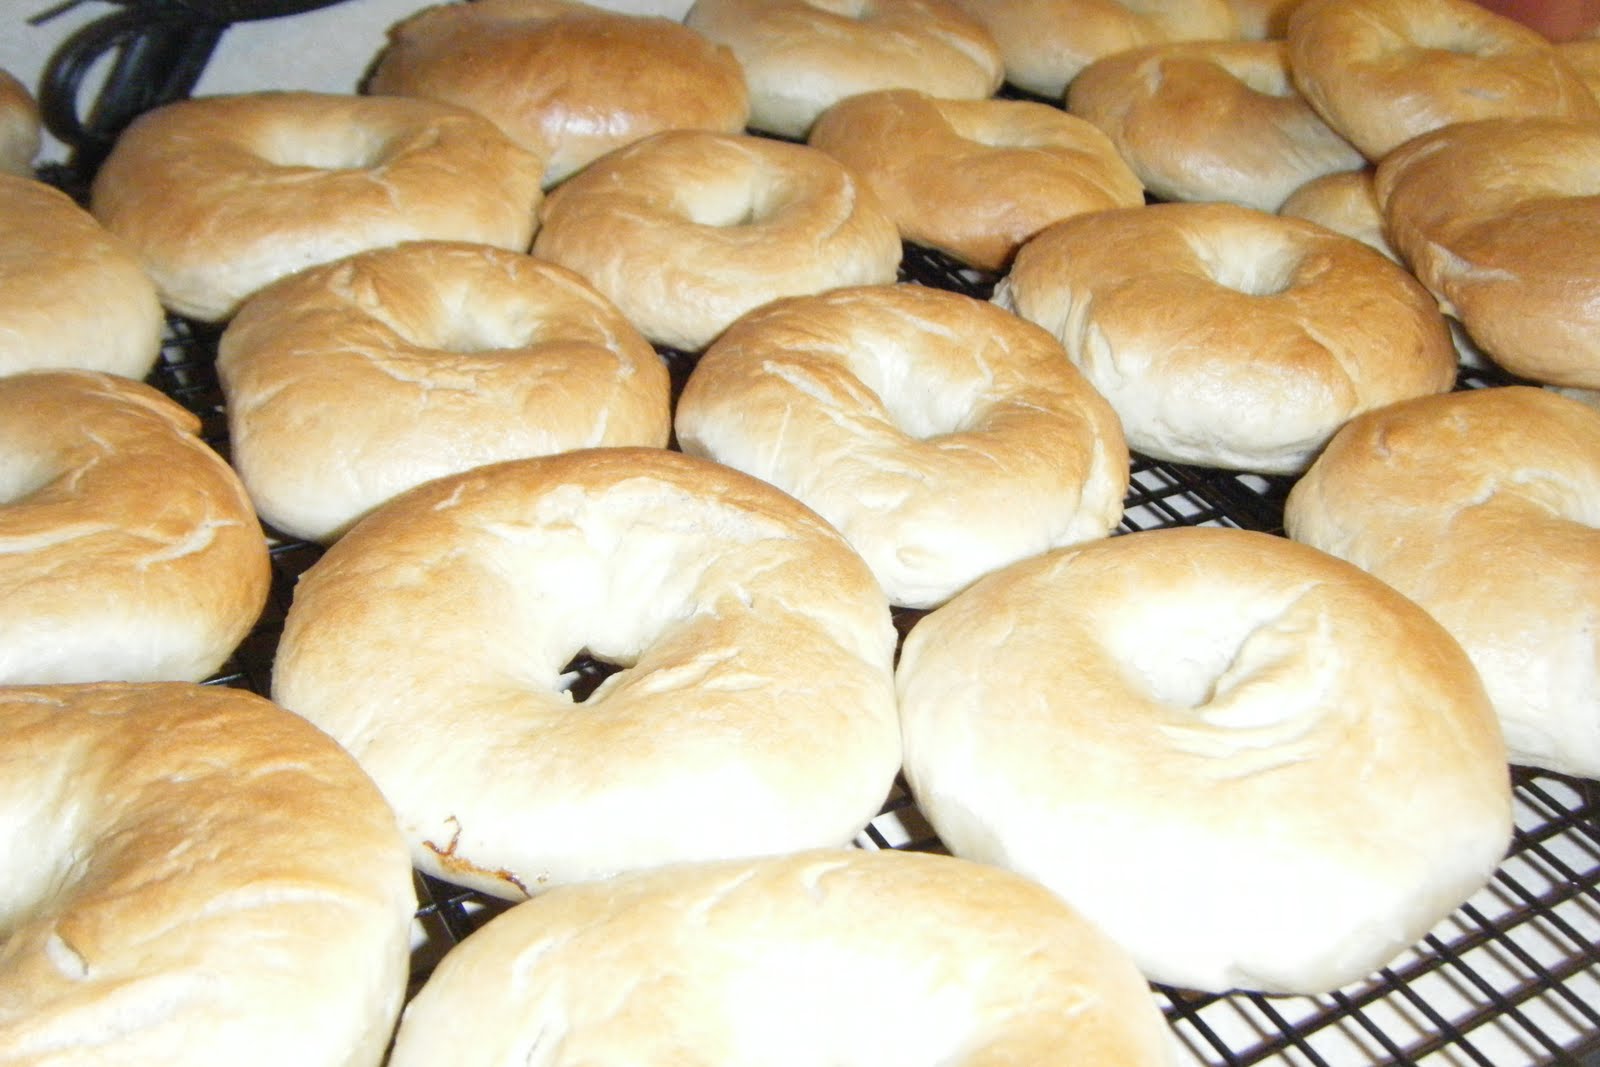
Halfway through baking.All done. The lighting is bad, but this is how they looked.
Remove from pans to wire racks to cool. I've never eaten a warm bagel before, but YUM! They are so good! I think this recipe would work well for pretzels too.

I made several smaller bagels and several bigger normal sized ones. The smaller ones were perfect for Vincent to hold and just the right amount to eat. I made 13 bagels total. I'm going to double the recipe for the next batch. Everyone loved them!
The batch I took pictures of is a doubled batch. It made 28 bagels. They are slightly smaller than the average bagel, but perfect for us. I love using my special $5 bagel cutter that I found at Big Lots years ago. It's product name is Ronco, so anytime we use it we say "Ronco!" over and over.

Thursday, July 1, 2010

Easy Rice Crispy Treats

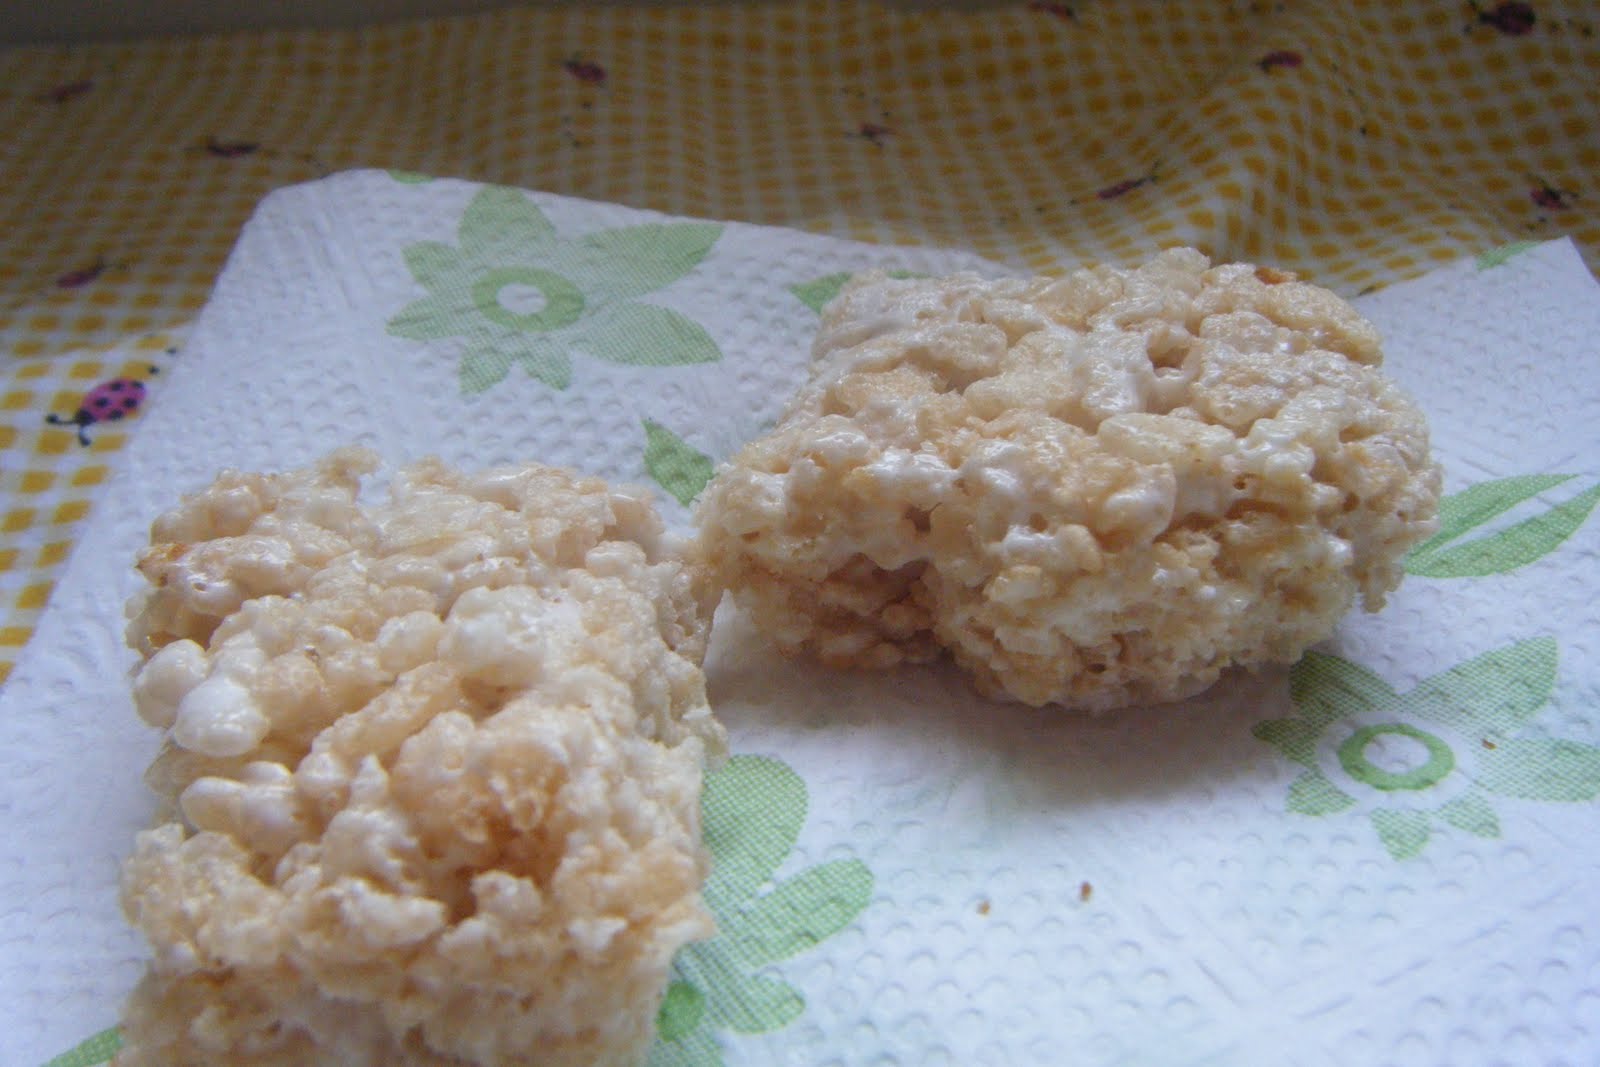
I know most of you probably have rice crispy treat making DOWN, but this is a way I do it so I don't have to use the stovetop or butter/margarine and my nephew can eat them and they are a little healthier this way. I make a large cookie sheet or jellyroll pan of this amount. If you don't want quite so many, cut the recipe in half. This picture is the last two of these treats.Ingredients:
8 cups Rice Crispy Cereal
8 cups Marshmallows
1/4 cup Vegetable Oil
1 teaspoon Vanilla

Instructions:
Measure 8 cups of cereal and put into a large bowl to mix. Place marshmallows in a glass microwavable bowl with vegetable oil and stir together to coat the marshmallows. Yesterday when I made this, I put them in the microwave on medium heat for two minutes and when I pulled the marshmallow mixture out, they were perfectly soft. I stirred them around and then added the vanilla before pouring them into the cereal and mixing. Once marshmallows and cereal are mixed, spread on greased cookie sheet with a piece of greased wax paper. I like to spread them out thin so kids can handle them easier.
Try this. See if you like it better than the stovetop way. I don't think I can go back now.

Vanilla Pudding Cookies

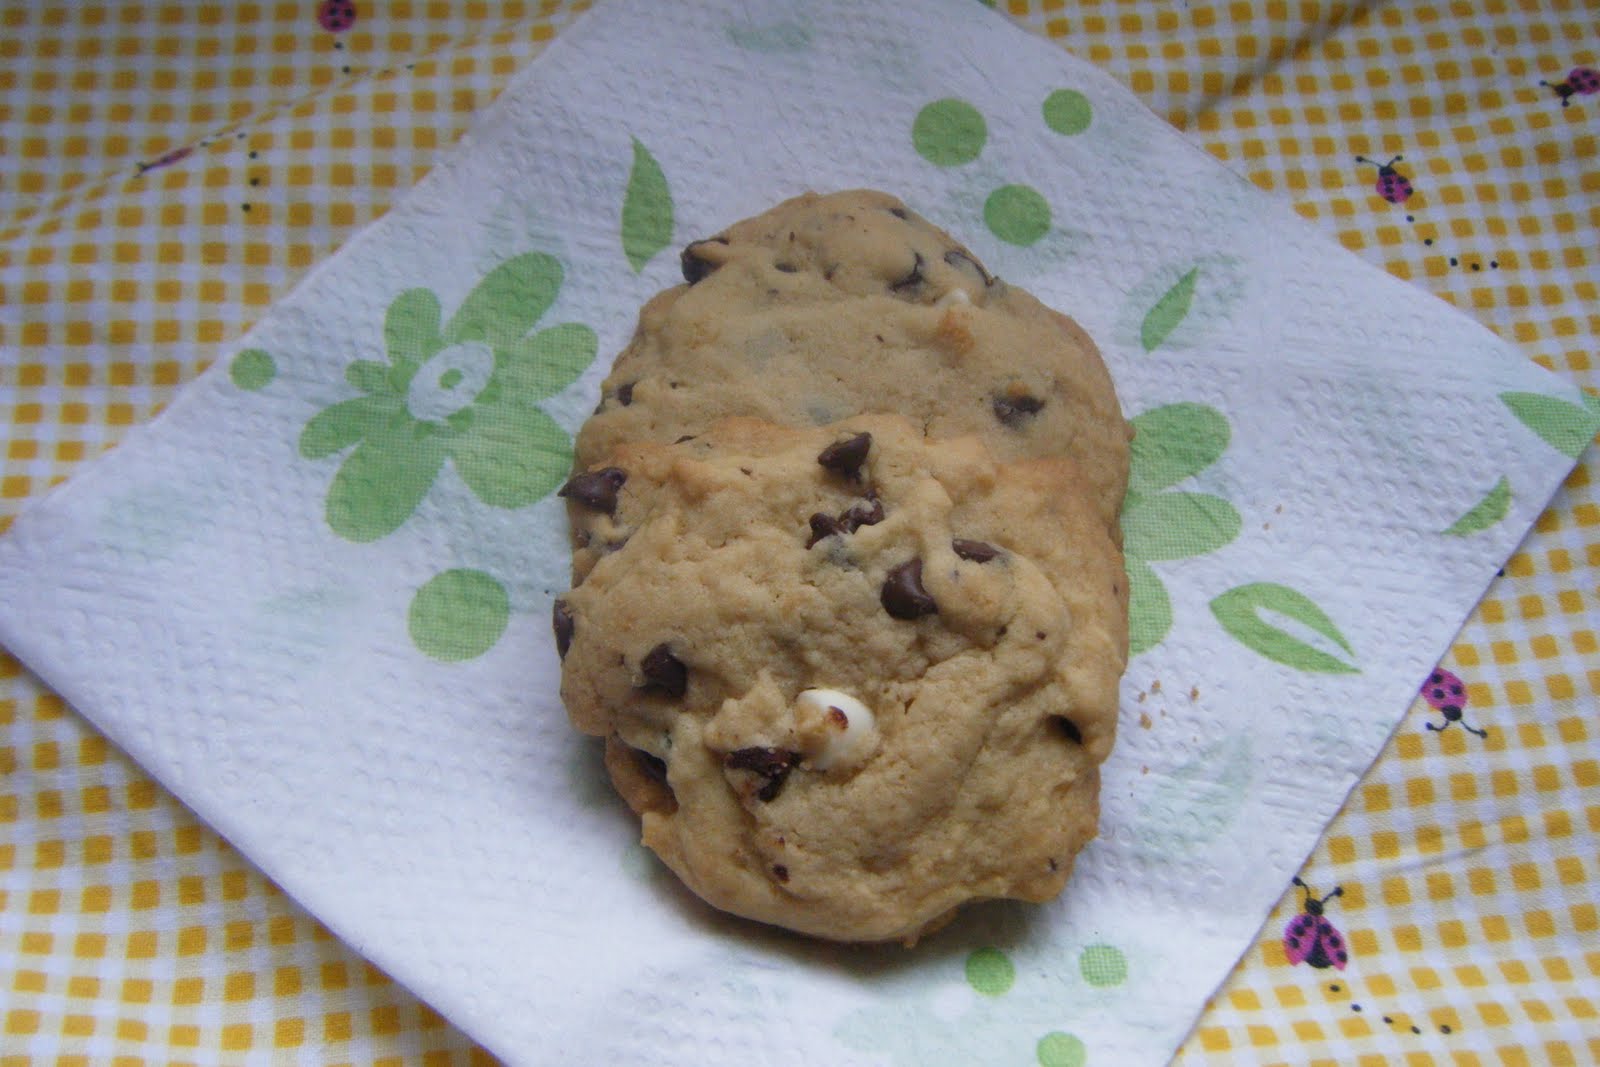
These cookies are soft and moist and delicious. I made them yesterday for a family get-together at the park with my siblings and parents and these two were all that were left (until snacktime, now they are gone!) Many of the cookies were enjoyed even before the park by my brother and his wife and our combined five kids. Toward the end of the time at the park, one nephew-son of a different brother-heaped these cookies on a plate to take home. I'm just saying that they are good. I didn't come up with the recipe, but I forgot to write where I got it when I printed it out. They are a lot like the Chocolate Pudding Cookies.
Ingredients:
1 Cup Softened Unsalted Butter
3/4 cup Brown Sugar
1/4 cup Granulated (Regular) Sugar
1 (3.5 ounce) box Instant Vanilla Pudding Mix-unprepared
2 Eggs
1 teaspoon Vanilla
1 teaspoon Baking Soda
2 1/4 cups Flour
Chocolate Chips (or whatever you like to add into your cookies)

Instructions:
Cream Butter and sugars together. Add dry pudding mix, eggs, and vanilla. When they are all combined well, add the baking soda and flour. Mix well. Then add chocolate chips. I used about 1 cup of mini chocolate chips and another cup or so of white chocolate chips this time. GREASE your cookie sheet and bake at 325 degrees for about 10 minutes. Makes about four dozen cookies, so double if you are feeding a large crowd. They will go quickly.

Tuesday, June 15, 2010

Chicken Sauce

This is for Hawaiian Haystacks (which are rice with chicken gravy and all the toppings you like). You could use cream of chicken soup with milk added to it, but this tastes better, we think. Again I found this on a Mel's Kitchen Cafe Blog I like to read to get great ideas from for delicious food. They were trying to figure out a good way to replace the cream of chicken soup to make it healthier. Personally, I don't really have a problem with cream of chicken soup. I love it, but this was great!
And once again, we ate way too fast to take a picture. If you want to see what it looks like follow the link above.

Chicken Sauce for Hawaiian Haystacks
*Makes about 4 cups chicken sauce (enough to serve 4-6 for Hawaiian Haystacks. I should have doubled this because if I did, I wouldn't have to make dinner tomorrow.)

2 boneless, skinless chicken breasts, cut into bite-size chunks (or leftover cooked chicken, cubed)
3 Tablespoons Butter
½ Onion (about ½ cup), finely chopped (I just used 1 teaspoon or less of onion powder because some people in my household don't like the texture of onions, but do like the flavor.)
3 cloves Garlic, finely minced (I used 1 teaspoon of the crushed garlic that is all ready to use that you buy at the store.)
1 teaspoon Salt
½ teaspoon Pepper
¼ cup Flour
2 cups Milk
1 cup Chicken Broth

In a large skillet (really use a big skillet. I used a small saucepan first and had to switch over.) melt the butter over medium heat and add the onion and raw chicken (if using leftover cooked chicken, don’t add it to the skillet now, you’ll add it later). Saute the onion and chicken, if using, until the onions are soft and translucent and the chicken is cooked through, about 5 to 6 minutes. Add the garlic and cook for about one minute, stirring, until fragrant.

Sprinkle the flour over the onions and chicken and stir to combine. Cook over medium heat for one minute – this helps get rid of the starchy, flour taste. Slowly whisk in the milk and chicken broth. Cook, stirring constantly with a whisk, and bring the sauce to a simmer over medium to medium-high heat. Add the salt and pepper. If you are using leftover cooked chicken, add it now. Continue simmering, stirring the sauce frequently, until the sauce has thickened, about 5 minutes. It took mine a long time to thicken, so I ended up adding a Tablespoon of Cornstarch to help it along for maybe 10 minutes or so instead of 5.

Serve the chicken sauce over rice with your toppings of choice. I asked some friends what they like on their Hawaiian Haystacks and here is what they added to the basics.
Basics: Cheddar Cheese, Green Onions, Sliced Olives, Chow Mien Noodles
Extras: Olives, Tomatoes, Green Onions, Mandarin Oranges, coconut, pineapple, raisins, peas, sliced steamed Carrots, Broccoli or Cauliflower, Sunflower Seeds, Celery, Cut up Boiled Eggs, Bean Sprouts, and someone even said Mustard.

What do you like on yours? I love almost everything, so my plate piles very high!

Sesame Chicken

I read this on a food blog I LOVE and tried it back in February or March. I made it again Monday night and fed it to my husband, my own three kids, and a friend's three kids. They all loved it (except for the two youngest boys who didn't even try the chicken and just ate rice and chow mien noodles.)
I didn't get a good picture of it because we ate it too fast and because when I fry things it kind of all falls apart and doesn't look great like their picture did. Just believe me that the sauce was delicious. One of the kids visiting had two pieces of the chicken.

Ingredients:
Chicken of your choice (breast, drumstick, thigh, etc.)
1 Egg, beaten
2 Tablespoons Water
1 cup Flour
1/2 teaspoon Salt
1/2 teaspoon Pepper
2 Tablespoons Corn Starch, divided
2 Tablespoons Butter or Margarine
2 Tablespoons Honey
1/2 teaspoon Garlic Chili Paste (find this in the Asian section by the soy sauce)
1 Tablespoons Soy Sauce
1 1/2 cups Chicken Stalk
2 Tablespoons Sesame Seed, toasted

Instructions:
First beat the egg and add in the water in a shallow bowl.
Roll chicken pieces in the egg and water mixture.
In a quart size ziplock bag mix the flour, salt and pepper, and 1 Tablespoon of the corn starch. Put the wet chicken into the bag and shake until chicken is coated.
In a large skillet on med-high heat, melt the butter, and fry the chicken on each side until golden brown. Place chicken off to the side if you want to use the same pan for the next step.
To the pan (or start a small saucepan) add the chicken stalk, chili paste, soy sauce, honey and remaining 1 Tablespoon corn starch. (Hint: in order to prevent clumping of the corn starch, mix it in the stalk cold, before adding to heat). Stir often until begins to thicken.
Reduce heat and add the chicken back in. Cook until the sauce is about the consistency of the honey and begins to coat the chicken. Sprinkle in the sesame seeds over the chicken.
We served this with plain old white rice and chow mien noodles. The next time I make it, I'm going to try to just bake the chicken breasts in the sauce in the oven and save on time and frying.

Serve, and enjoy. Goes well with fried rice, chow mein, or just plain. Key is to enjoy!

Sunday, May 23, 2010

Fluffy Pancakes

I didn't like pancakes growing up. I did like waffles. I ran out of the pancake mix a few months ago and have been making my own (which is really not hard at all) and LOVE them. I make a batch or double it and save them for half the week's worth of breakfasts. It's great.Ingredients:
1 1/2 cups Flour
3 1/2 teaspoons Baking Powder
1 teaspoon Salt
1 Tablespoon Sugar
1 1/4 cup Milk
1 Egg
3 Tablespoons Melted Butter or Margarine

Instructions:
In a medium sized bowl (big enough to hold 2 quarts or so I'd say), combine the flour, baking powder, salt, and sugar. Melt the butter in the microwave for about 25-40 seconds. Heat up griddle if you have one to about 300 degrees or prepare frying pan or whatever you use to make pancakes. Add milk and egg to flour mixture and then add butter. Mix well. I like to use a rubber or silicone spatula. Use a 1/2 or smaller measuring cup to scoop batter out of the bowl and pour half of it onto the griddle, depending on how big you want your pancakes to be. I like mine kind of small because I have kids and because they are easier to turn with the spatula. When they all have bubbles on the top (2-3 minutes), it's time to flip them. I use the back of my wide spatula to push them down a little when I flip them to make sure it all gets cooked. Wait about 2 more minutes and they will be ready to eat.While they cook I usually get the plates and table ready so we can eat.
Pour on the syrup or whatever you like on your pancakes and enjoy.
I went to a friends' Pig and Pancake party where everyone was to bring a topping for pancakes and I brought caramel and chocolate ice cream topping. It was SO good. Try that if you want, but add a strawberry or something to it so it feels more healthy. =)This is the mixing bowl I like to use. It's from Dollar Tree, so I don't care much about it, but it works very well and even has a little bit of the rubber stuff on the bottom so it doesn't move around. I have six of them, I think.

Friday, May 21, 2010

Chunky Peanut Butter Chocolate Chip Cookies

This recipe came from an Amish novel that I borrowed from my mom by Wanda Brunstetter. The cookies are delicious. They really have more chocolate chips than it appears. They are all sunken or something in this picture.Ingredients:
3/4 cup Margarine
1 cup White Sugar
1 cup Brown Sugar
1/2 cup Peanut Butter
2 Eggs
2 teaspoons Vanilla
2 1/2 cups Flour
1 teaspoon Baking Soda
1/2 teaspoon Salt
1 (8oz) Chocolate Candy Bar, Chopped

Instructions:
Preheat oven to 350 degrees. Beat margarine, sugars, and peanut butter until light and fluffy. Blend in eggs and vanilla. Add the dry ingredients and mix well. Stir in chocolate pieces. Drop rounded tablespoons of dough onto ungreased cookie sheet. Bake 10-12 minutes or until lightly browned. Let stand a few minutes before removing from cookie sheet. Makes four dozen cookies.

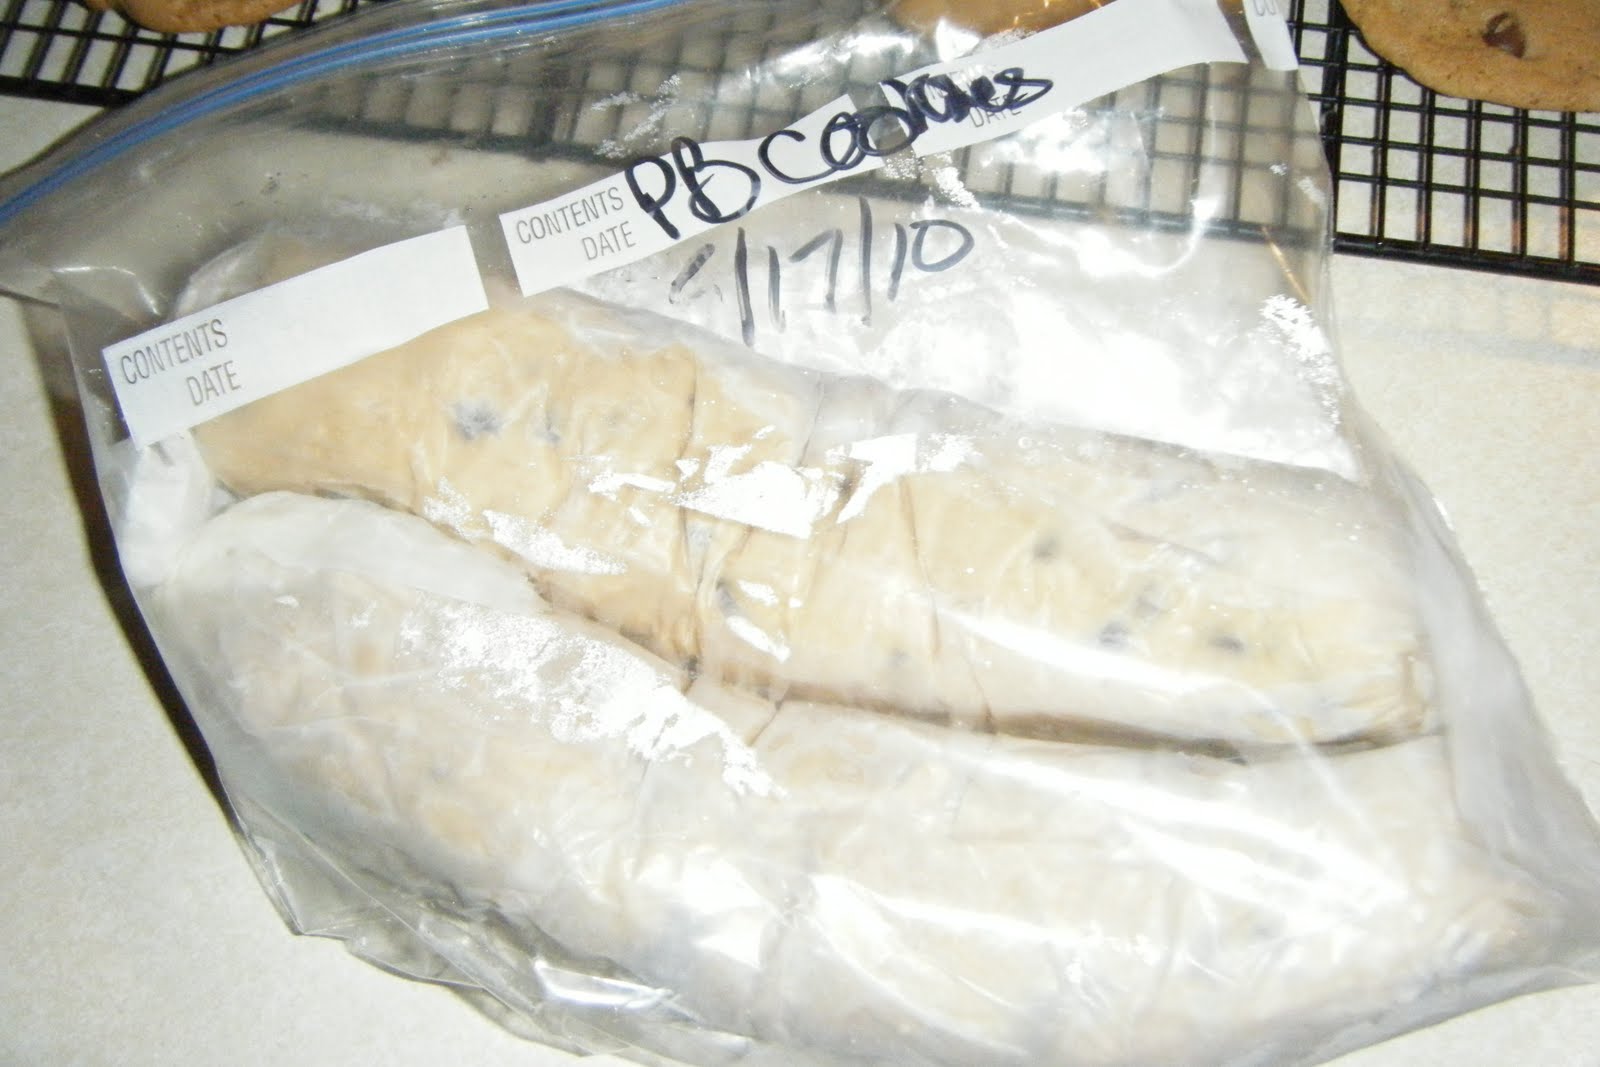
This time I doubled the batch and only baked two cookie sheets worth of cookies. I rolled the rest of the dough up in three different sections of greased wax paper and then put them in a ziplock bag. I made one of the extra batches for our game night on Wednesday and they turned out well then too.

Wednesday, March 17, 2010

Baked Chimichangas

My husband's cousin passed on this recipe to me last week and I was dying to try it out. We love Mexican food, and especially the kind that is easy to put together, uses ingredients we already have all the time, and is DELICIOUS!This plate includes Spanish Rice and Tortilla chips as well. The chimichanga is under the sour cream, salsa, and cheese in the middle. You can see the gooey goodness on the middle right side.

This recipe makes 6 chimichangas, so if you are feeding a large family, double or triple it.

Ingredients:
1 1/2 cups Cooked Chicken (I boiled three chicken breasts in water with garlic and onion powder and then tore them up after they cooled.)
1/2 cup Salsa (whatever your favorite kind is)
1 cup. Shredded Cheese (I used Cheddar, but I think just about any cheese would be delicious.)
1 teaspoon Cumin (I wouldn't think that missing this one ingredient would matter that much.)
1 teaspoon Garlic Powder
1 teaspoon Onion Powder
1 teaspoon Salt
1/2 teaspoon Black Pepper
1/2 teaspoon Dried Oregano

6 (8 inch) flour tortillas
2 Tablespoons Butter, melted
Salsa, sour cream, cheese, lettuce, etc....for garnishing

Combine chicken, salsa, cheese, and spices in a bowl. (I did this step during naptime so I could pull it out right when my husband got home from work.) Divide mixture evenly among center of tortillas or about 3/4 cup for each tortilla. Fold opposite sides of tortillas over filling, then roll up from the bottom and place, seam side down, onto a baking sheet. Brush with melted butter.

Bake at 400 until golden, approximately 25 minutes. Garnish as you wish.
I would expect these to freeze well, so if you wanted to have an easy freezer meal later, you could make a big batch and then freeze them in a ziplock bag to pull out on one of those exceptionally busy nights when no one eats at the same time and you don't have much time.
Recipes for Black Beans and Spanish Rice to come soon. As soon as I've perfected it.

Tuesday, March 9, 2010

Nauvoo Wheat Bread

This recipe came from a recipe book called Tried and True Recipes my friend put together for our Relief Society about a year ago.
I was wanting to try another wheat bread recipe and this one had the best and easiest ingredient list. It is also great for a food storage recipe because it doesn't use eggs, milk (just powdered milk), or butter.
I do have a wheat grinder. It's an attachment with my Kitchen Aid. I love it, but if you wanted to buy a bag of ground wheat at the store, that would work just fine too.
Nauvoo Bread
Ingredients:
5 cups Hot Water
1/2 cup Potato Flakes
1/2 cup Sugar
1 cup Powdered Milk
2 Tablespoons Salt
1/2 cup Vegetable Oil
2 Tablespoons Yeast
10-14 cups Fresh Ground Whole Wheat Flour

Instructions:
Combine hot water, potato flakes, sugar, powdered milk, salt, and vegetable oil in mixer (or large bowl). When water temperature is luke warm, add yeast. Mix in 5 cups of wheat flour until the dough is elastic. Mix well. Then add 5-7 more cups. I ran out of my freshly ground wheat, so I added a cup or so of regular white flour. I didn't want to open a new can of wheat and get my grinder out again for one cup. Cover and let rise for 45 minutes. Punch down and turn dough over in bowl. Let rise 45 more minutes. After second rising, shape into loaves (mine made five medium sized loaves). Let rise a third time for 45 minutes and then bake at 375 degrees for 30-35 minutes. Place on cooling rack and wait until it is cool enough to eat. I used a little bit of margarine to melt on the top of the bread after it came out to make it extra yummy and a little shiny.
Elizabeth (7 years old) ate this as her afternoon snack. She was so excited!

Thursday, March 4, 2010

Dinner Planning

One of my cousins requested more information on how I plan my meals out.
I really just started having a more planned written out menu at the beginning of the year. Previous to that, I would just buy more things if I was getting low on them of all of my basic things I use in my regular recipes.
I made a week of written out ideas, including days for leftovers. After I did that for a few weeks, I made a separate list of all the meals my family likes to eat so when I make my menu I don't have to remember what else we like. The meals range from 30 minute meals, like baked potatoes with chili to my chicken pot pie, which took more than two hours to prepare.
I use a 10x14 dry erase board that I hang in the kitchen to display the menu. I think my husband likes to see what is coming. He really does check it and when I have to move things around if my day gets crazy and I don't have the time to prepare the meal in the middle of the day, he notices and asks about it (not in a controlling way, just in a funny way). I like to get all meal prep done during my baby's naptime so I don't have him underfoot in the kitchen and so I can help my daughter with homework after school without being frantic. Instead of being frantic, an hour or so before my husband comes home I pull the pan out of the fridge and put it right into the cold oven to heat up while the oven heats up and cooks it. It is then ready to eat when it's dinnertime.
Each week when I make a new menu I just pick something from my list that we haven't had in a few weeks or I try out a new recipe. I normally don't try more than one new recipe a week because of time and possibly purchases of special ingredients.

Weekly Menu Example:
Sunday-Dinner with in-laws (take rolls)
Monday-Enchiladas
Tuesday-Leftovers
Wednesday-Baked Potatoes and Chili
Thursday-Tatertot Casserole
Friday-Leftovers
Saturday-Pizza

Up next: (I do this in case I don't feel like making one of the things on the menu. It also makes the next week a lot easier.)
Chicken Alfredo, Taco Soup, Velvetta Cheesy Noodles, Sloppy Joes

Here is a list of the dinners my family enjoys:
Easy (30 minutes Prep Time)-
Tacos
Baked Potatoes with Chili
Velvetta Cheesy Noodles
BBQ Chicken or Beef on a Bun
French Dips
Pizza Spaghetti

Medium (1 hour Prep Time)-
Pizza (some extra time is the dough rising)
Enchiladas and Mexican Rice
Chicken and Rice
Cheesy Manicotti
Tater Tot Casserole

Chicken Alfredo
Chicken Stir-fry with Veggies
and Rice
Spaghetti and Meatballs


Harder (2+ hour Prep Time)-
Lasagna and French Bread
Sesame Chicken with Chow Mien
Chicken Pot Pie

I have 17 dishes listed here that I normally have the ingredients for.
I try to make my weekly meals include a chicken dish, a beef dish, cheesy dish, and meatless dish, but that is mostly so we don't get tired of chicken every night.
I also don't normally do all the easy dishes in one week because I like one night a week to be easy for me.

Saturday, February 20, 2010

Microwave Poppycock for Popcorn

My mom always made this topping for popcorn when we watched movies on Sunday nights. I think it was so she didn't have to cook so many meals.
I did the same thing tonight when Andy was watching COPS with the kids. I wasn't done until after it was over, so they ate it while Andy read them their scripture story and bedtime books. The kids really enjoyed it.
My mom got this recipe from a lady she knew when she was first married. It is made in the microwave and is super easy and yummy!Poppycock for Popcorn

Ingredients:
1 ¼ cup Sugar
1 cup Butter (I used half butter and half margarine)
½ cup Corn Syrup
1 teaspoon Vanilla

Instructions:
Mix sugar, butter, and corn syrup together and microwave 8 minutes in a 4 quart glass bowl. Stir one time. Then add vanilla and microwave 5 more minutes. Pour on popped popcorn and stir. Warn impatient eaters that it is HOT. It hardens as it cools. My mom had a giant stack of plastic cups that we would use to eat popcorn.
This makes a very large size bowl of popcorn. If you have leftovers, place in a ziplock bag and eat it later.